Leaderboard
Popular Content
Showing content with the highest reputation on 12/01/21 in all areas
-
5 points
-
4 points
-
Damn, how did you get that photo, I’m always so careful to wear my best pan when I'm out and about!3 points
-
Thanks for the invite! I'll see how busy work is next week. Volumes are currently crazy with "lockdown 3.0" so I'm working all hours! On the upside, it means I don't have to sell my body 😂2 points
-
1 point
-
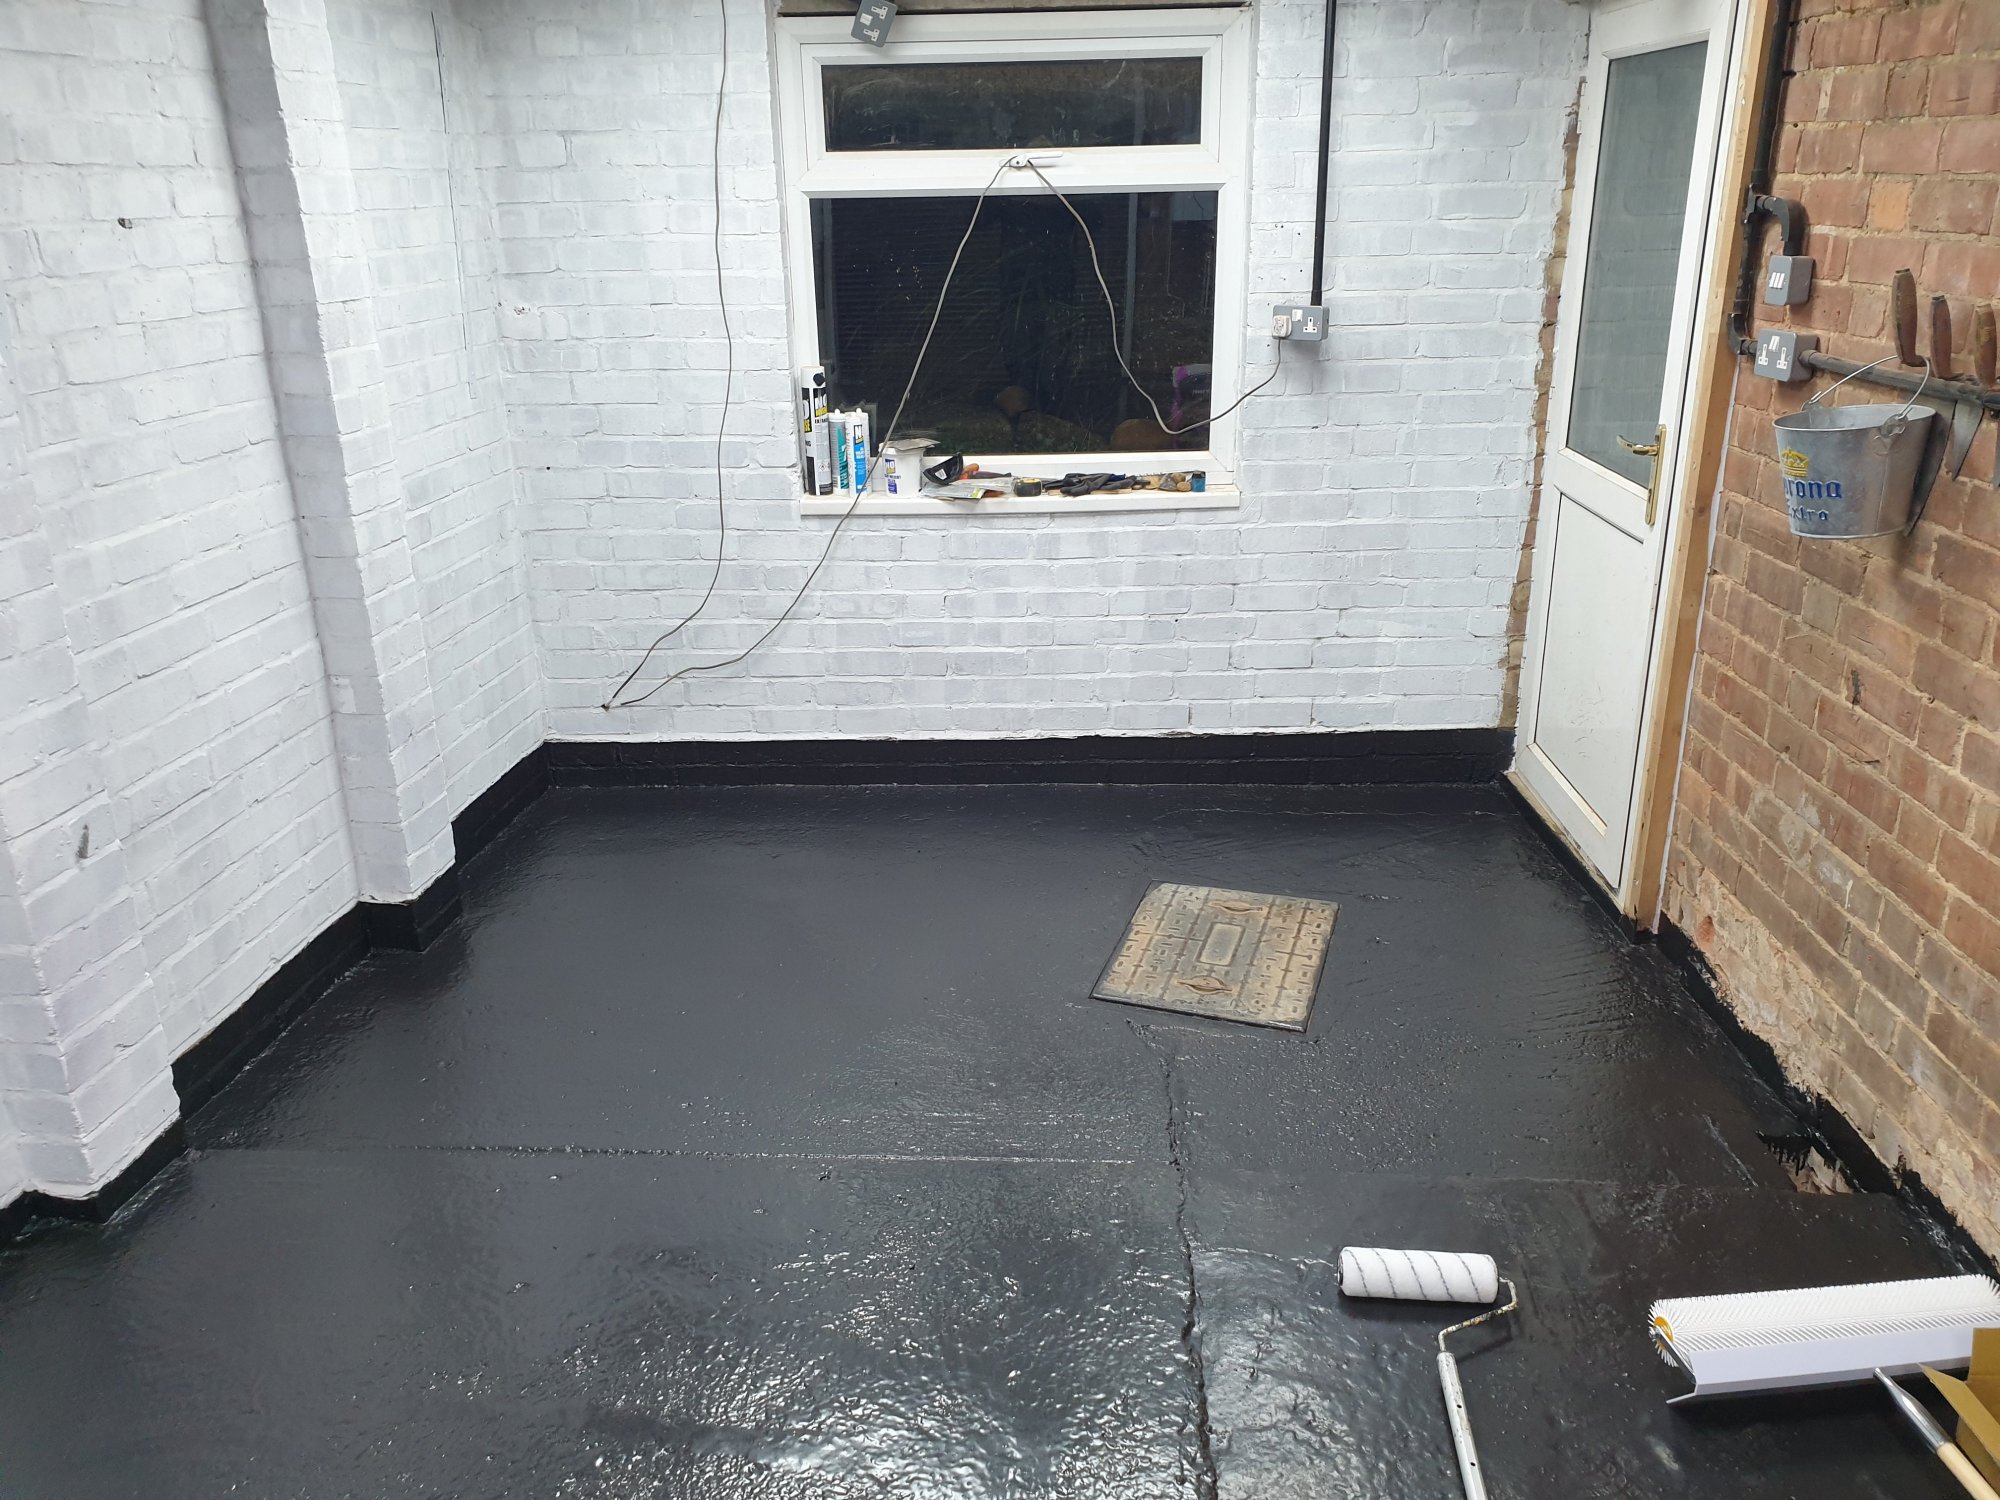
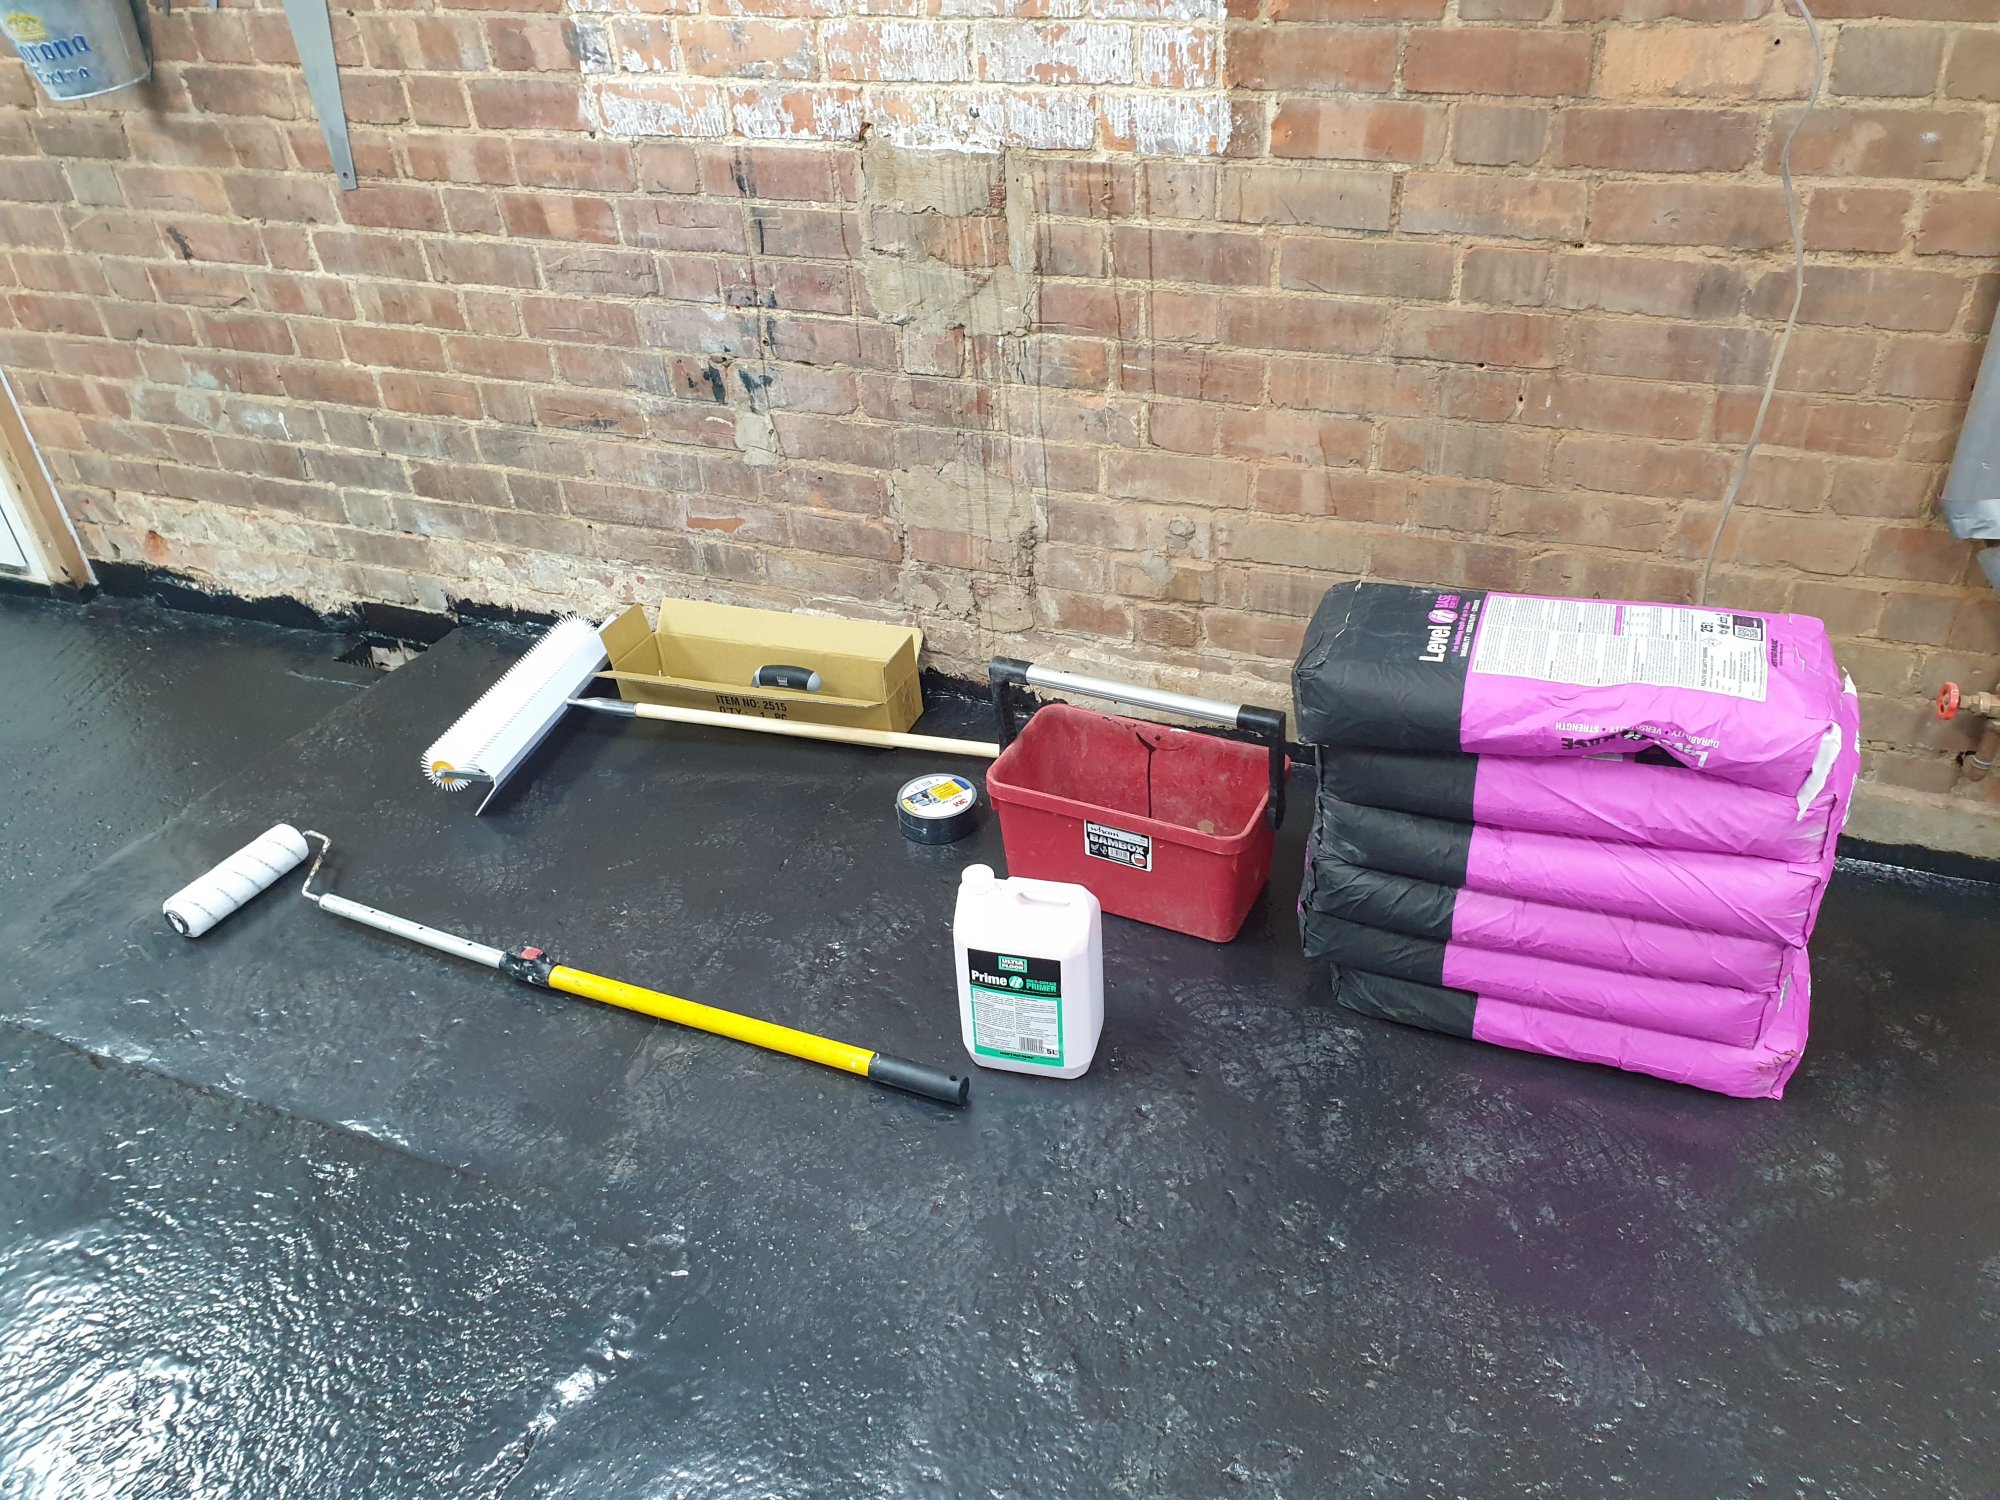
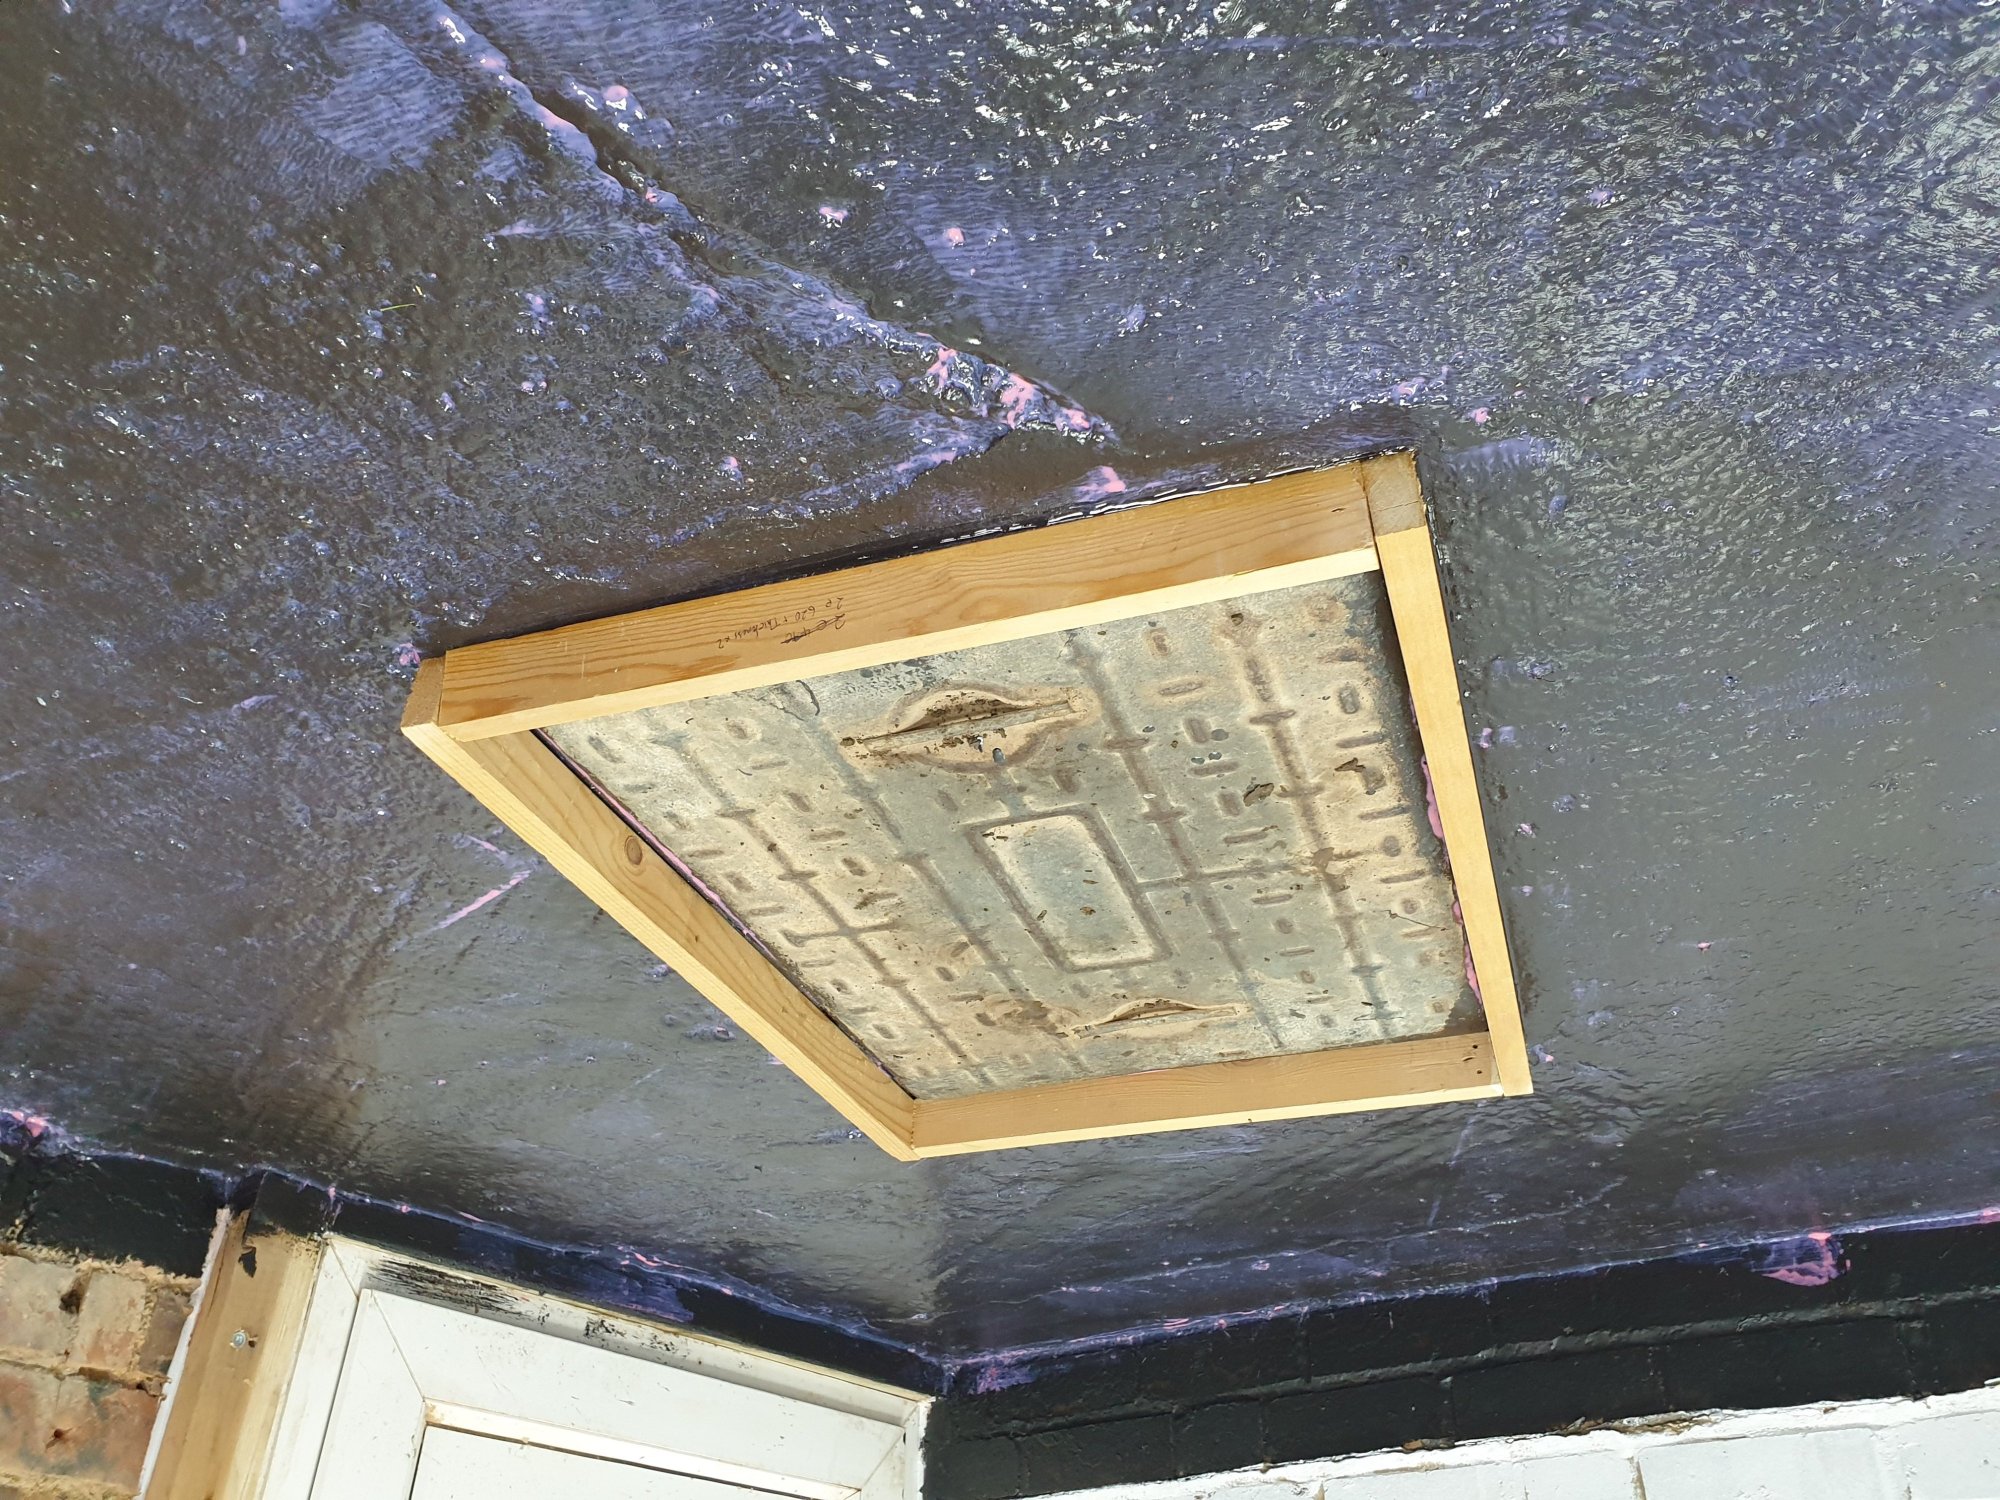
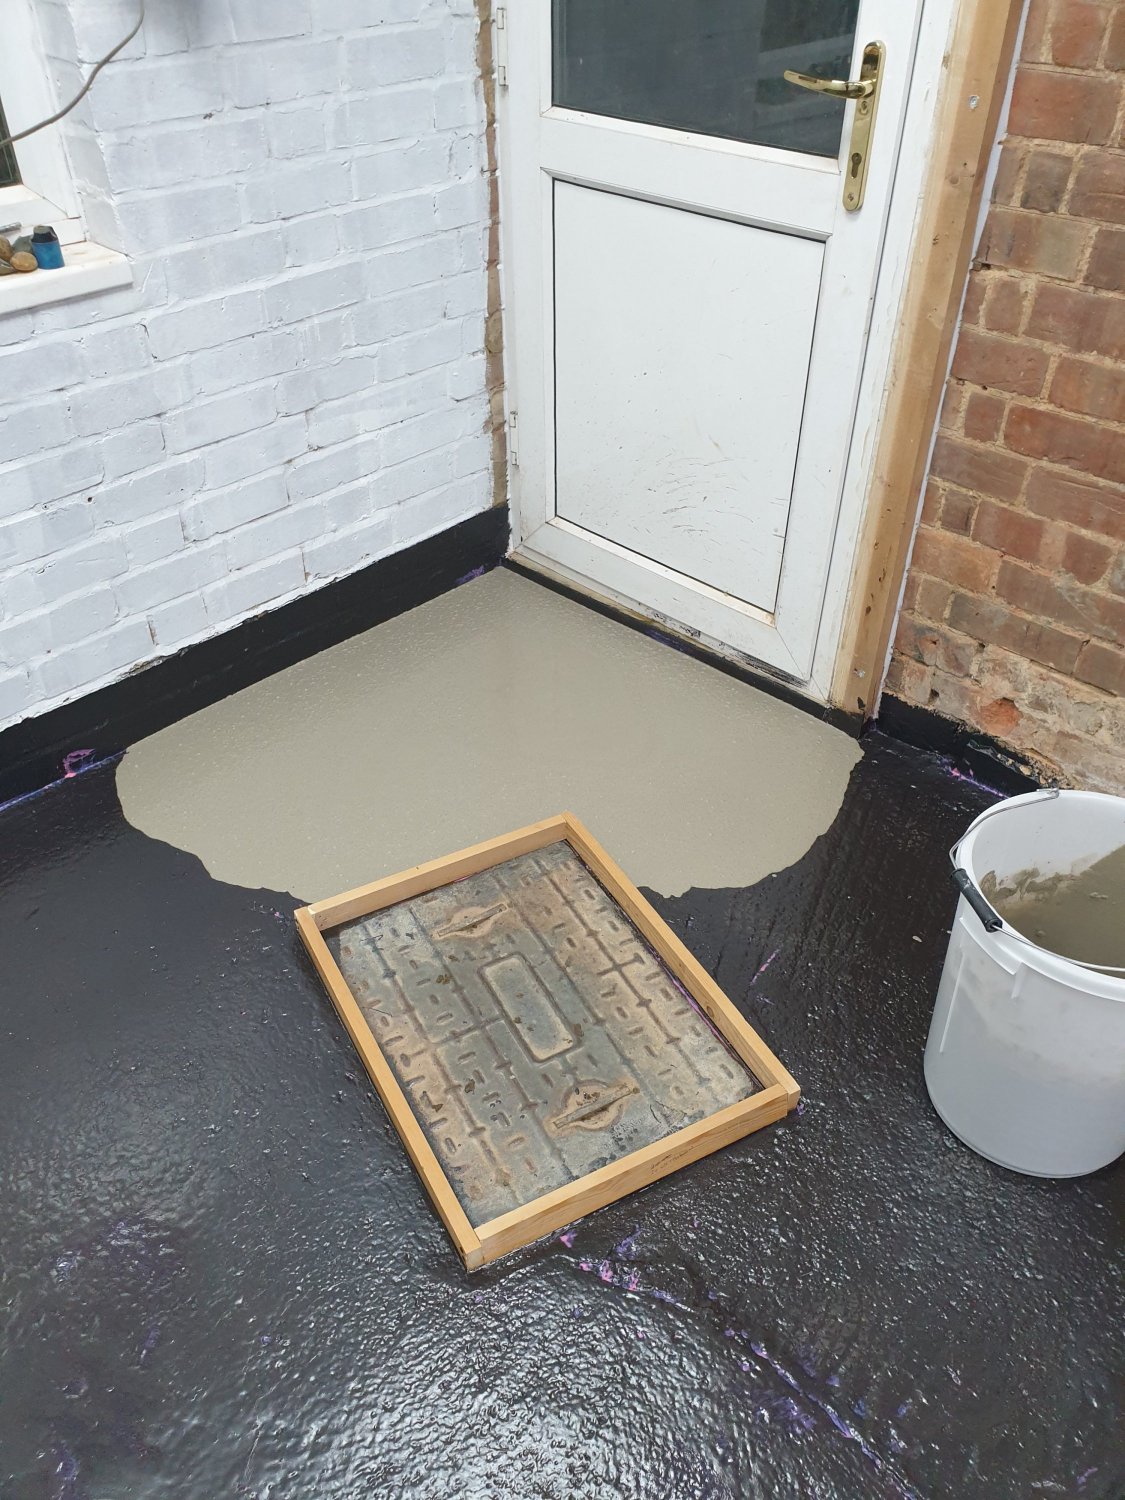
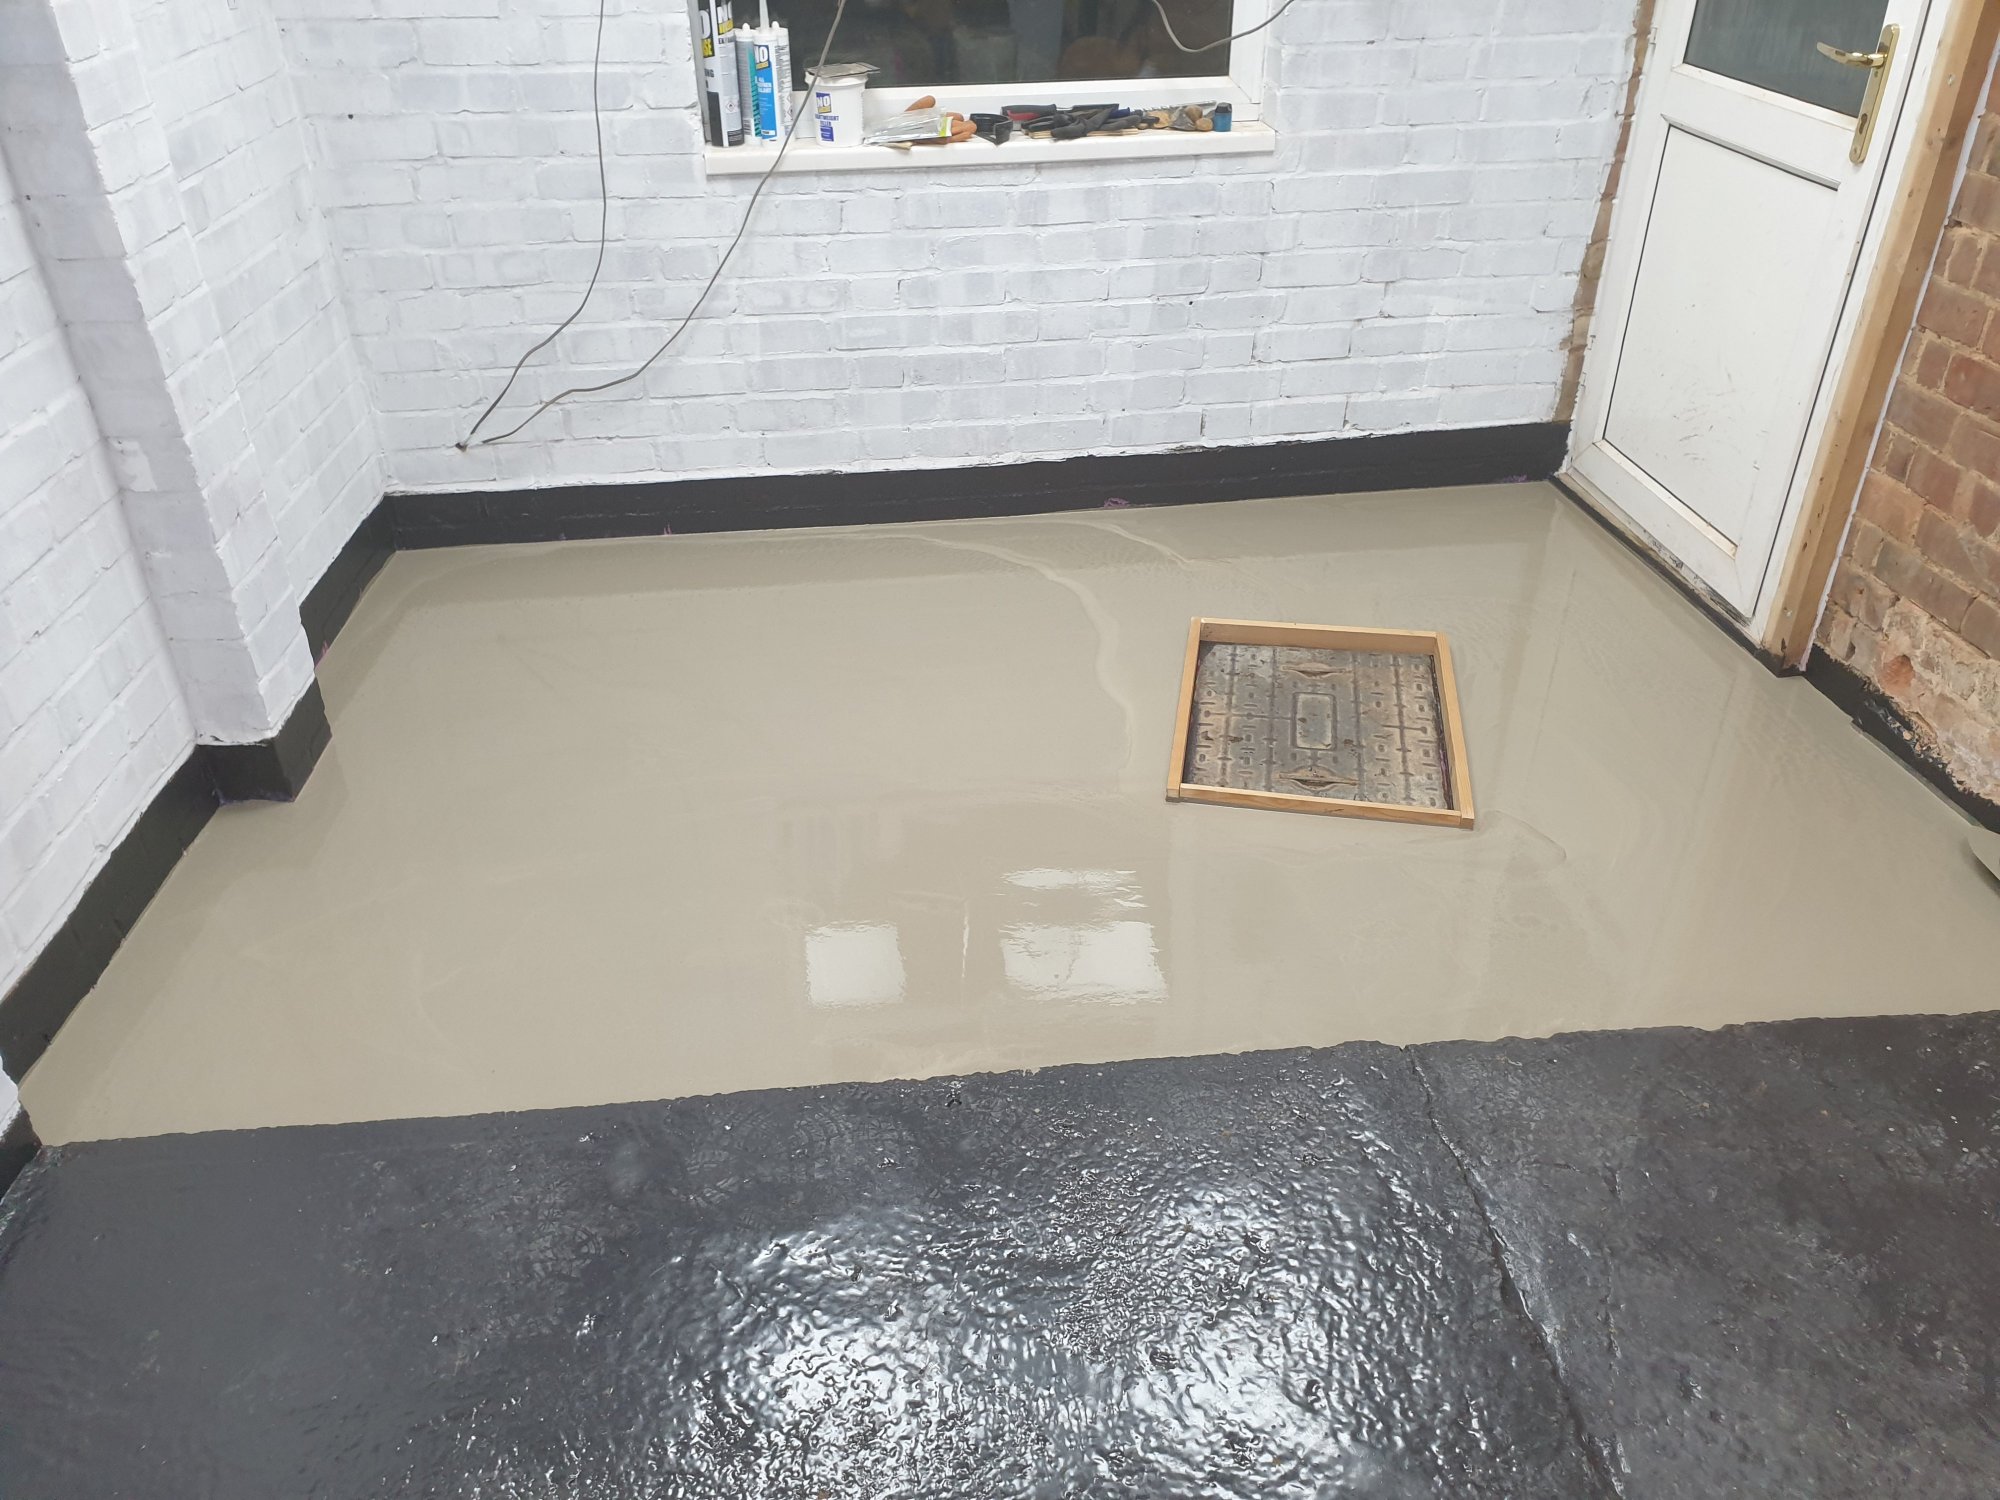
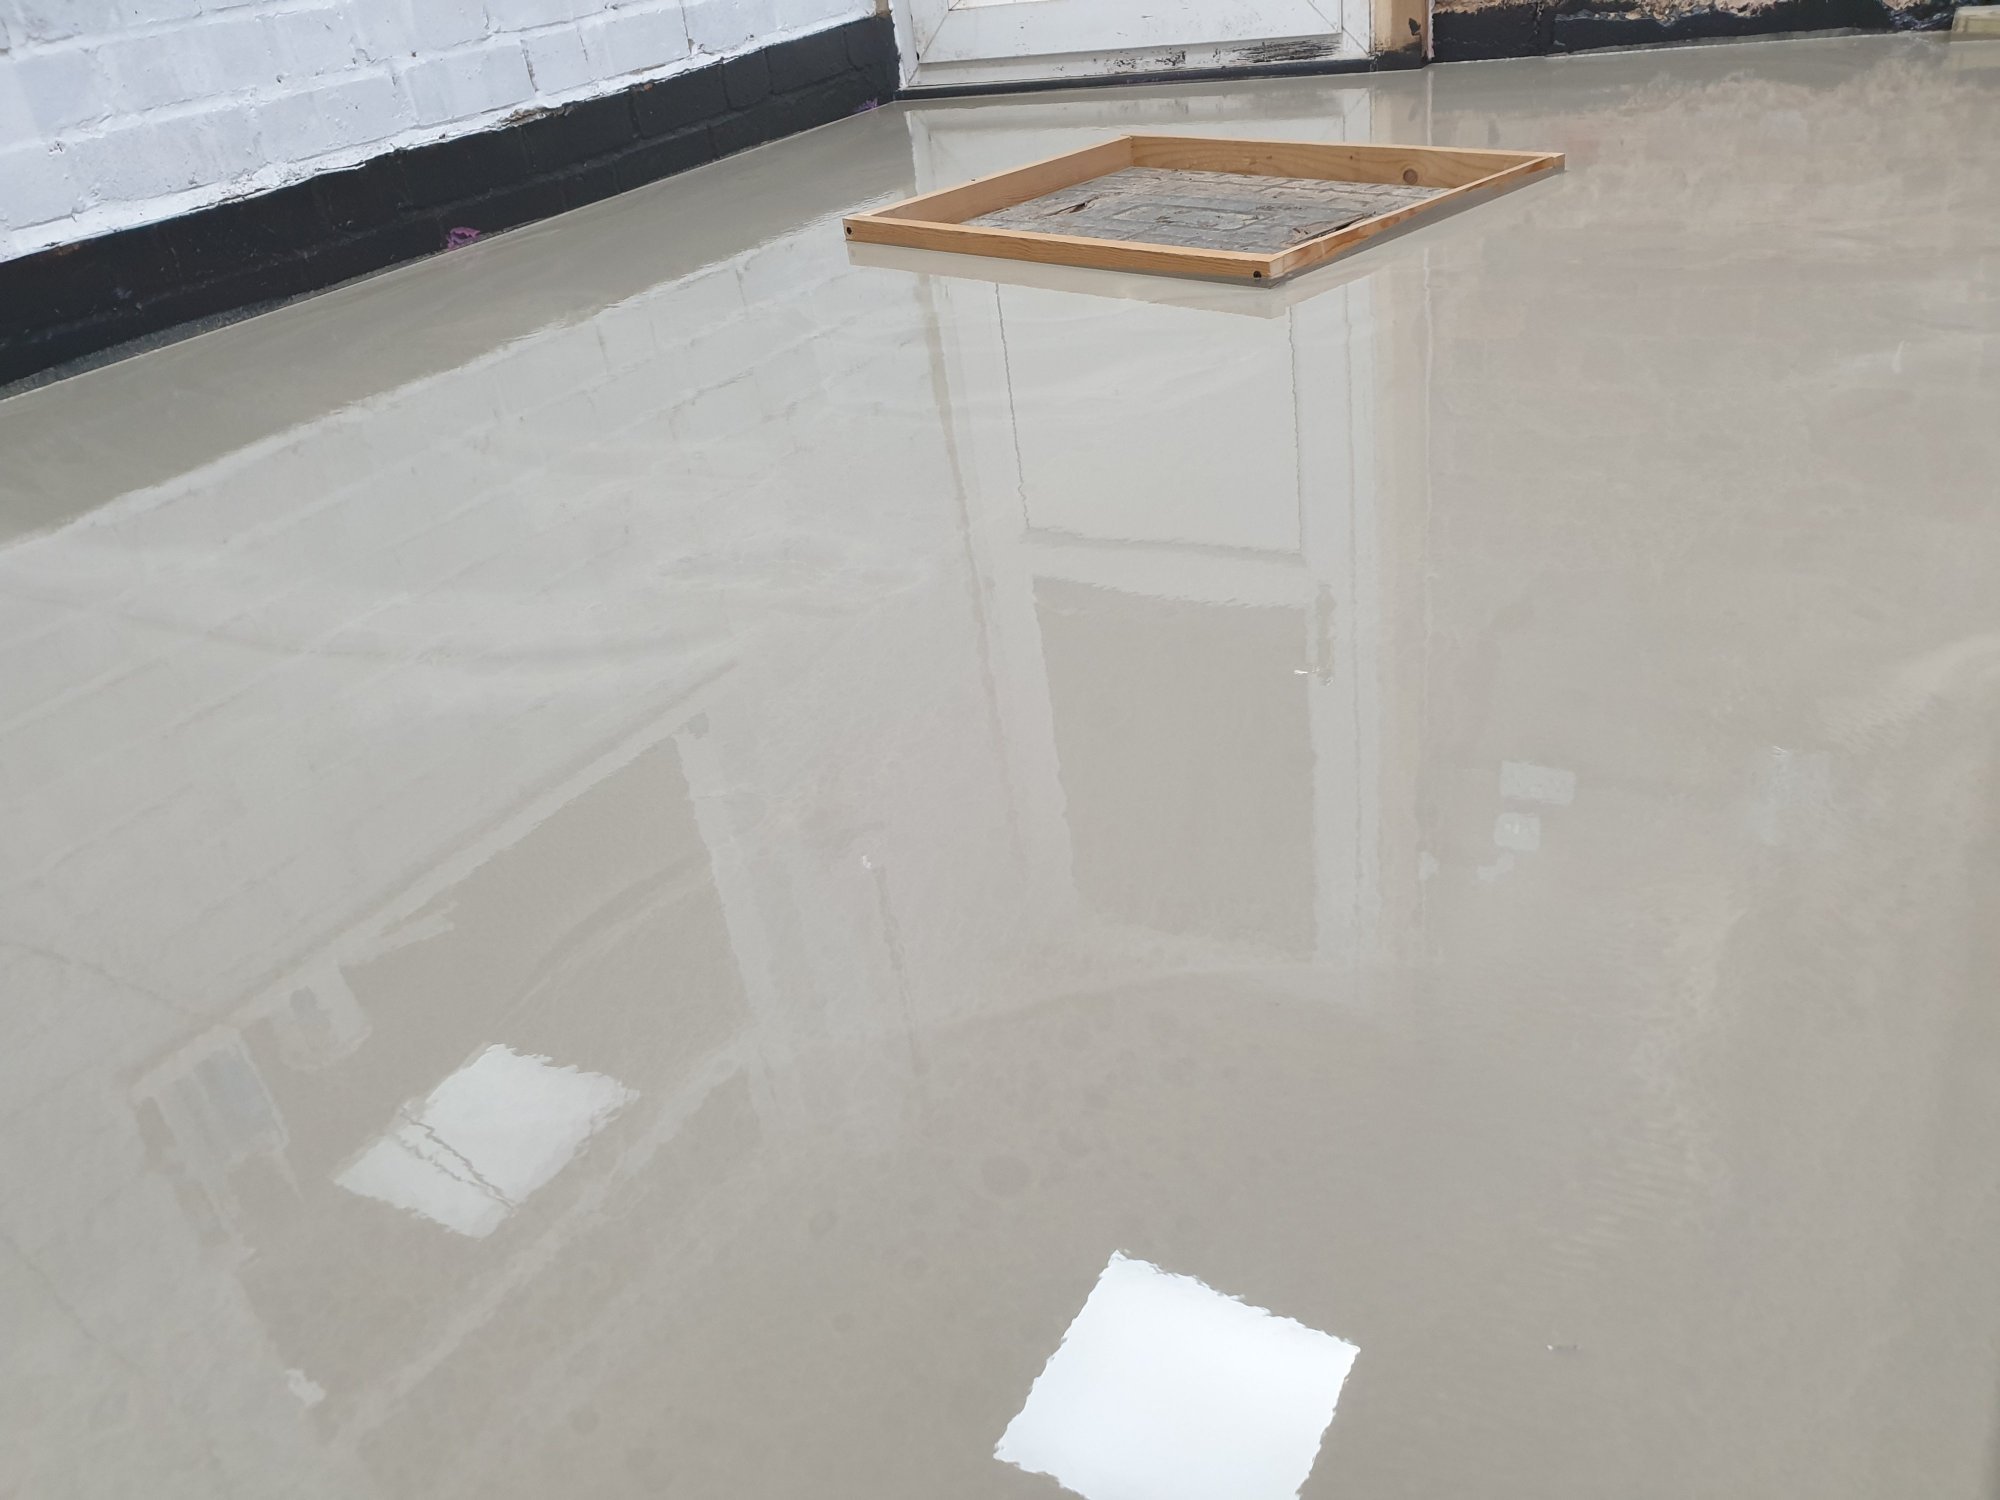
Tuesday is my allotted garage evening, so I was able to get the next stage of the floor levelling done. I got up early (and skived off work for a bit) to get the last tub of epoxy DPM down. I started by the back door and worked forward until I ran out of it, which meant that the 4 little rear sections of concrete all got another coat. By doing that step this morning, it had gone off by the time I got home from work, and it was then ready for a coat of primer. It's also worth noting that the DPM does a surprisingly good job of evening out the worst of the small bumps and dips. The primer is a very simple step, as it's a pink liquid that just needs rolling out over the patch you need to level and part way up the wall to ensure the edges are fully covered. Once dry, it goes translucent, so knowing when it's ready to go is also simple. Due to ordering everything from Travis Perkins in one go, I had to order 6 bags of the base instead of the 4 that I expected to need. Likewise, I ended up with 12 bags of the HD Top vs the 11 I wanted and 4 bottles of primer against the 1 I would need part of. The photo above is pretty much the tools needed to get this going. One thing that needed doing first is to dam the edges of the floor. On one edge is an air vent through to the under floor of the front room, and there's the manhole cover that needs damming too. If not, the compound will find any little hole and start to run away as it's surprisingly watery. As such, the dams were all silicone'd into place. With the primer dry, and the dams in place it was time to start mixing up. This needs 30L buckets, as anything smaller just won't work for the 25kg bags. Each bag only requires 4.25L of water, and since the buckets are thin enough to see the water level through (I used plasterer's buckets) they were both measured and filled in the kitchen first to save me time. I chose to use 2 buckets, so I can mix up in one, and use the other purely for fetching water to the garage. Although the water only fills the bottom few inches of the bucket, once the compound is mixed in you end up with something nearer 20L! It's also wise to remember that the bucket now weighs 30Kgs, and pouring it accurately is tricky. Thankfully, accuracy isn't particularly needed, as a trowel is needed to push the compound around. The photo below is just the first bucket. As I got going, photos weren't really taken as I was doing this solo, and the working time of the compound is only 20 mins. The floor was also more uneven than I had realised, as I did end up using all 6 of the bags. I could've used just 4.5 bags I reckon, as this is just the Base layer, but I wanted to get a decent covering over the entire area so used all 6. The thinnest section, which is lower left in the below photo is 6-7mm, yet the deepest edge by the door is maybe 30-35mm. I had expected it to be nearer 20mm, hence why I was two bags over or 50% out! When viewed from a lower angle, I was quite pleased with how flat the floor looked. I did attempt to use a spiked roller to draw the air bubbles out of the compound, but it only really worked in the thinner sections as the compound was too deep to allow it to roll. Once it has dried I will know how much of an impact, if any, this has had. Even if it does cause a few pinholes, the layer of HD Top will easily cover those up as that will only be 5mm thick and therefore a doddle to roll out properly. The next step will be two pour the HD Top on this section, but I suspect that will have to wait until next Tuesday as the floor will need at least 3 days to dry at the thickness I've used.1 point
-
Thanks again Andrew. I'm going to give that some thought. The more I look at seats, the more concerned I am about buying the right ones!1 point
-
1 point
-
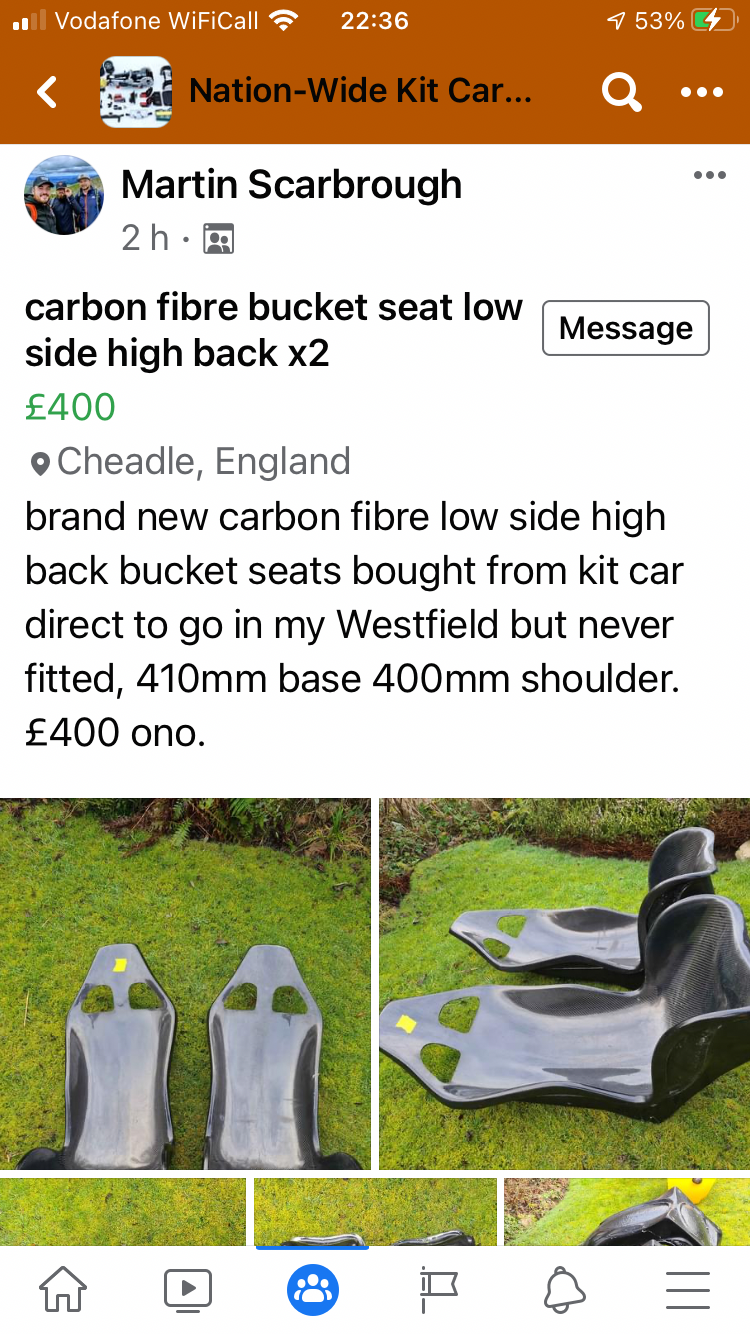
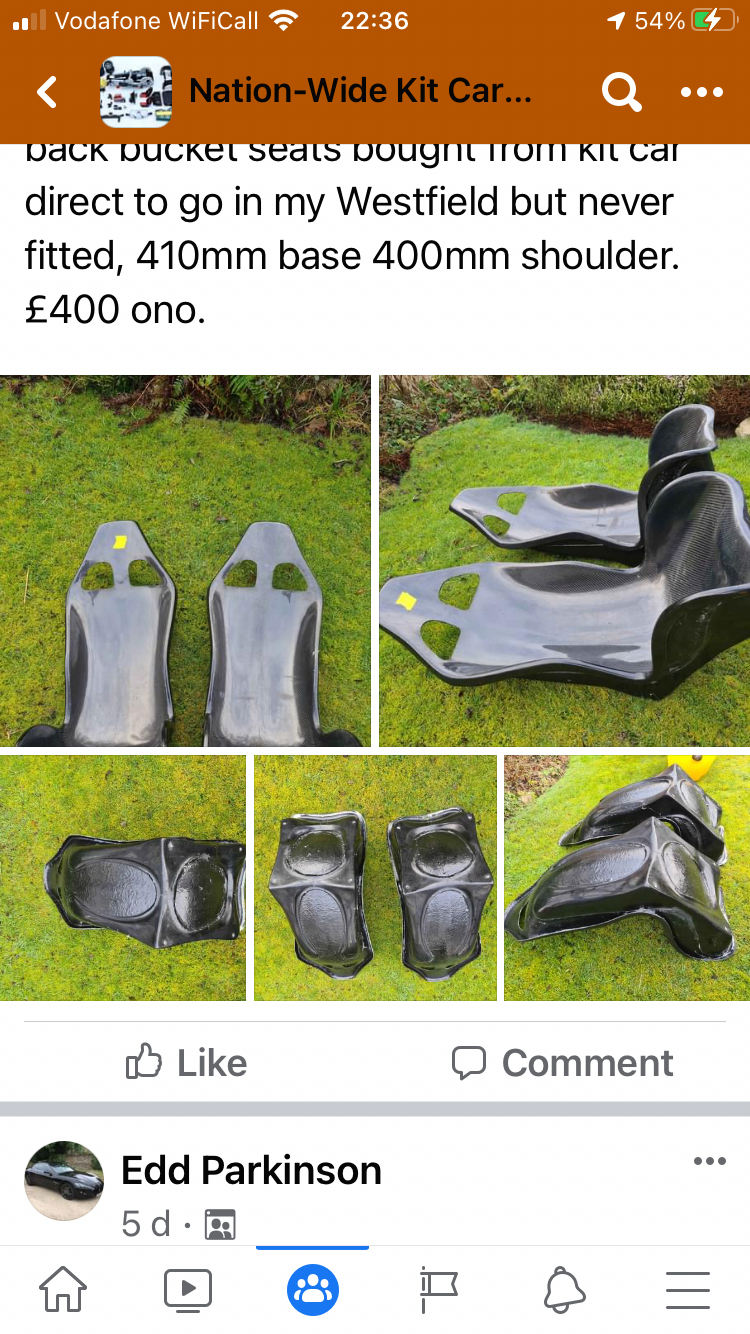
There are some for sale on FB. Martin Scarborough on Nationwide kit car parts for sale/wanted. £400 in Cheadle.1 point
-
I shall try and make it, now I've re-done my microsoft/skype password.1 point
-
Thanks for the invite @Ian Kinder (Bagpuss) - Joint Peak District AO ... I'll see you there probably with parts all over the worktop 🙂1 point
-
1 point
-
Join if/ when you can. We'll probably still be talking after 9pm and some 'durty stopouts' will on even longer @Greenstreak-Andy D @BillyPee I'm sure you fully realise the value of that, hence why you're working all the hours!1 point
-
I'm going to have to pass on these. They'll fit (max 42cm), but 39cm is too small for my fat *rse1 point
-
1 point
-
Thanks for the handy tips everyone. I'll go for a Luton with tail-lift. Be prepared for another build log soon!1 point
-
Absolutely, multiple sub sections also helps make navigation and finding things even harder after a while, especially on mobile devices with smaller screens. It also leads to increasing issues with people knowing where to place posts, something we get enough od already between wanted/for sale and Tech Talk/Starting Line/Stuff and Nonsense.1 point
-
1 point
-
1 point
-
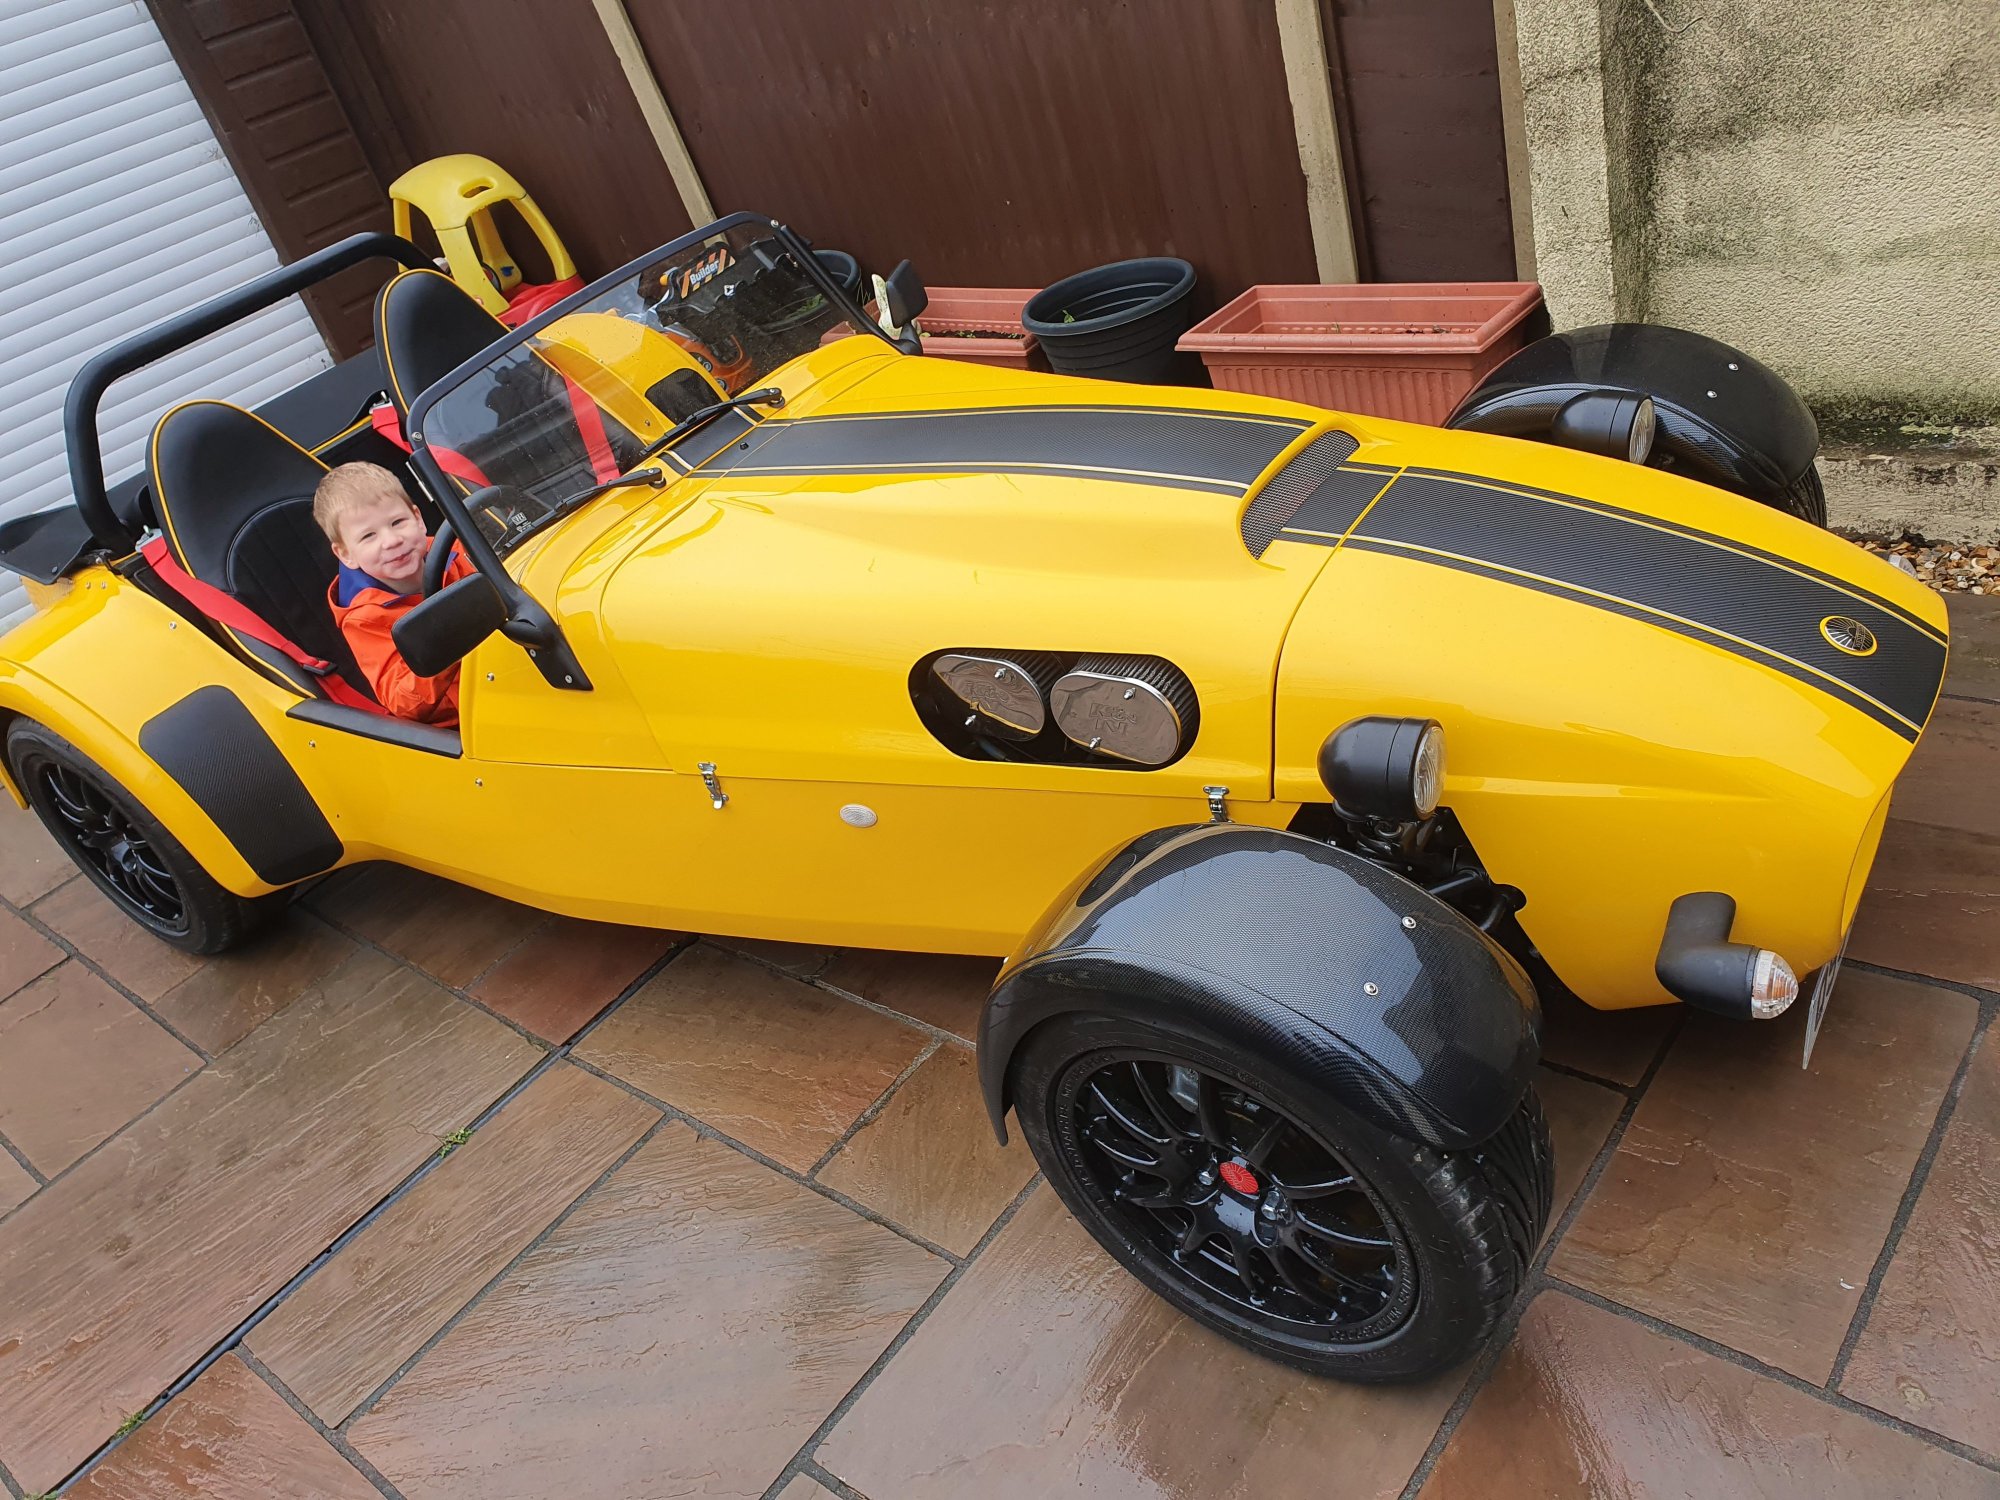
Hello all. I'm new here and have recently taken ownership of my new, not so new Westie. Firstly, forgive the name. It doesn't actually refer to Westfield Sports Cars, its actually my sons initials and the name of my business which is unrelated to the cars.. Been looking at buying a Westfield for as long as I remember. I've been a biker for 19 years, and having a child/business and all my mates growing up and doing the same, my riding has dwindled (especially post covid), so I decided to switch it up and take the plunge (hoping that me and the 4yr old can enjoy it together). I've bought a 97 SEIW Vauxhall Red top, she's pretty good, but as with any new toy, I've started looking for all the jobs I "NEED" to do. I've played with bikes for many years, but this is my first foray into the proper sportscar market amd I'm a little nervous to fettle. Looking through the forums it really is a wash of helpful, knowledgeable people, and it seems that there is always someone who has been there and done it, so I apologise if there are some stupid questions... As I see lots, pics are compulsory.. so attached is the day I got her.. I've not given up in the bikes, im just waiting until I grow a new garage.. Ps, thats not me in the drivers seat.1 point


.thumb.jpg.23f1d83ad61bdc2960d3147a4976d233.jpg)
.thumb.jpg.7cd849fb522359371073e62ad22441ca.jpg)

_slideshow.jpg.e83ff87940f41020dd921e0daeb0edf6.jpg)
