All Activity
- Past hour
-
a4gom started following Bodywork
-
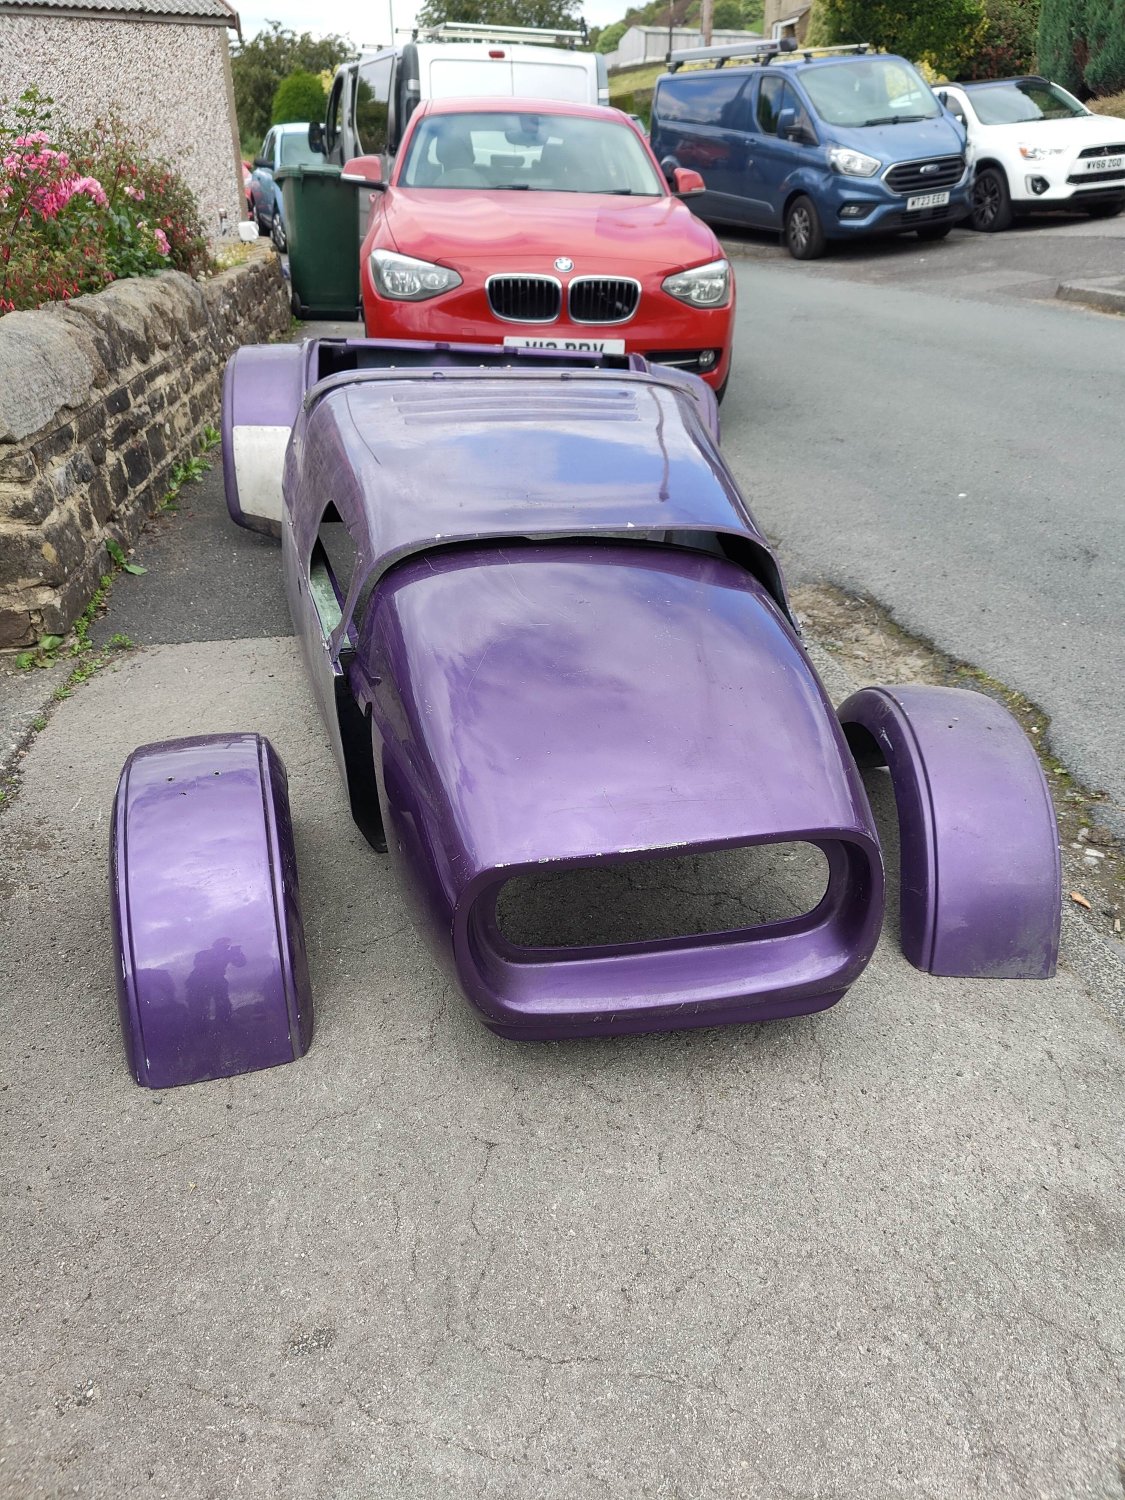
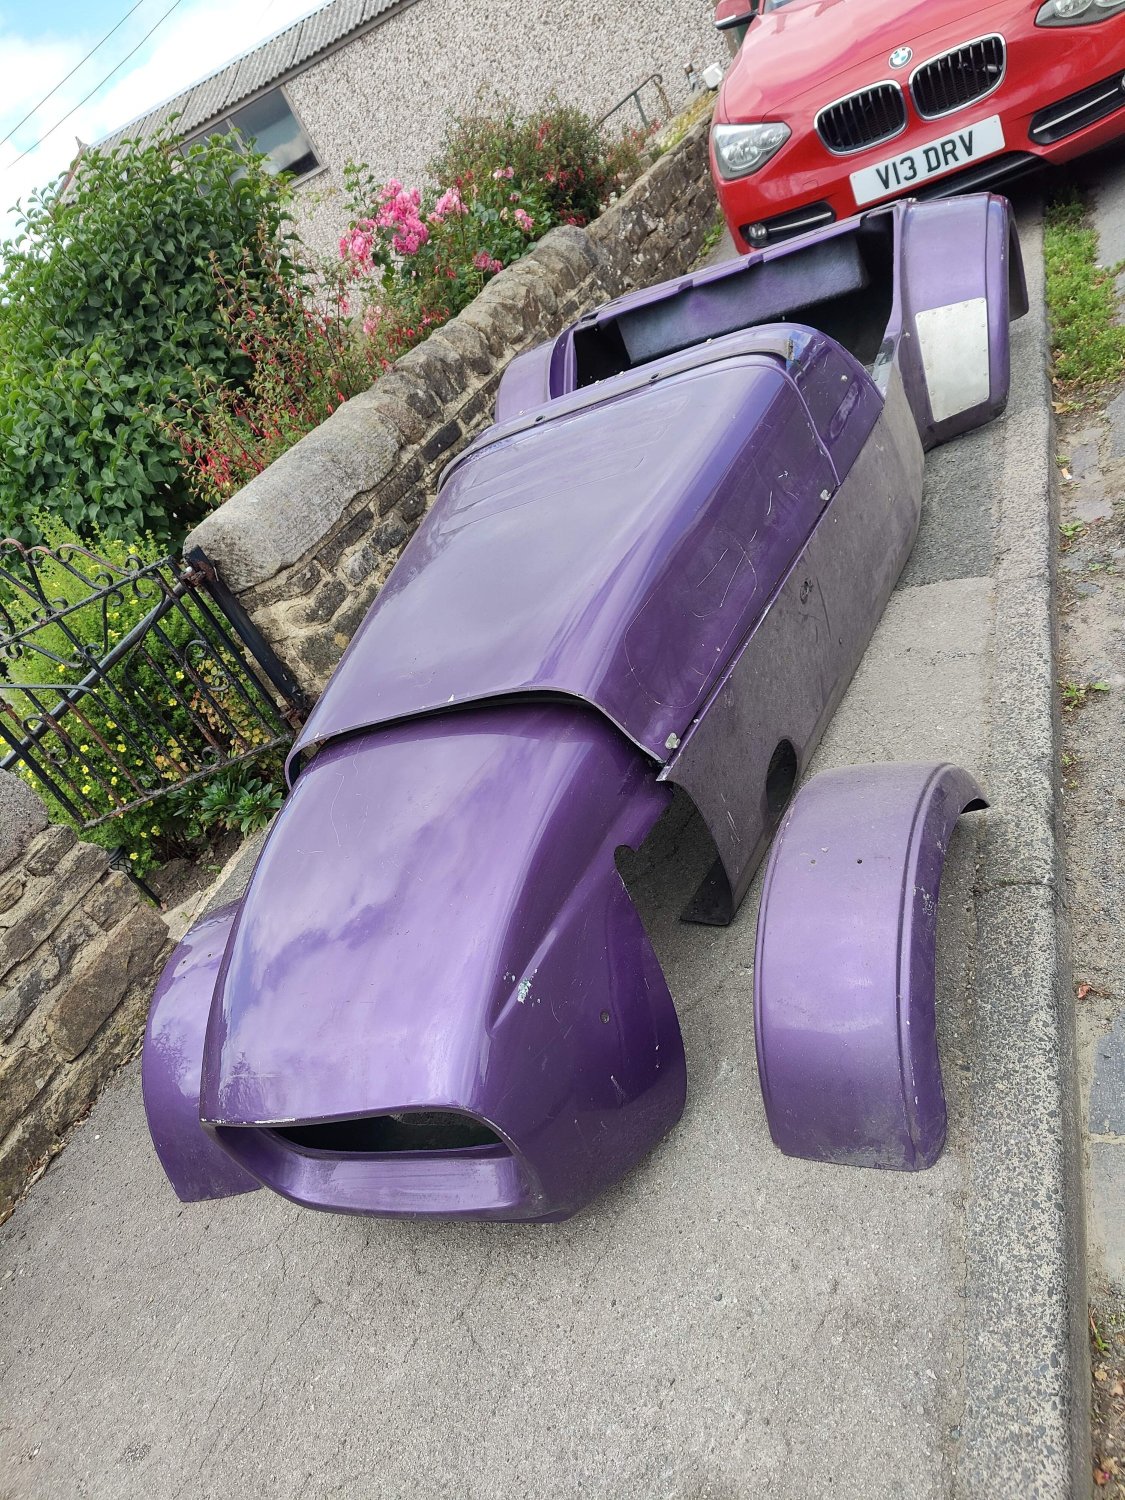
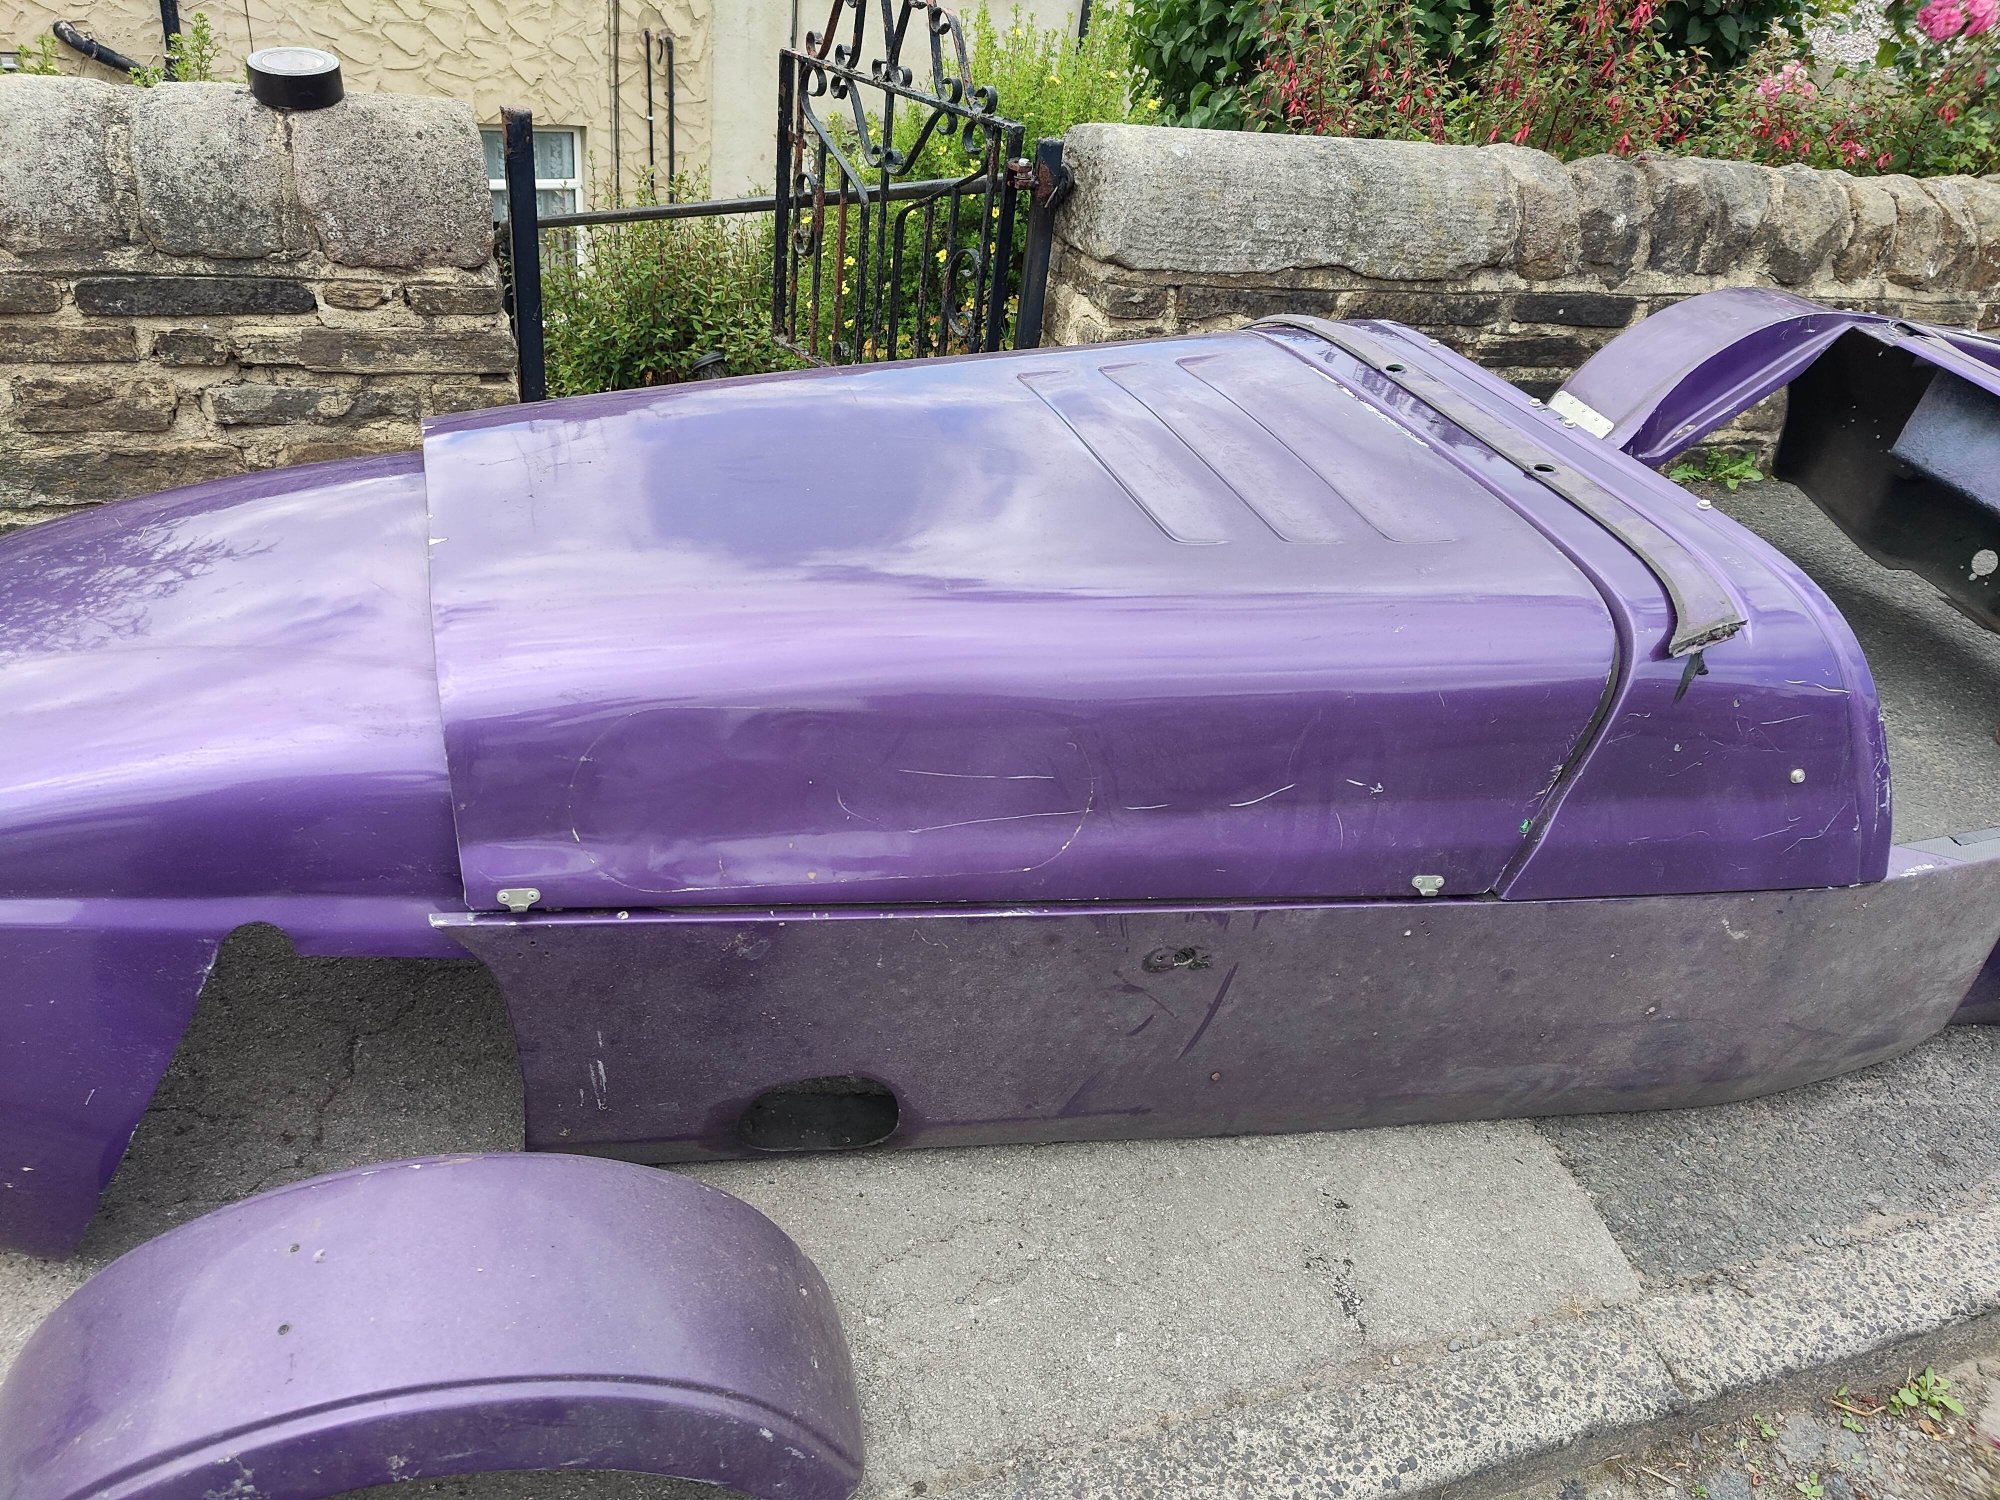
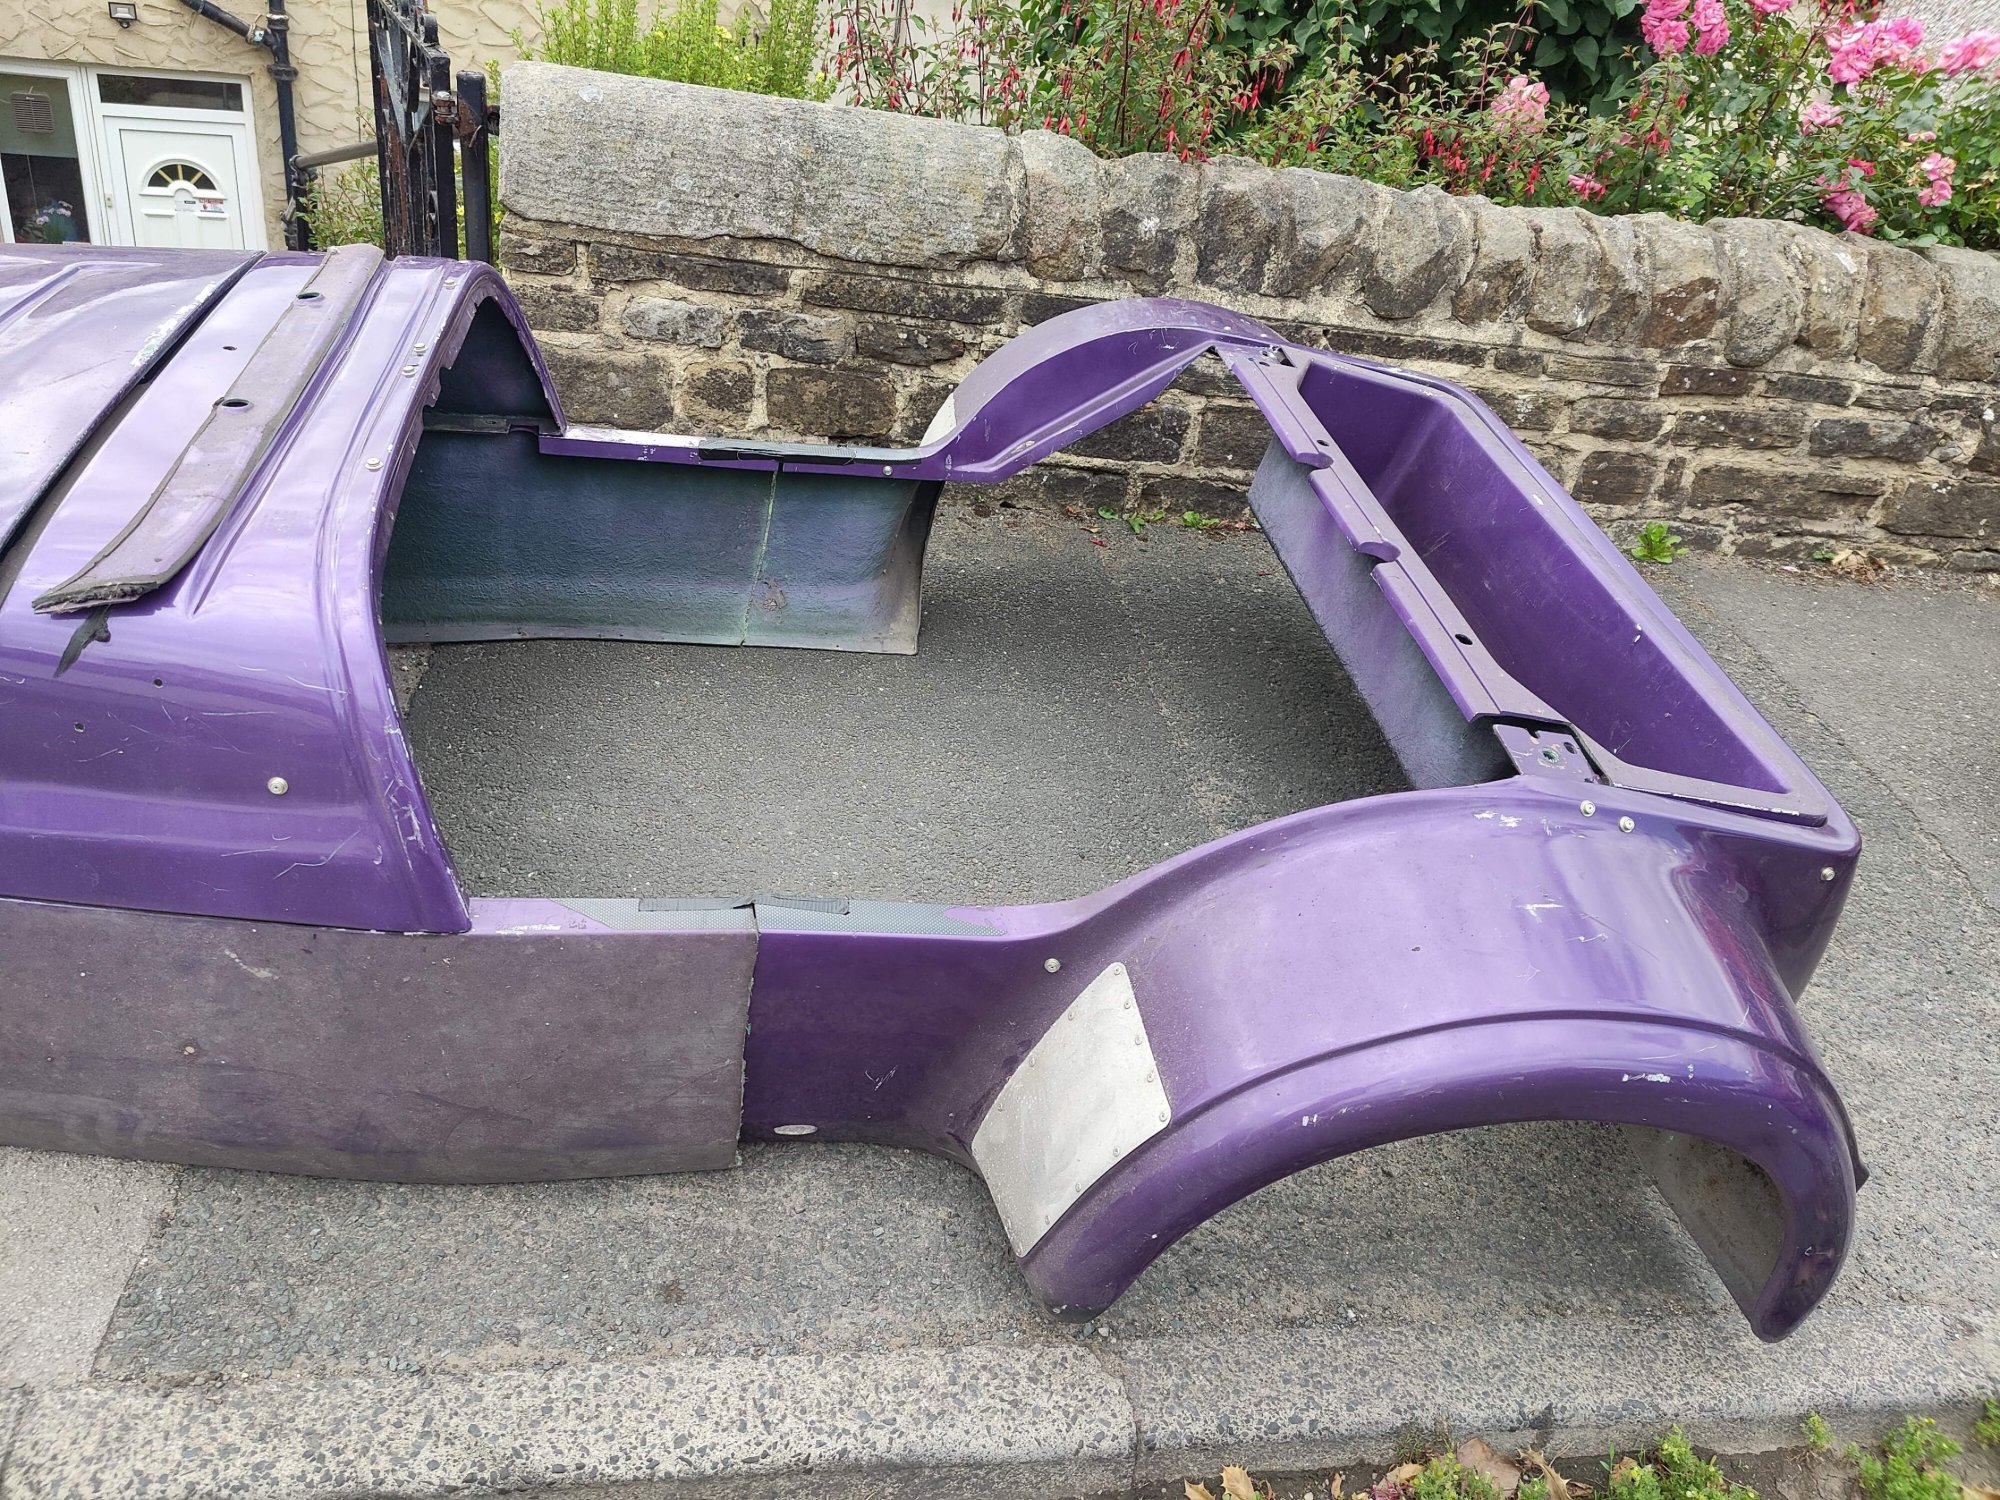
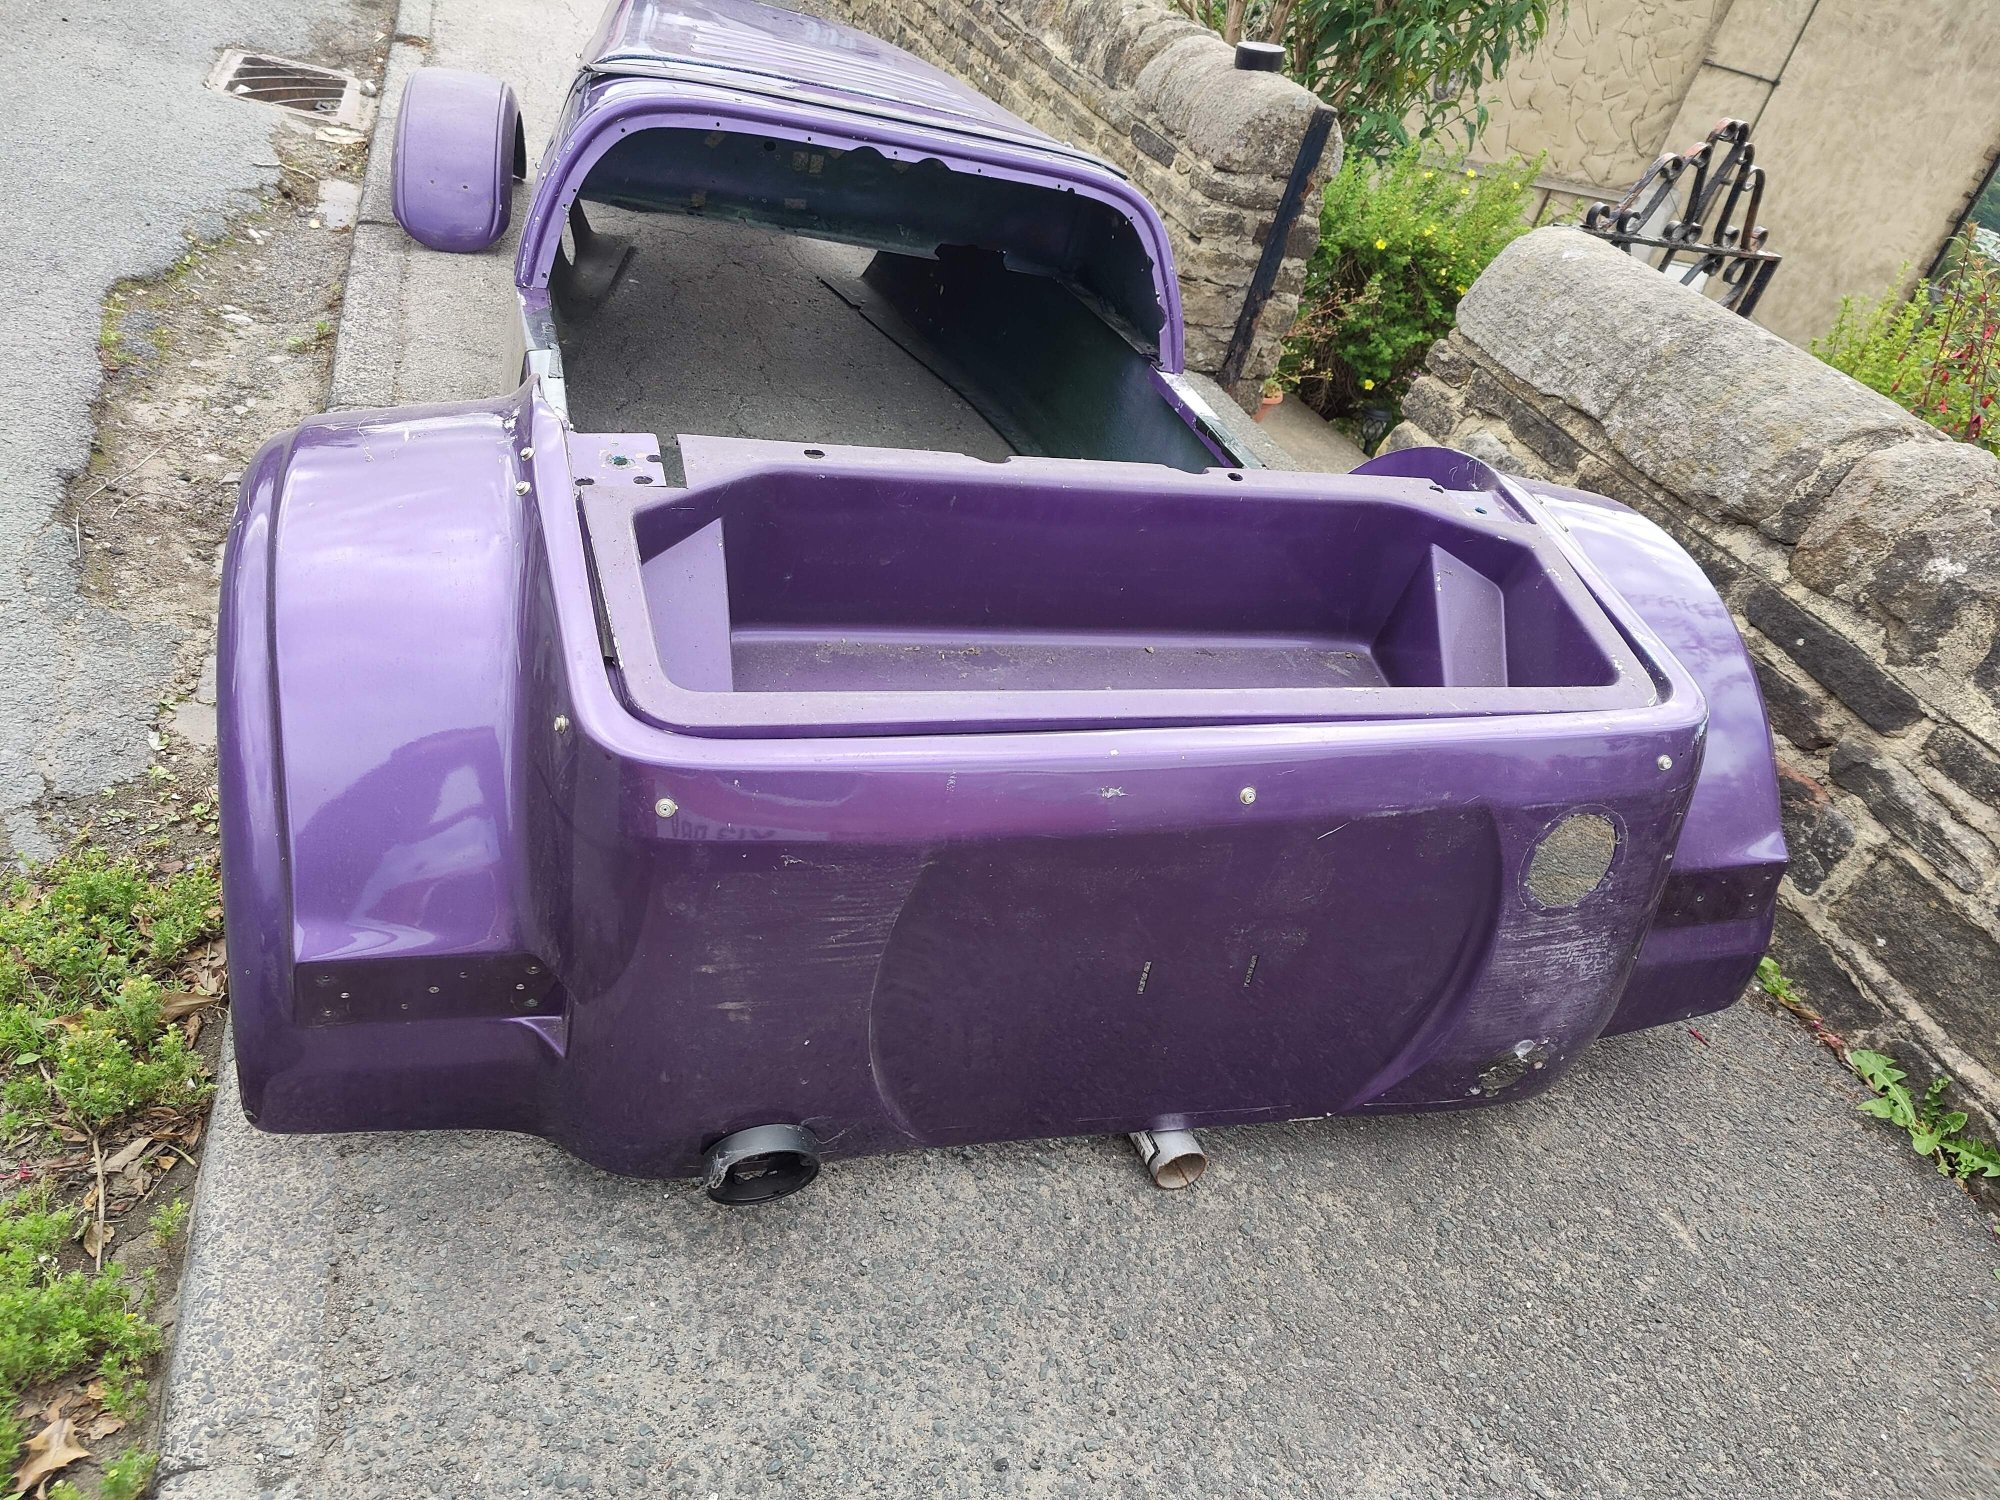
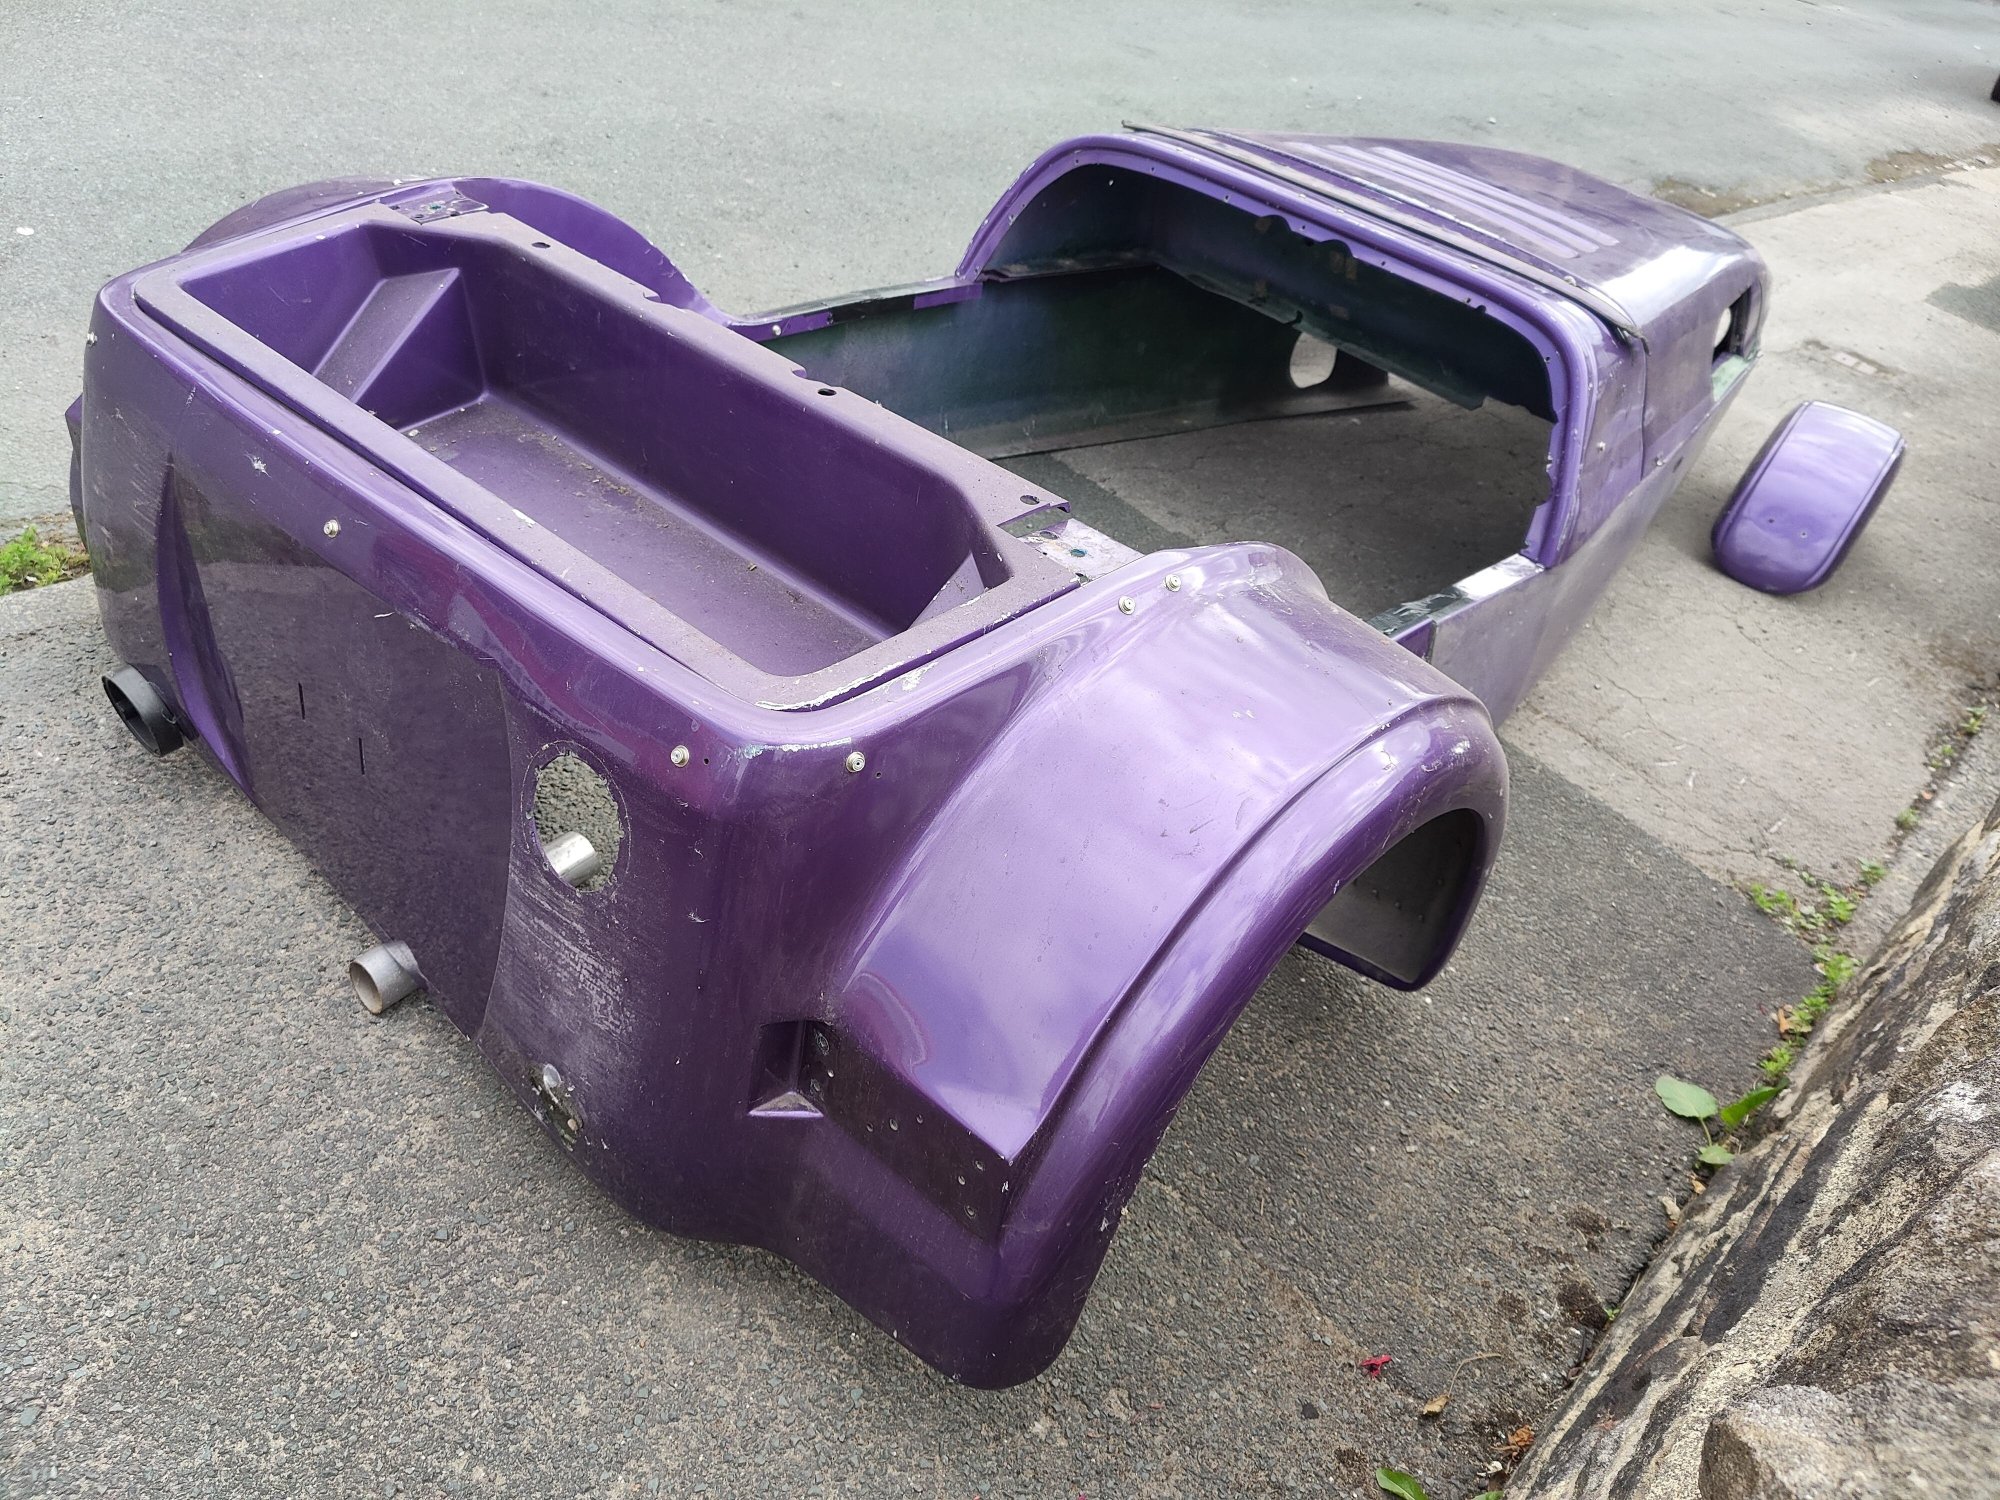
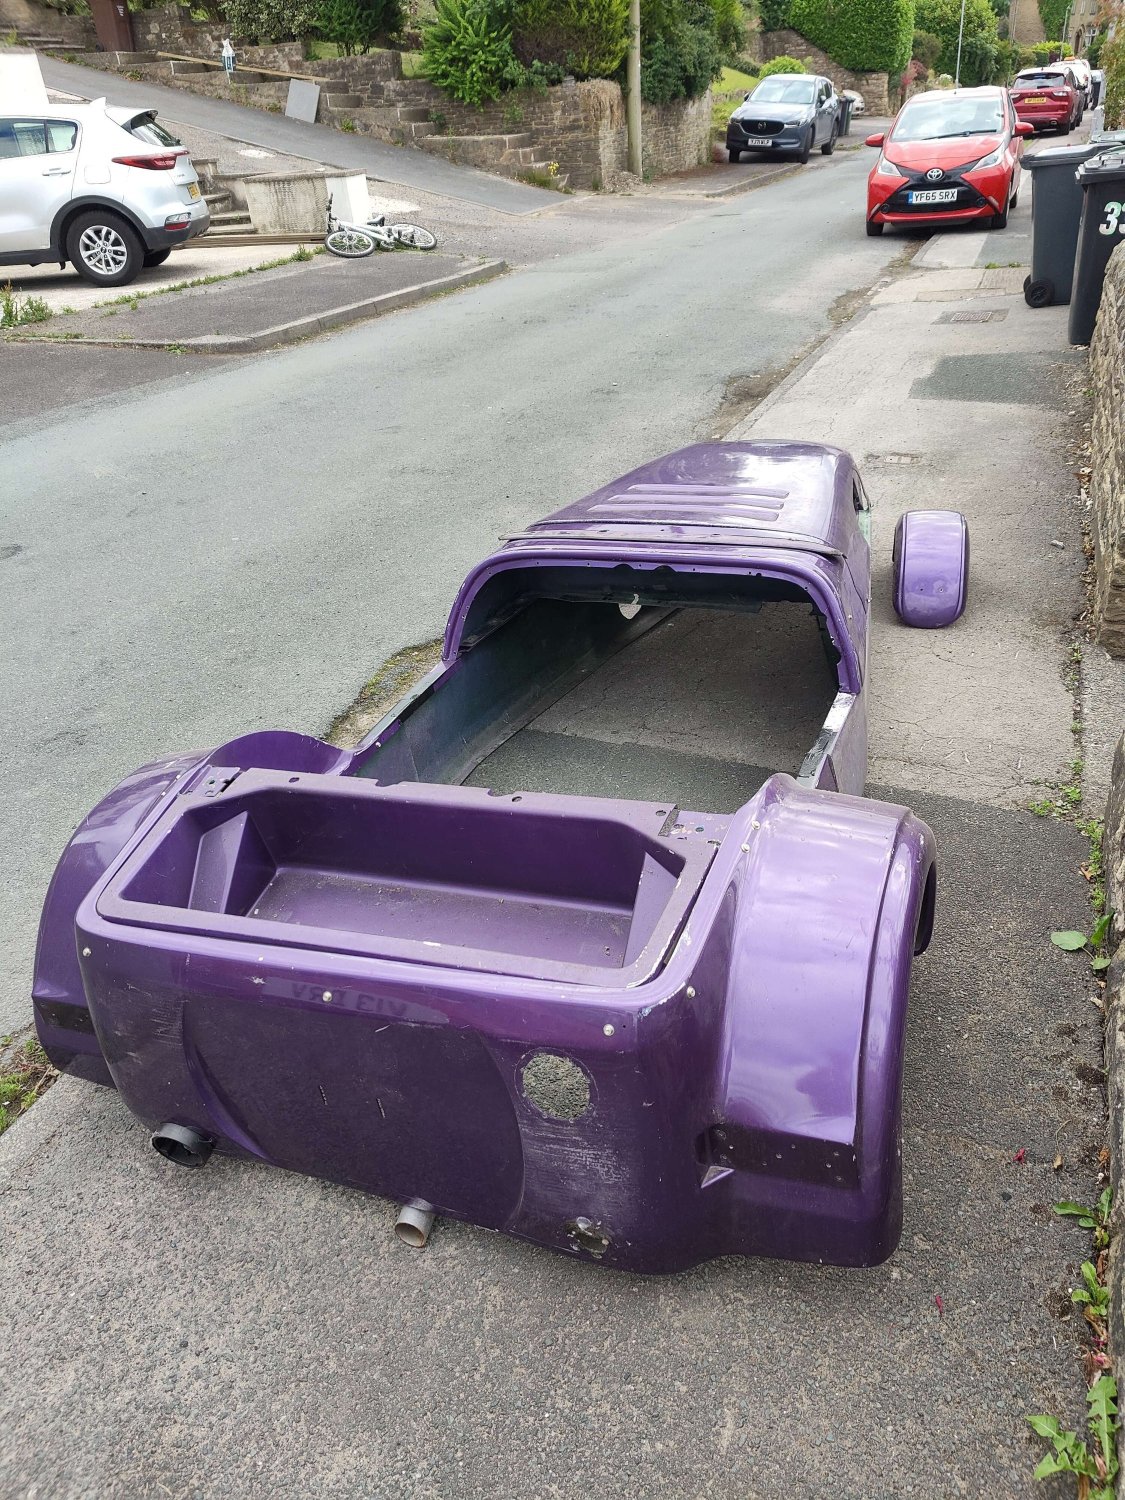
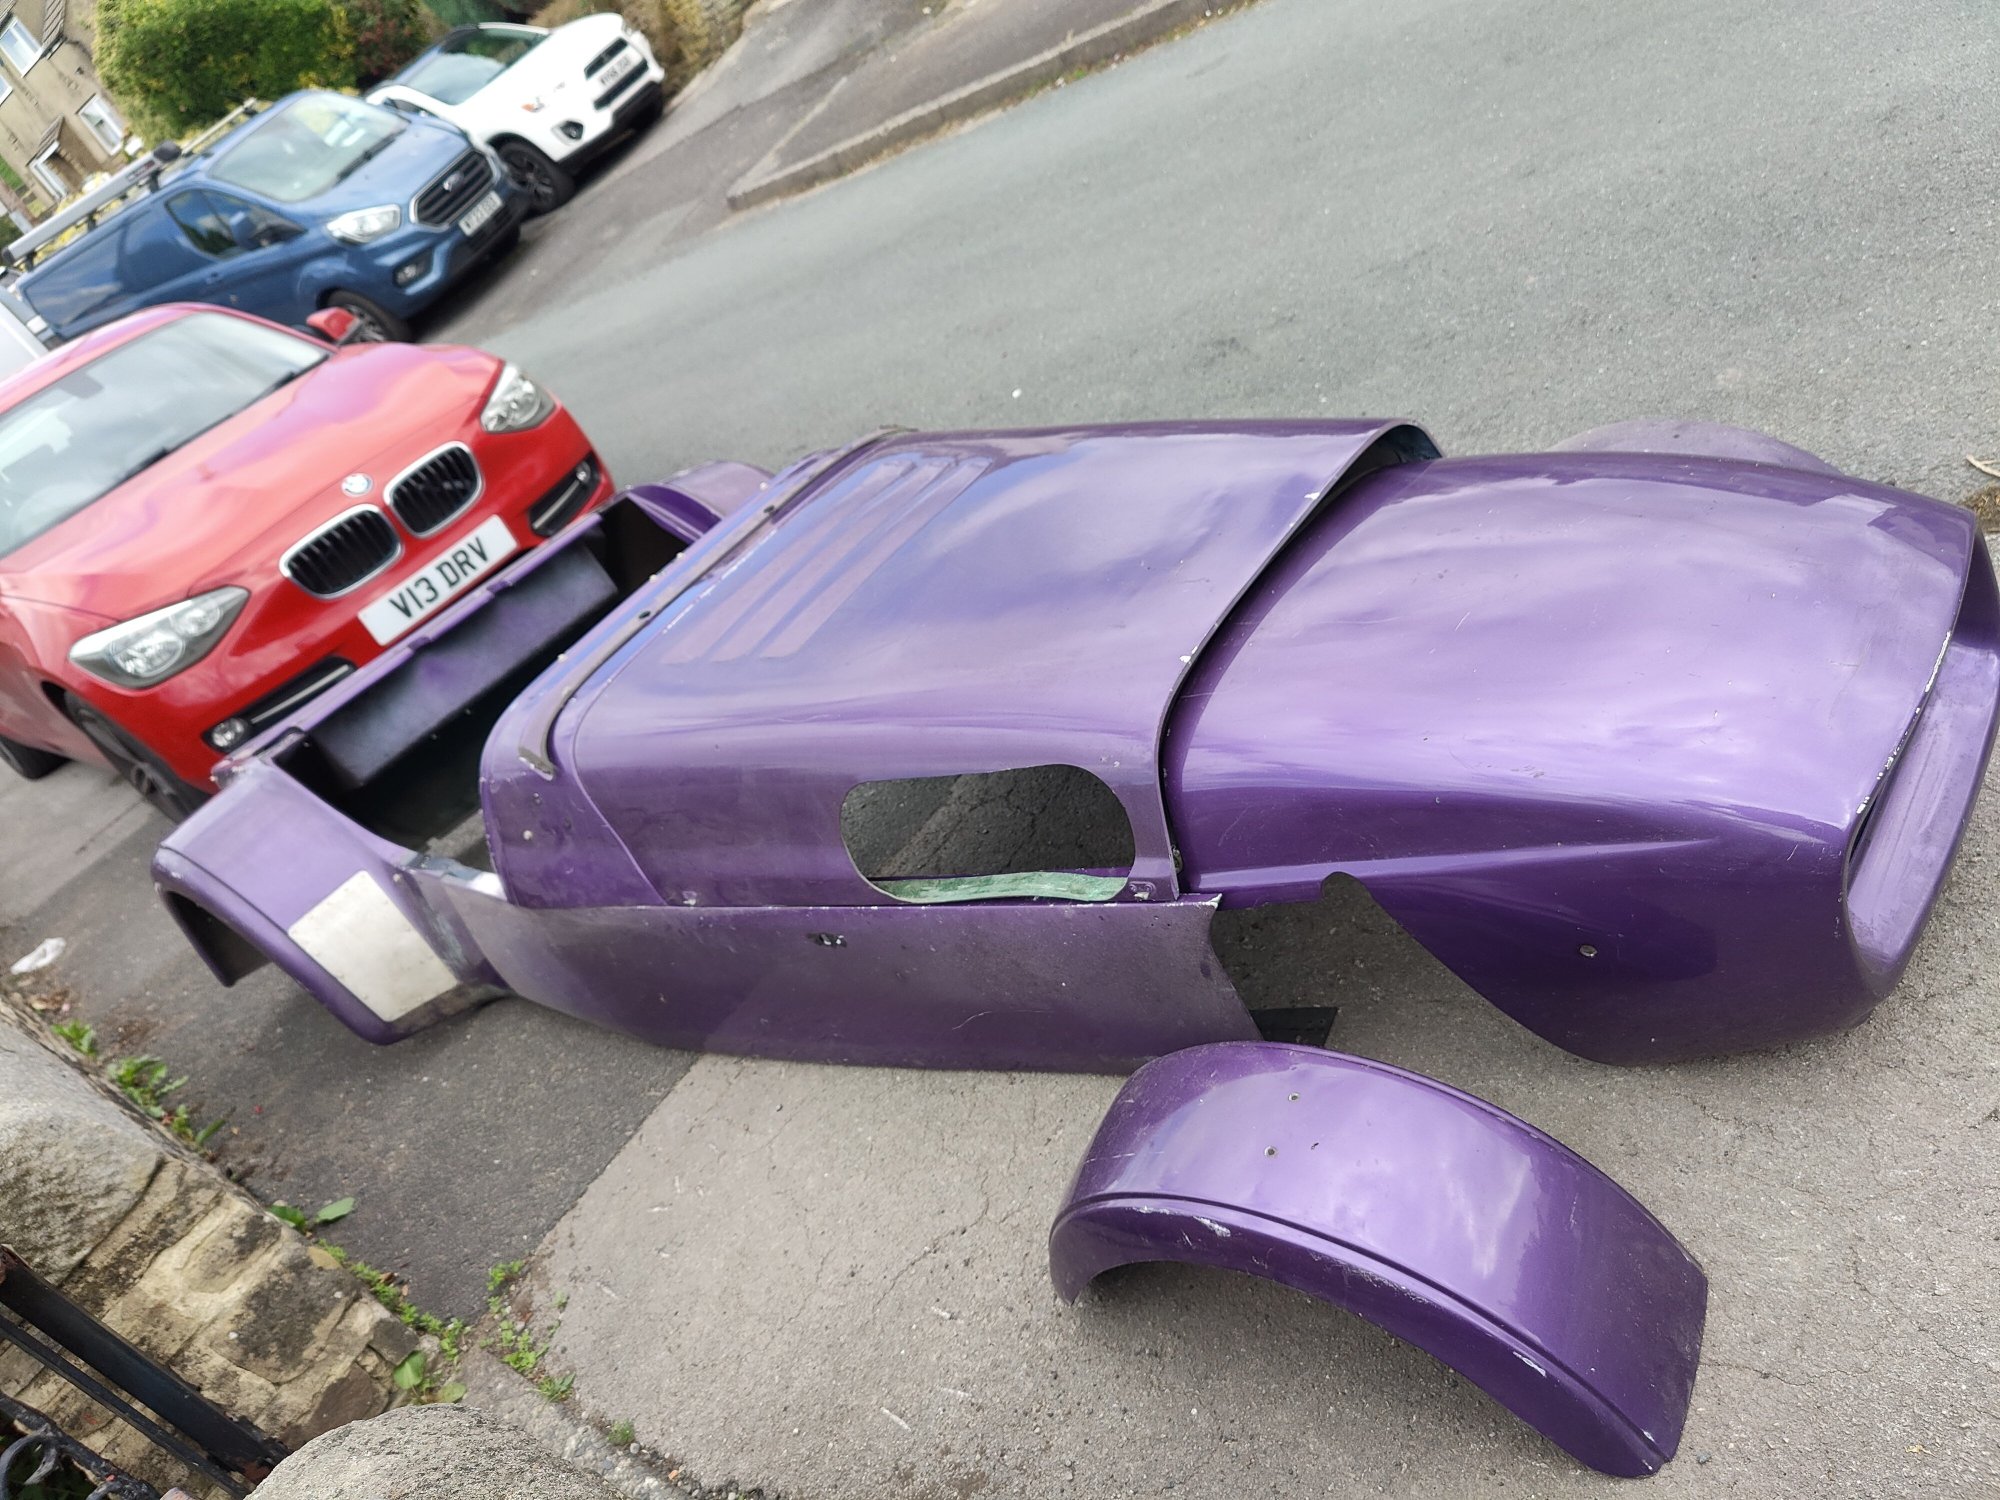
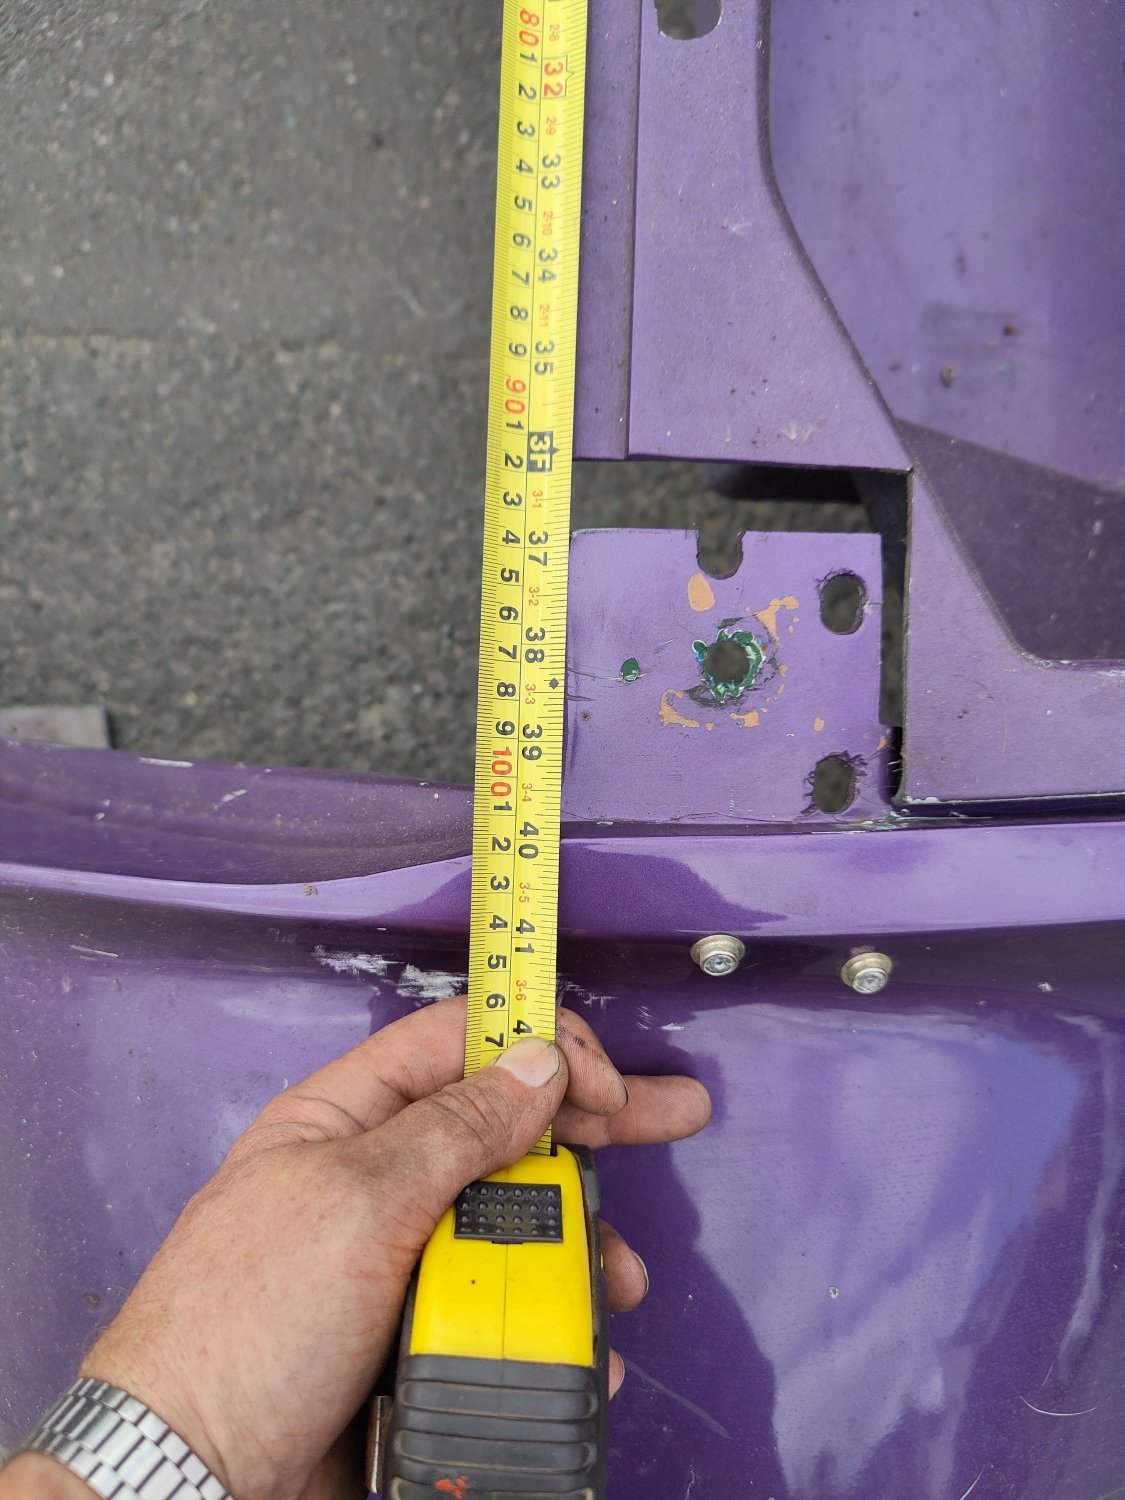
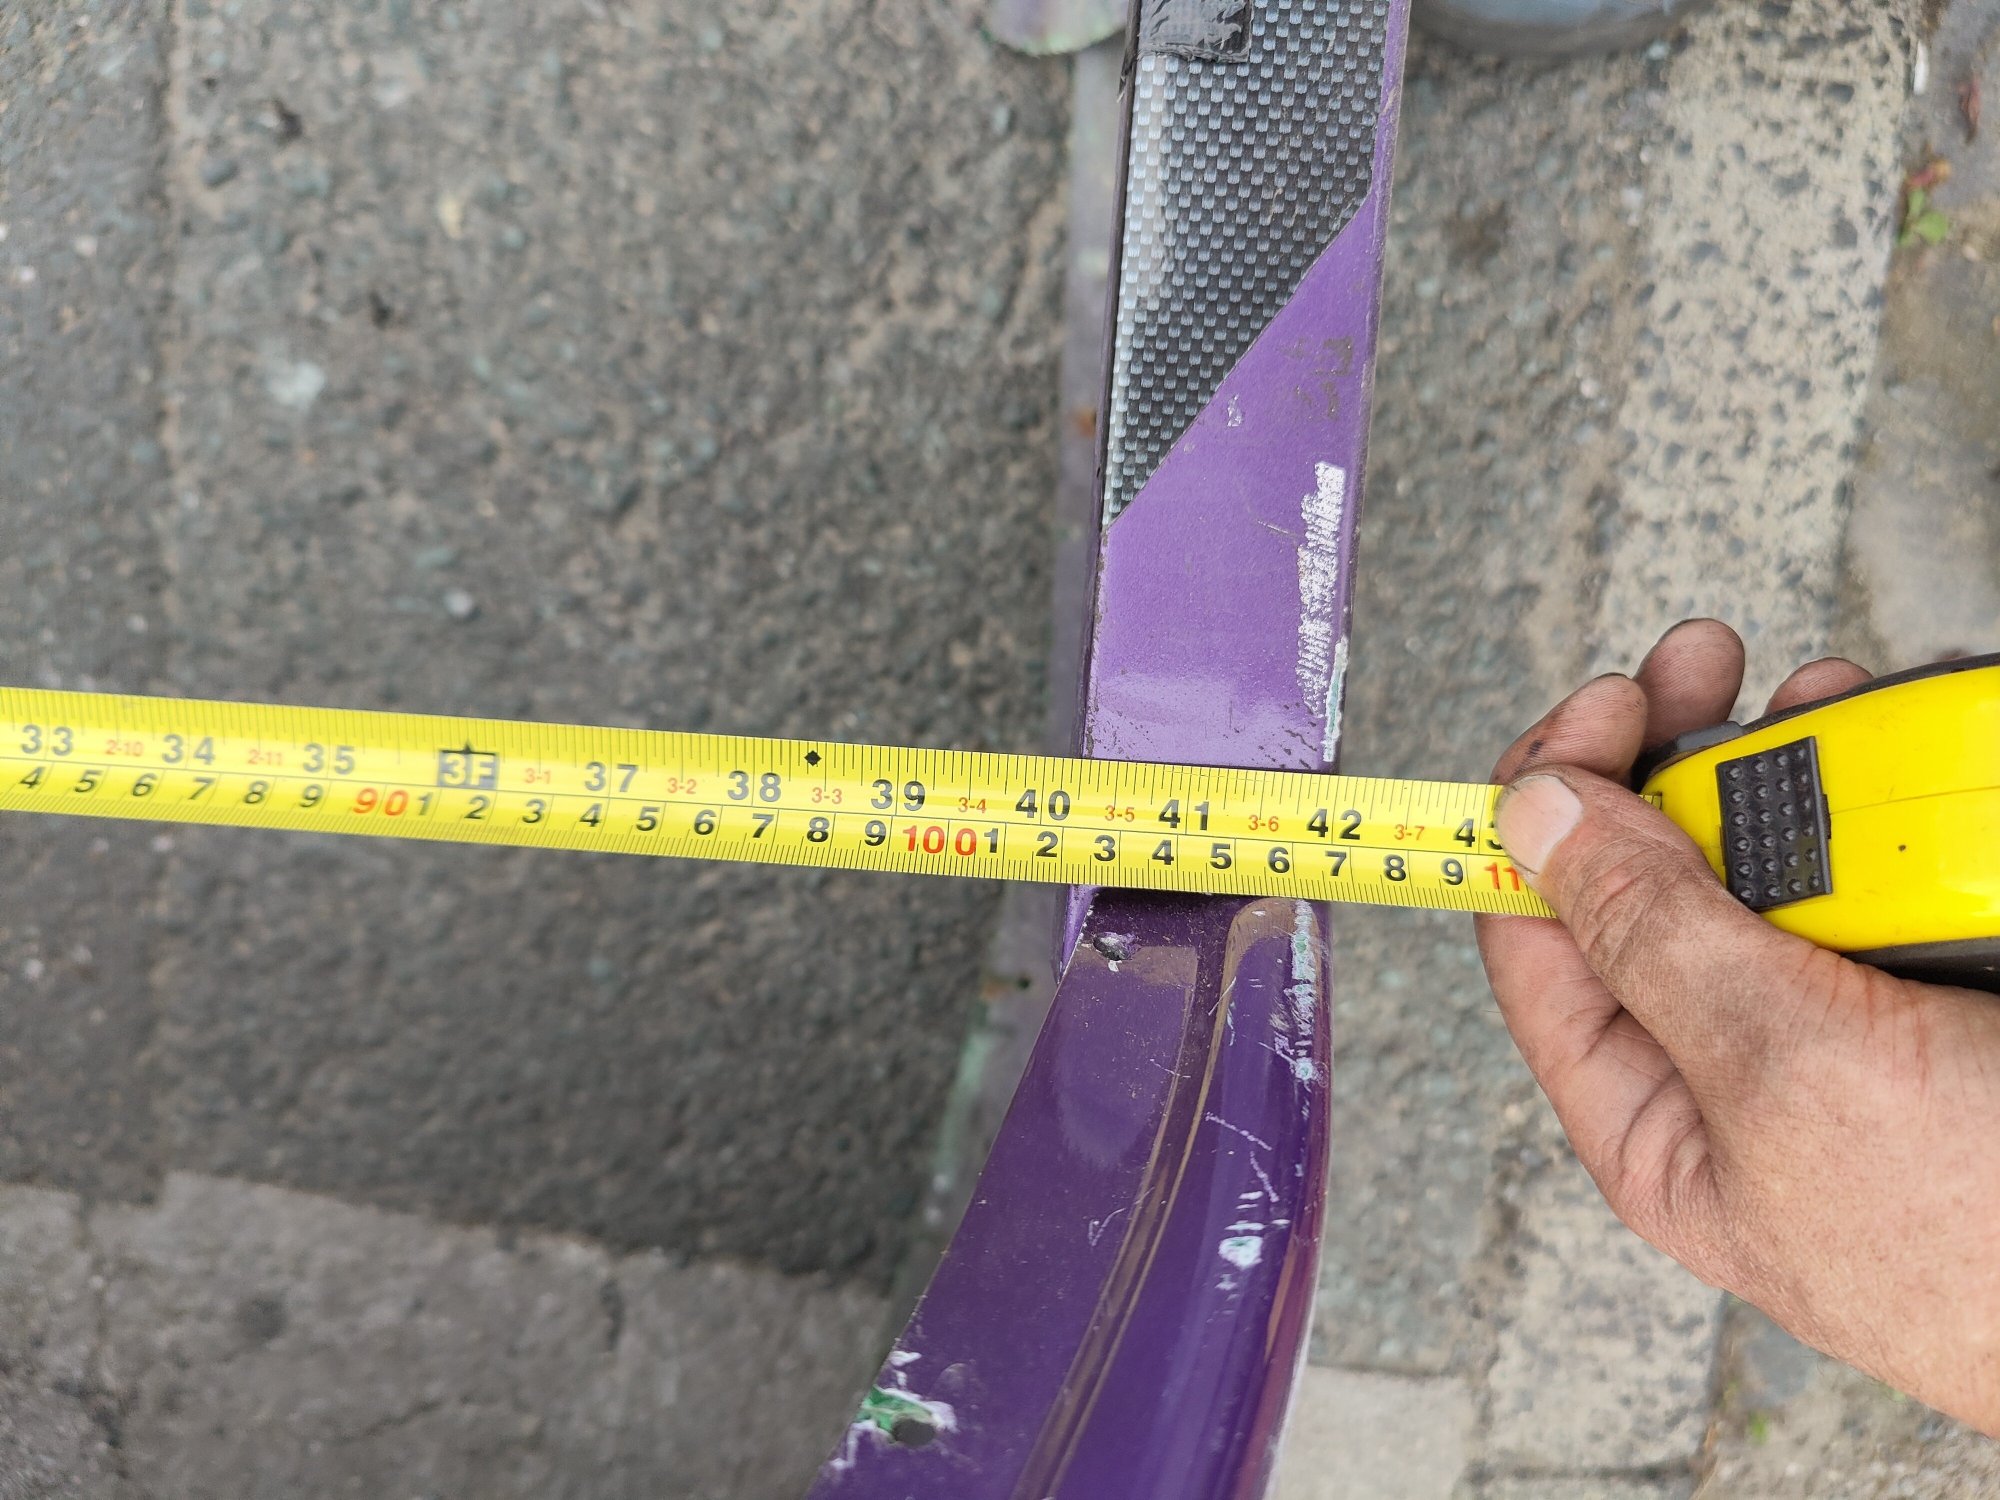
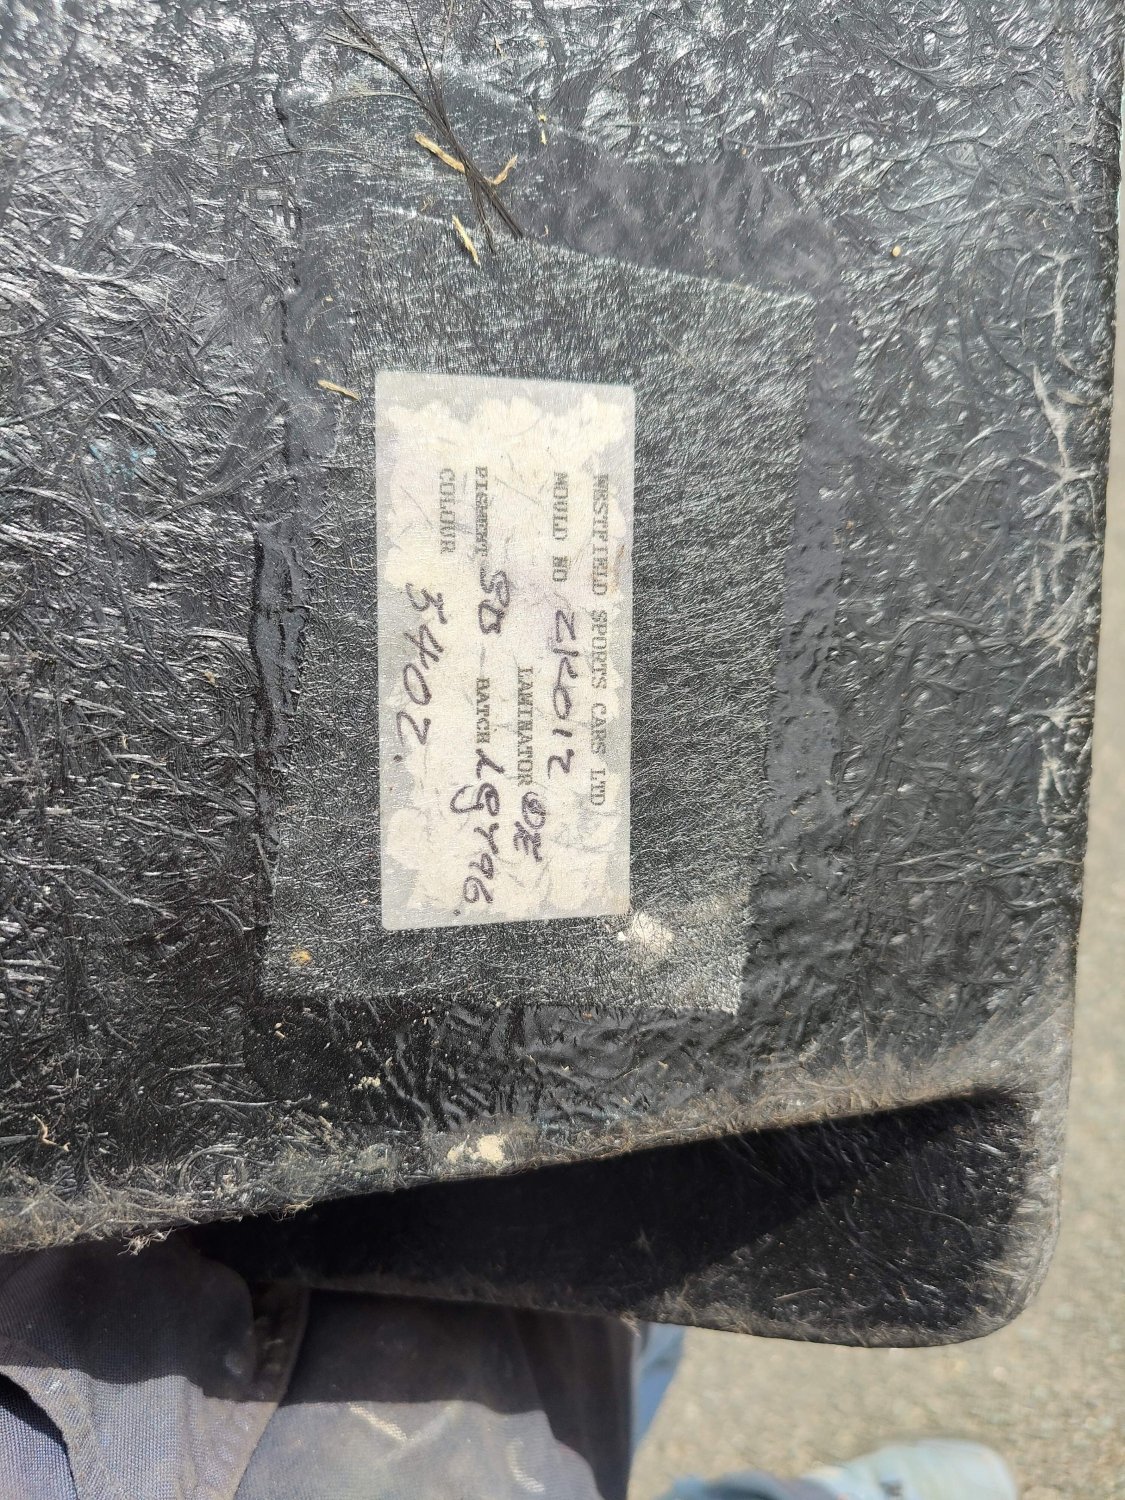
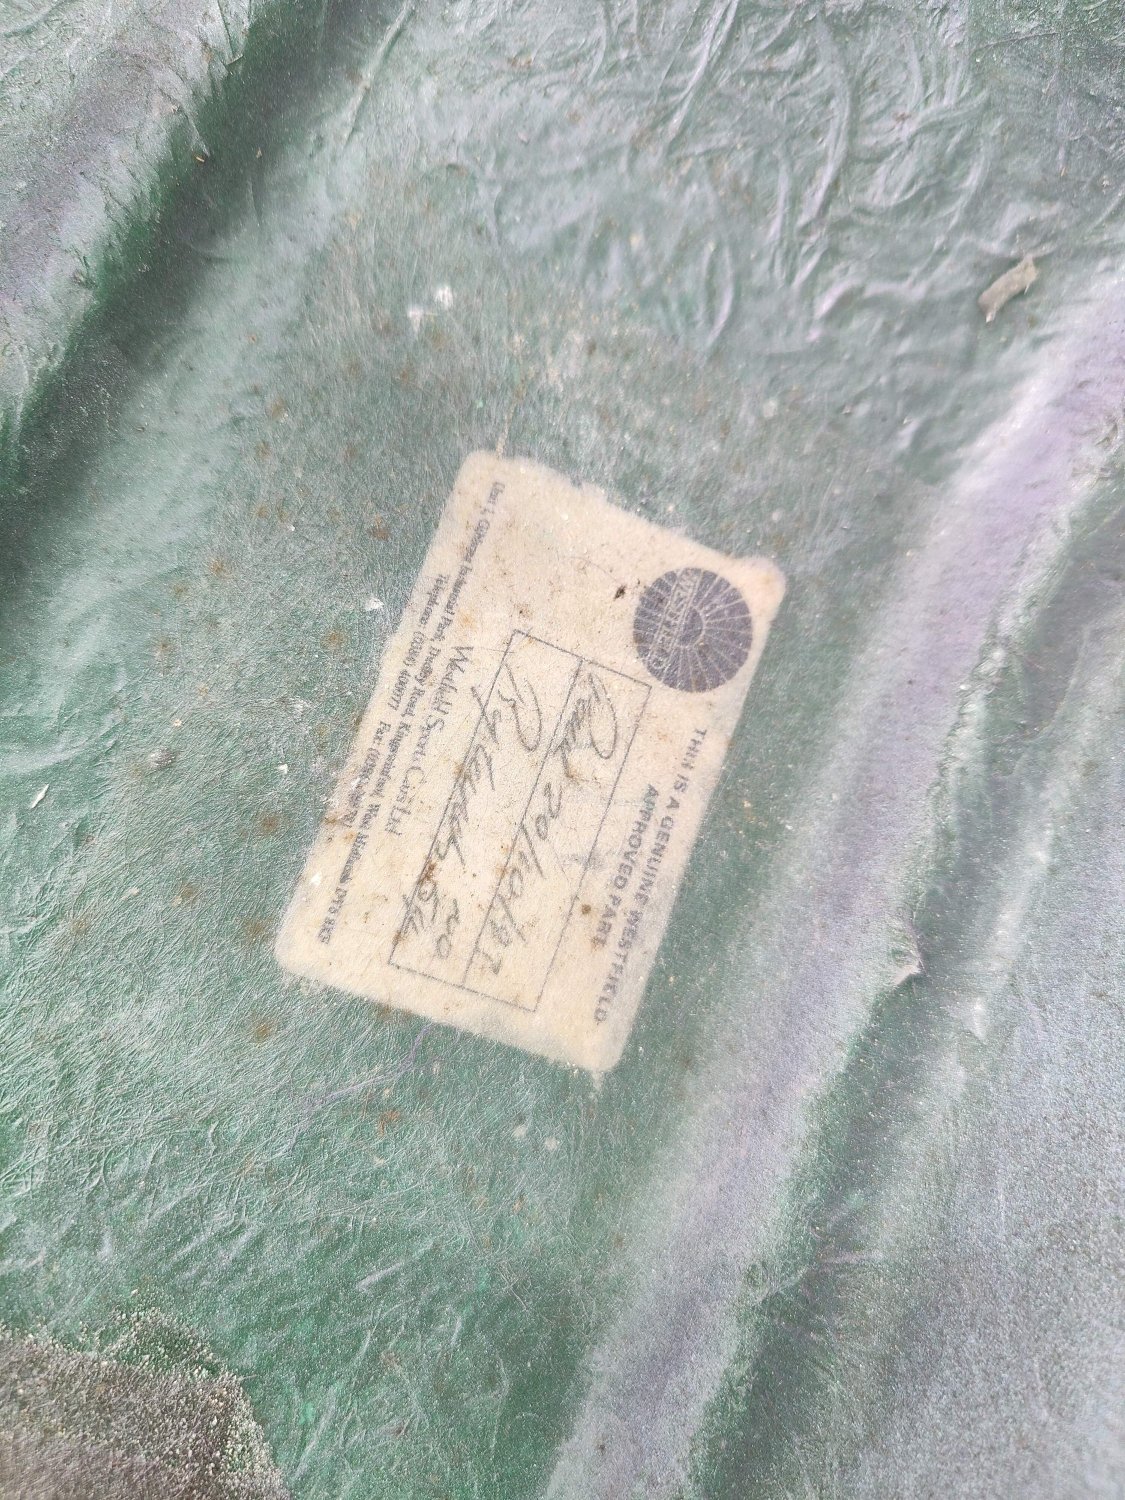
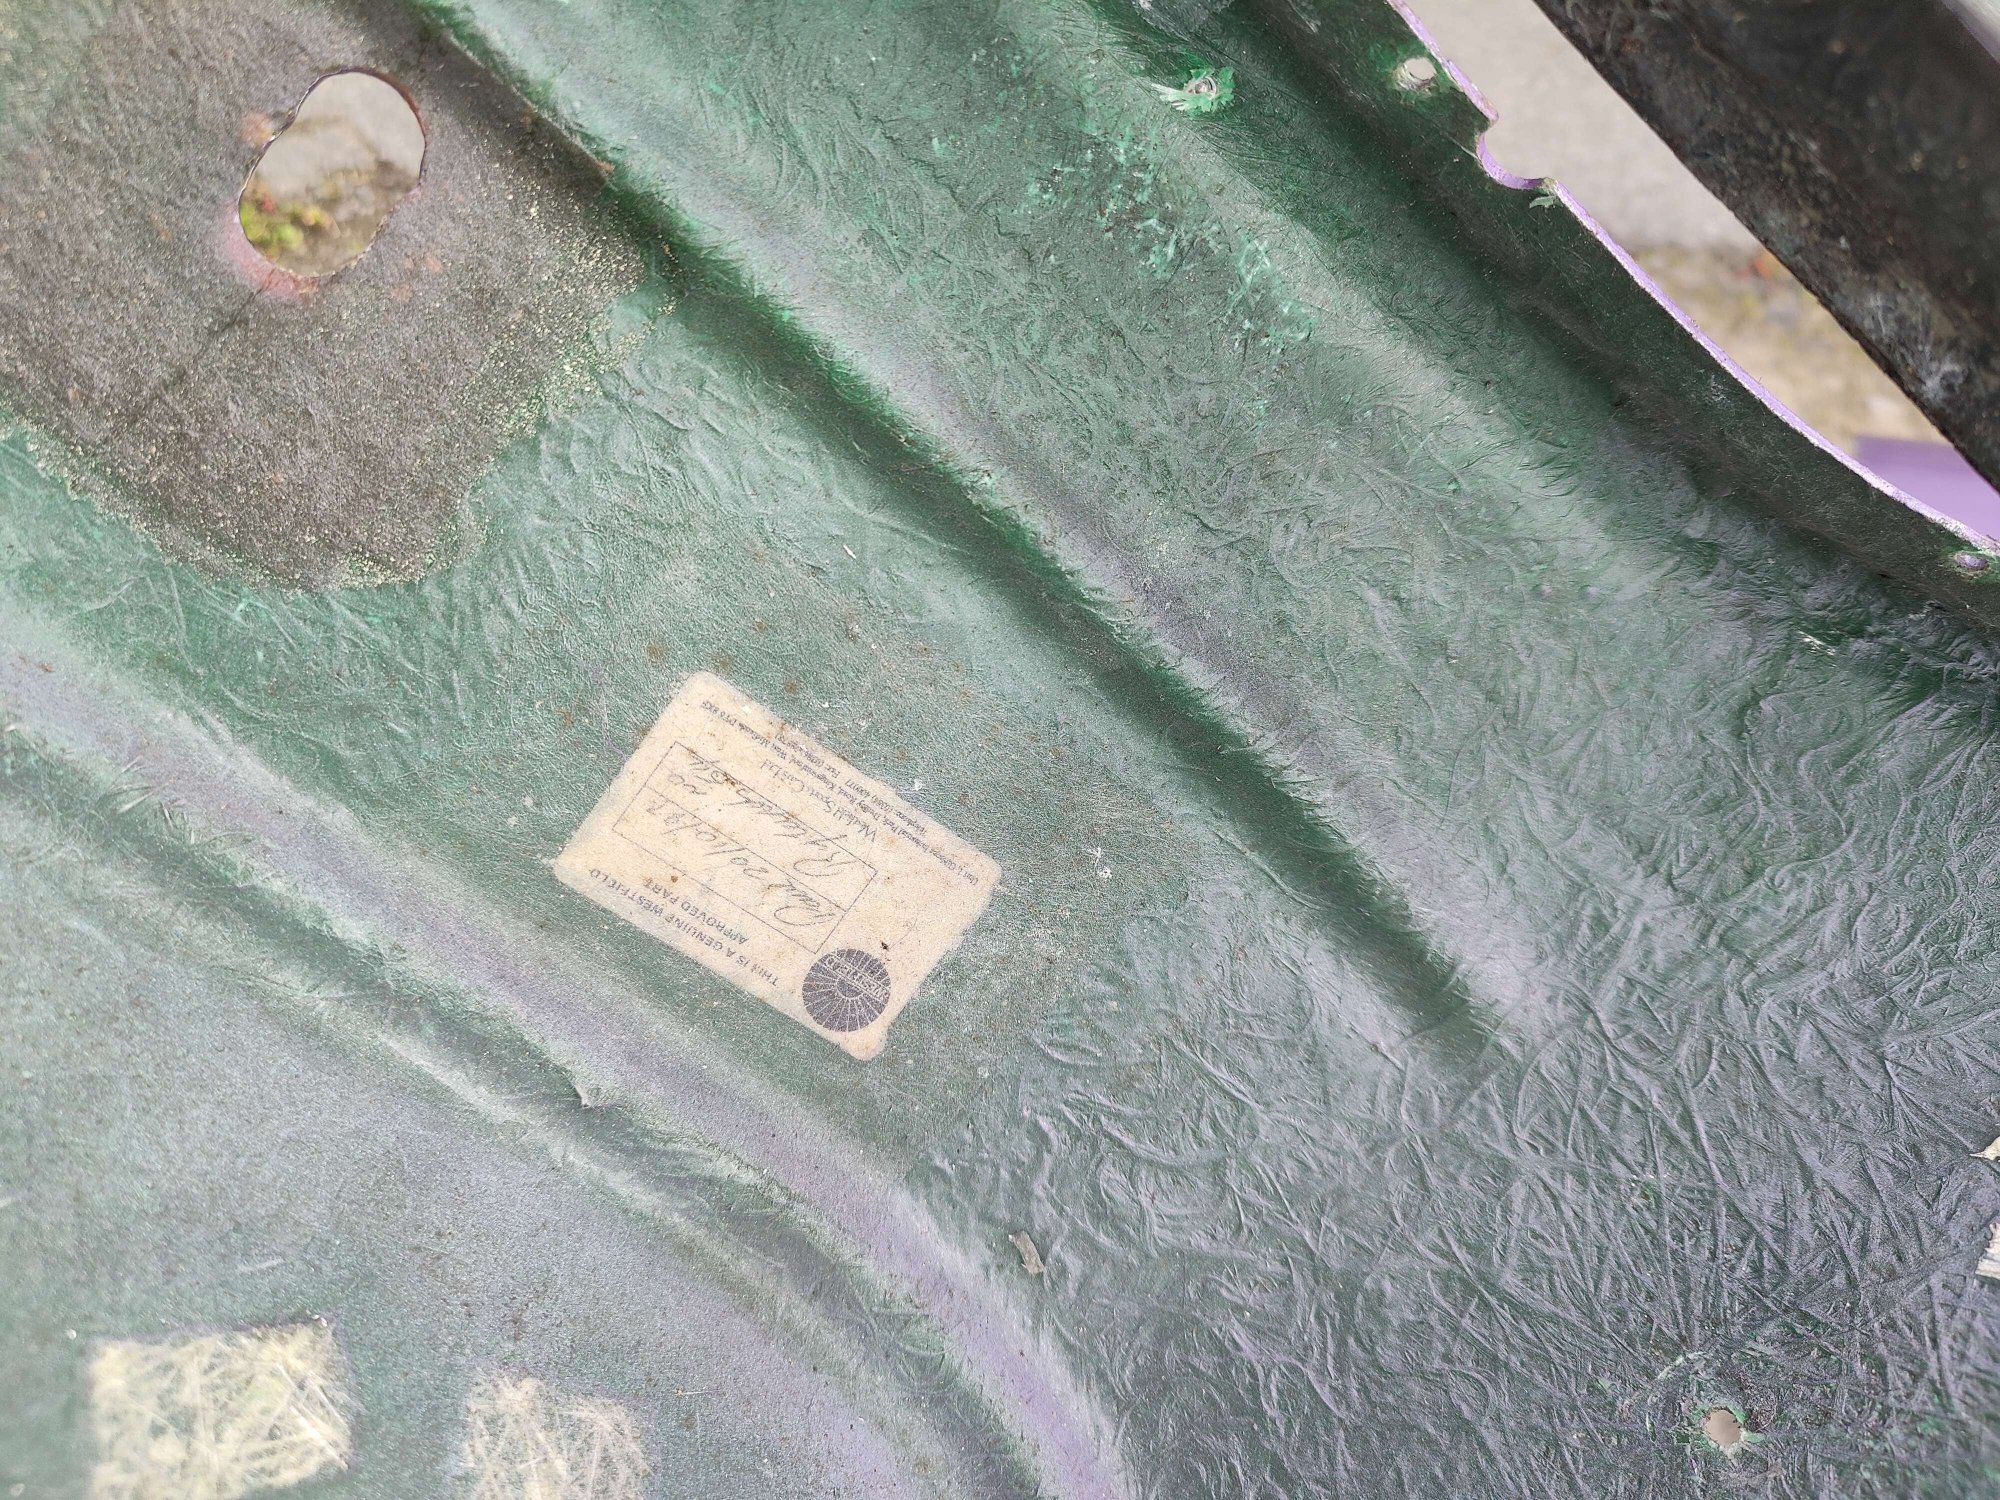
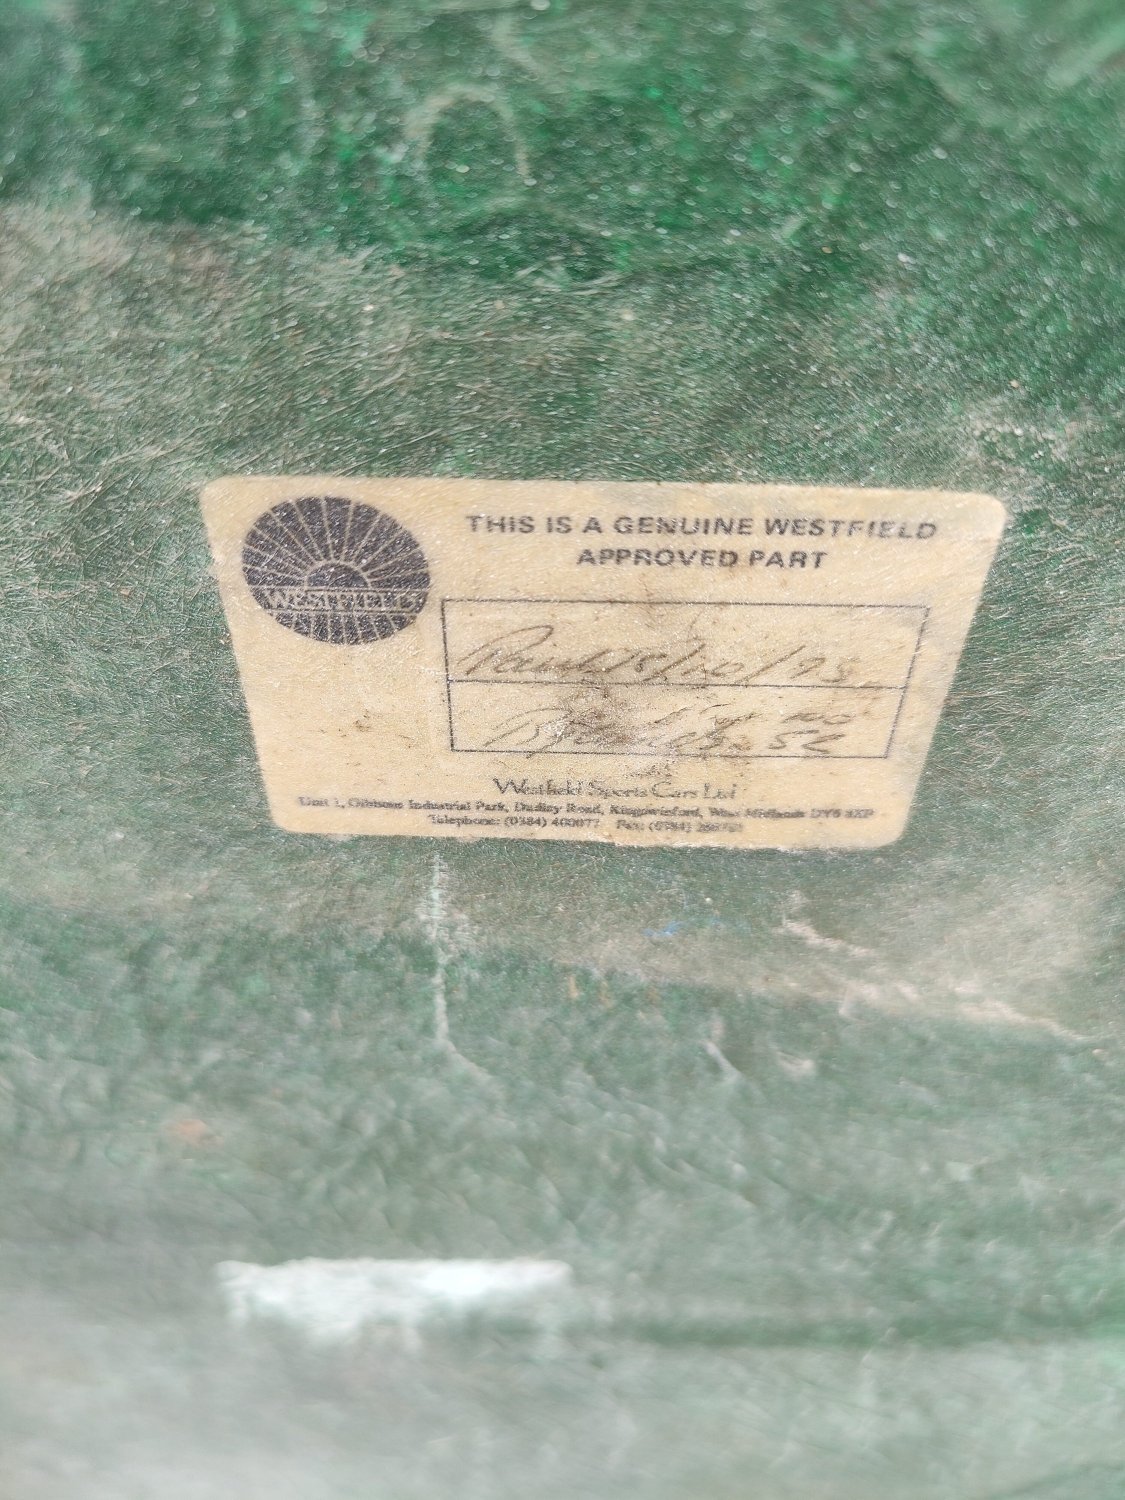
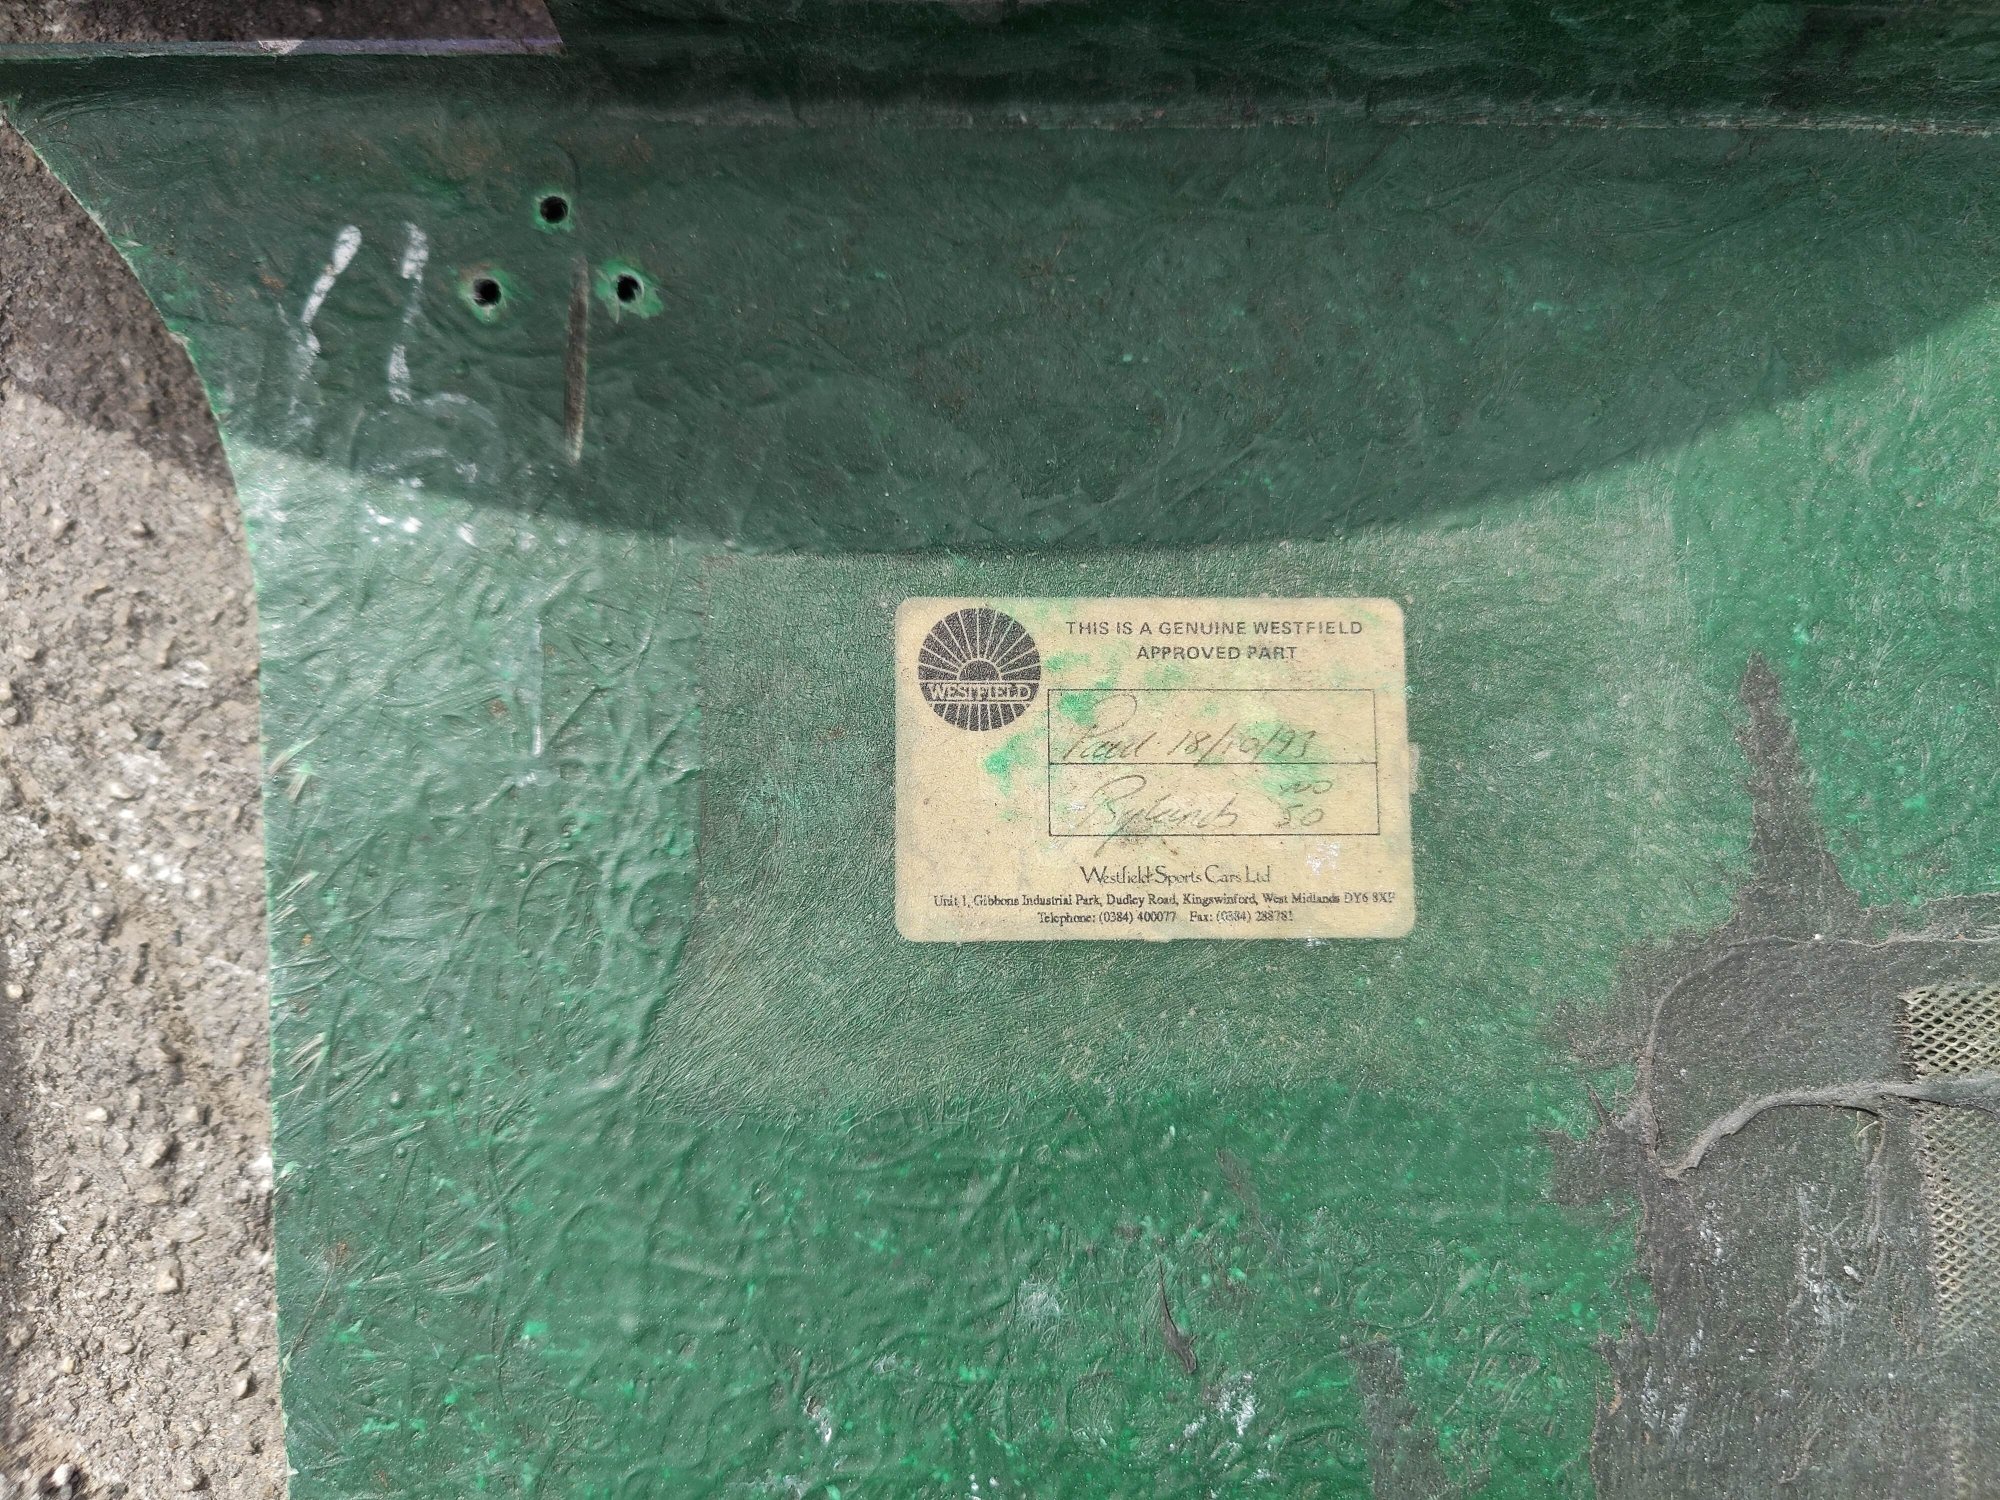
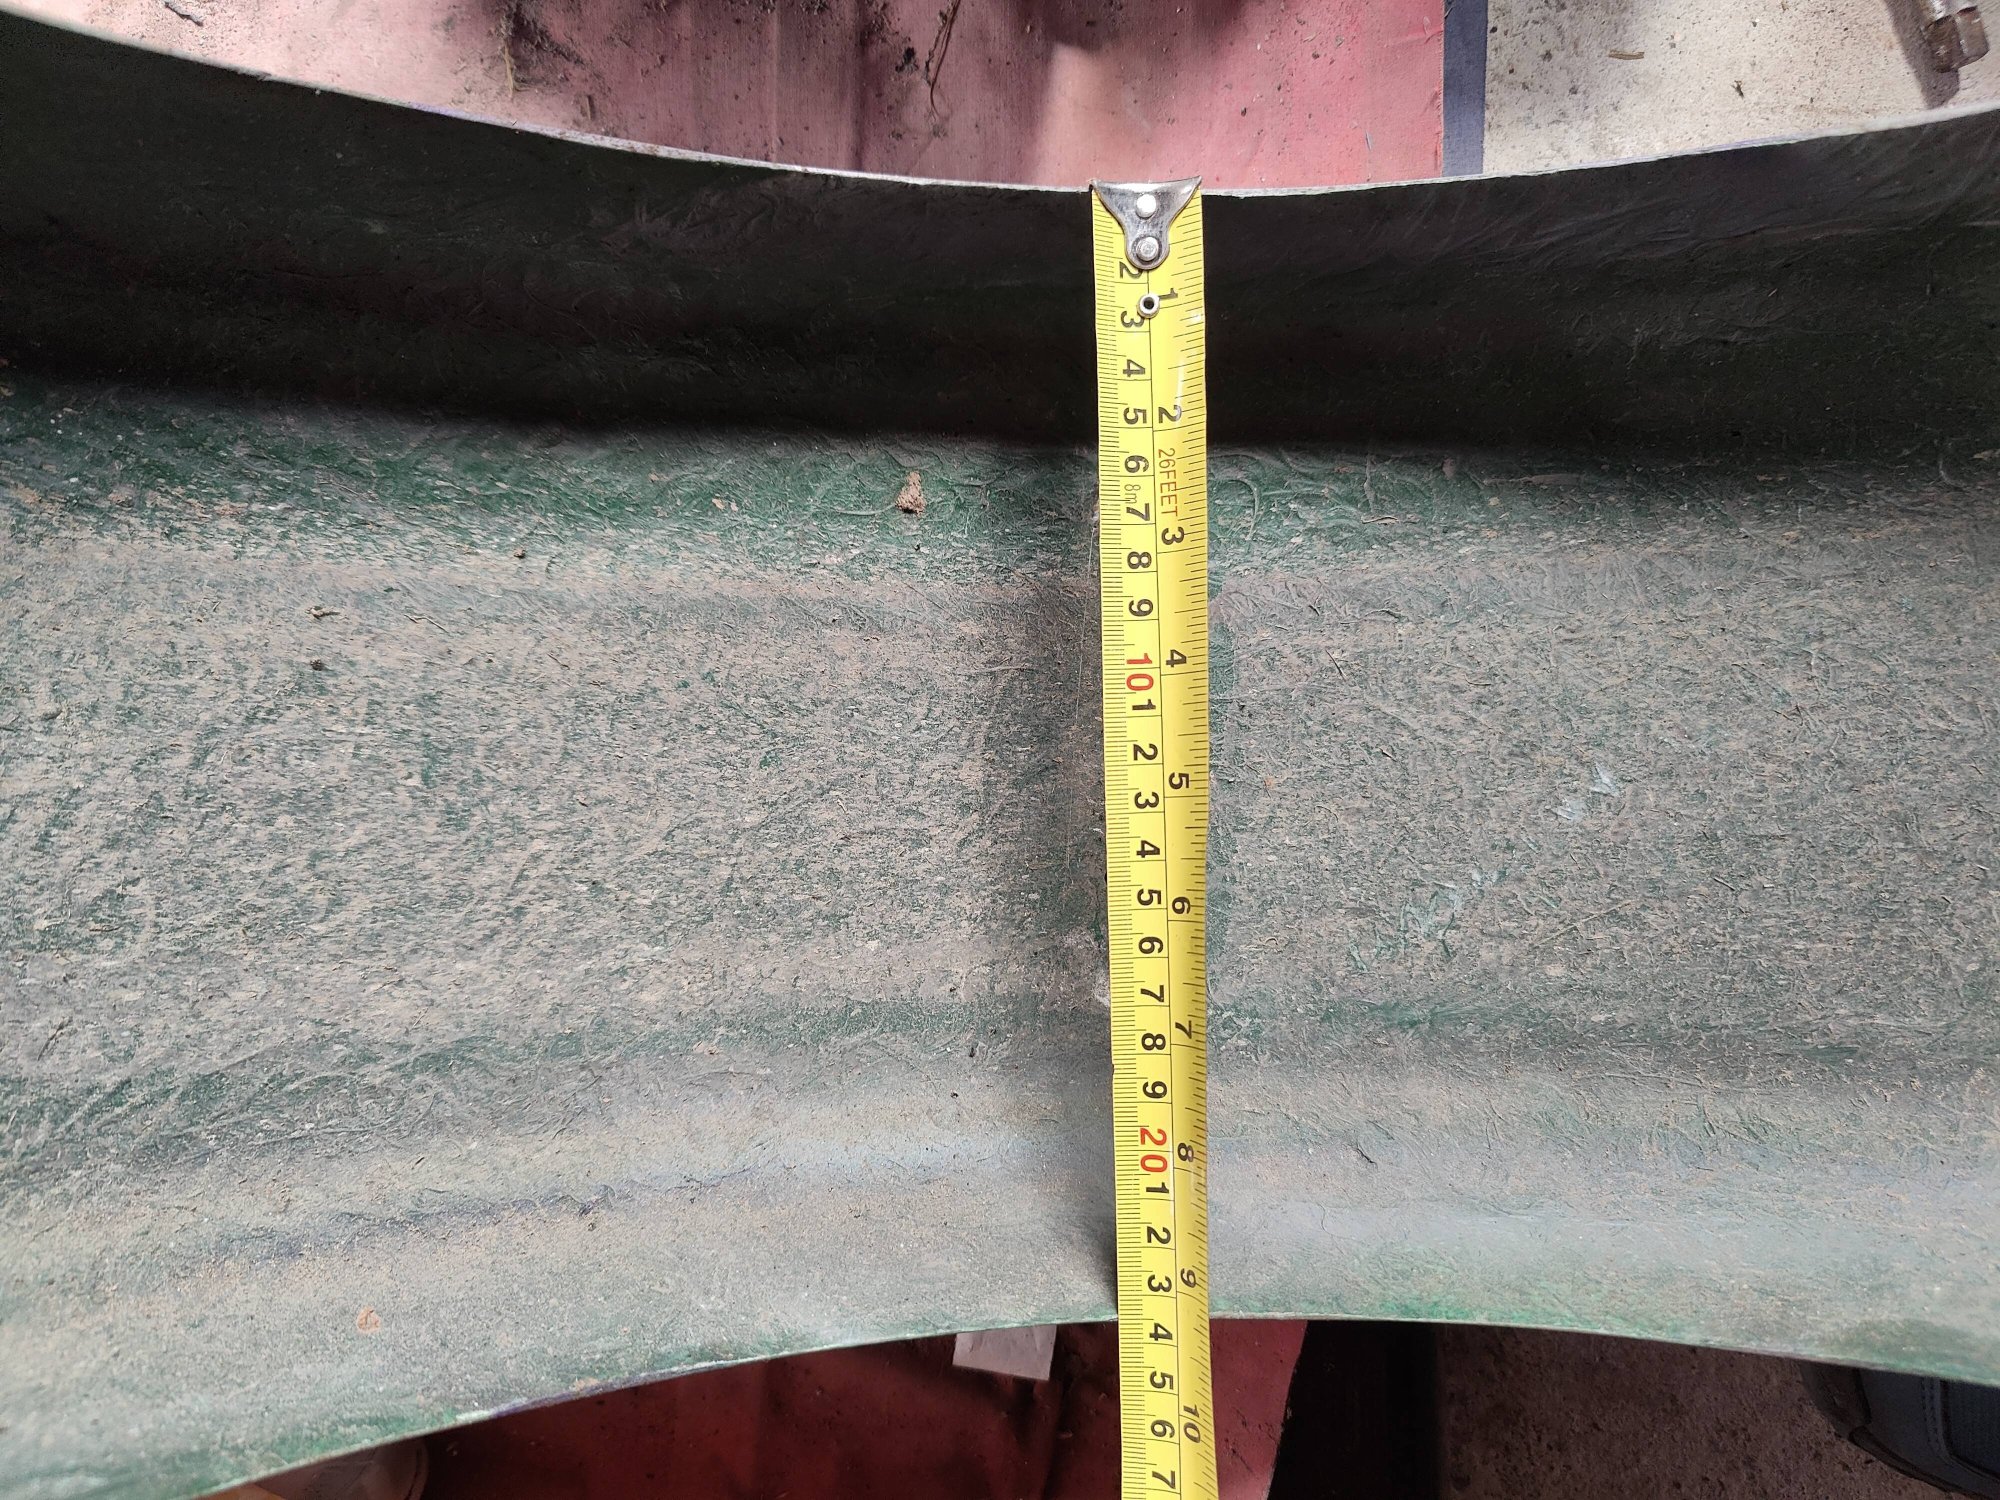
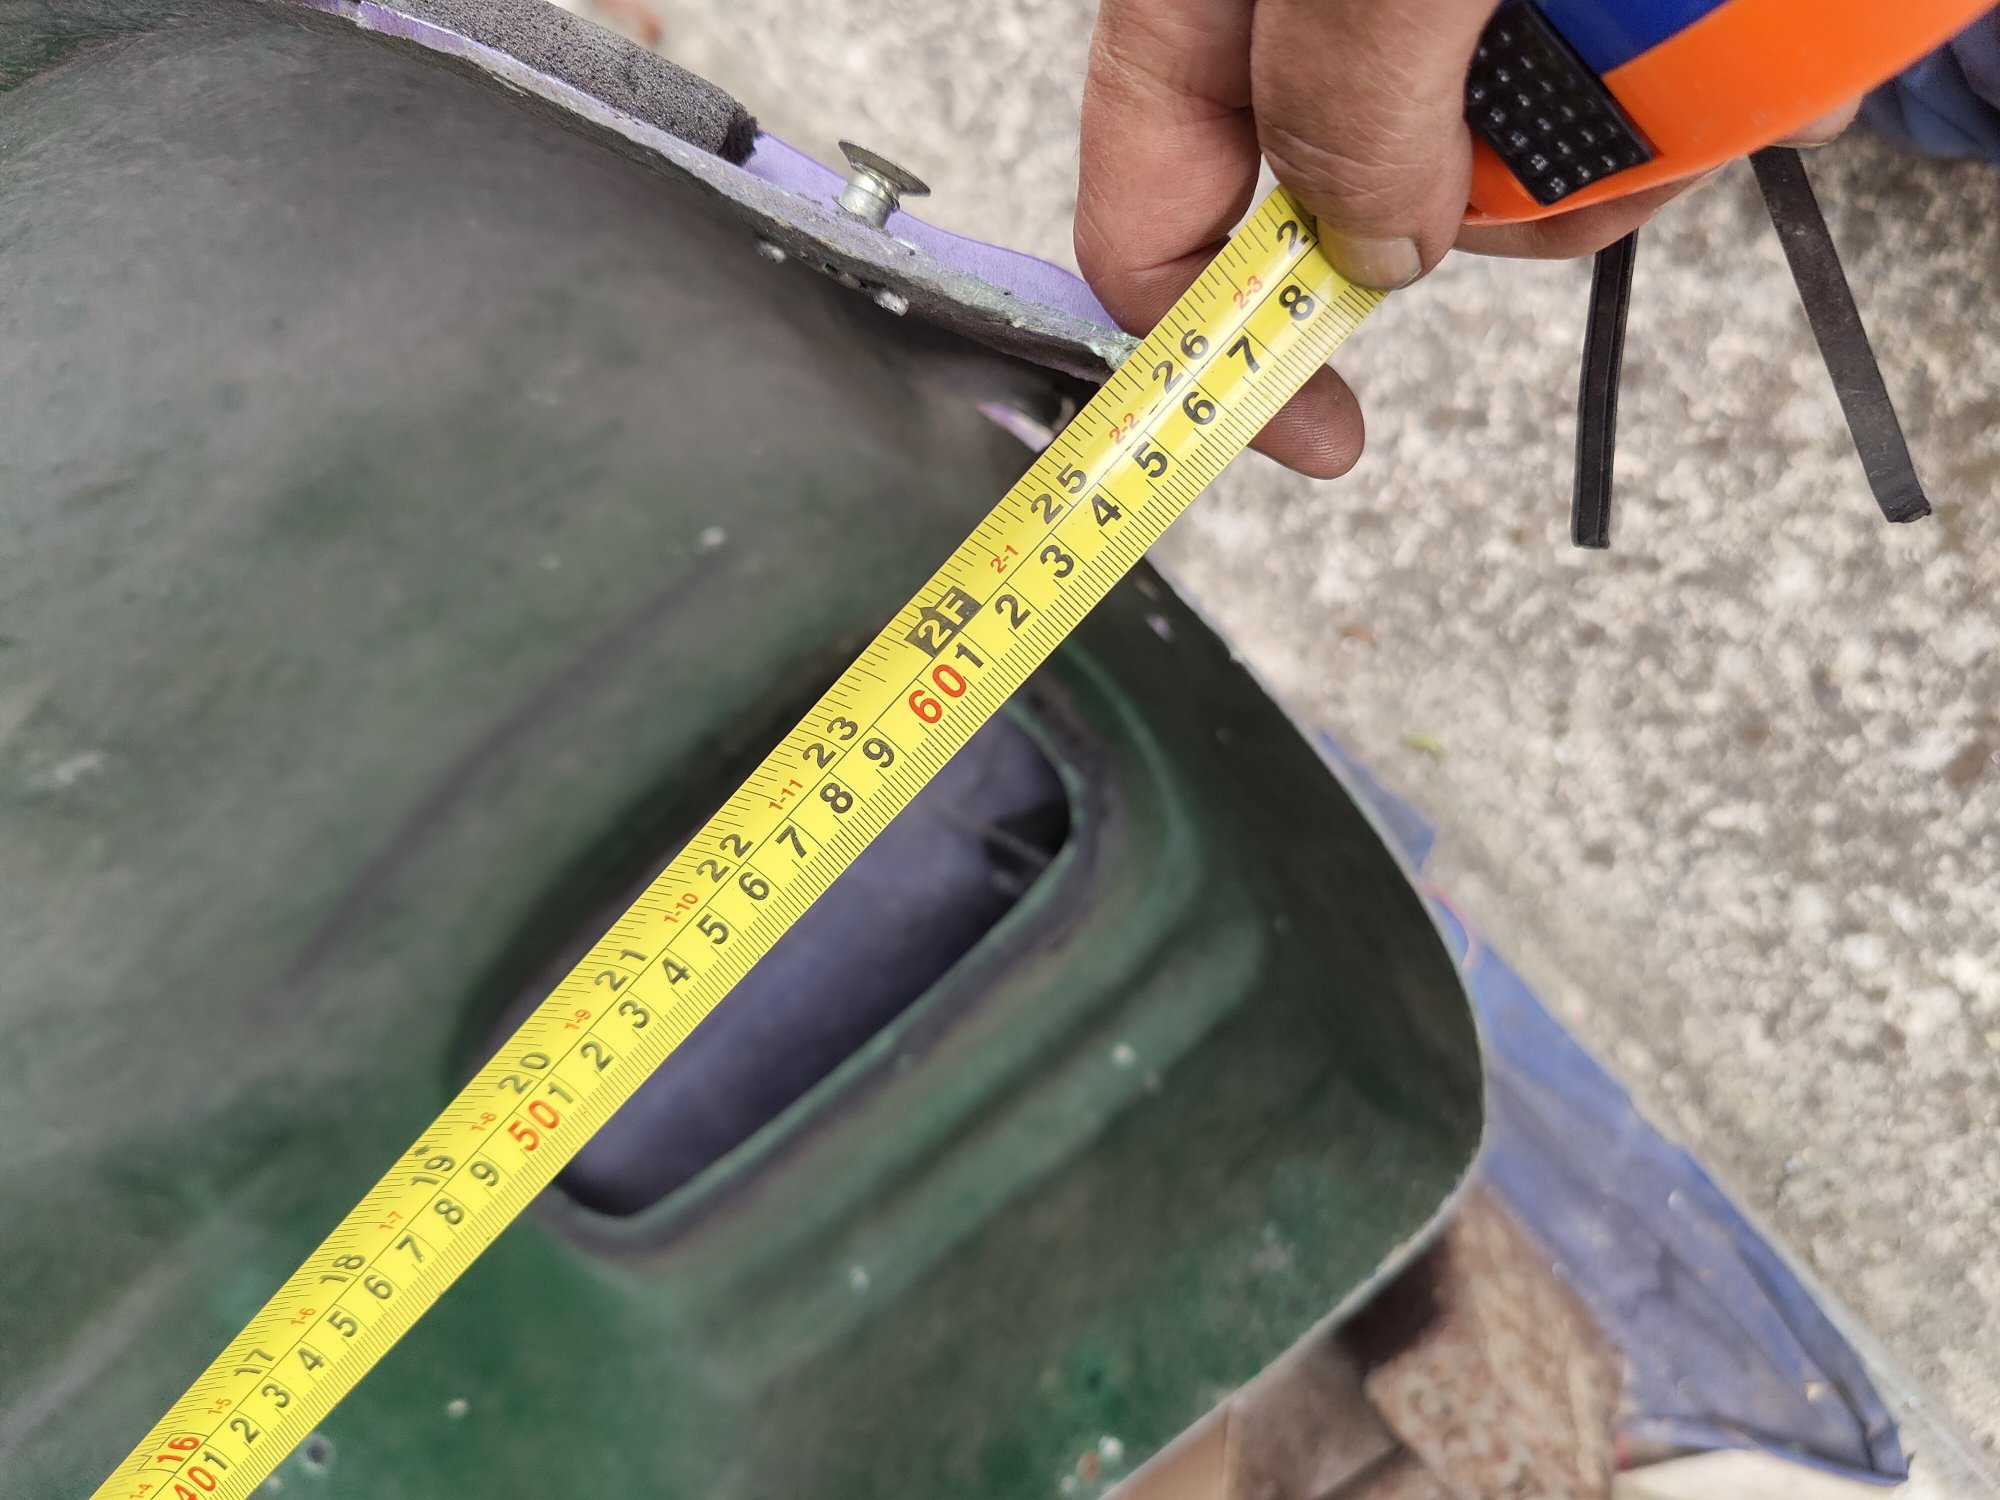
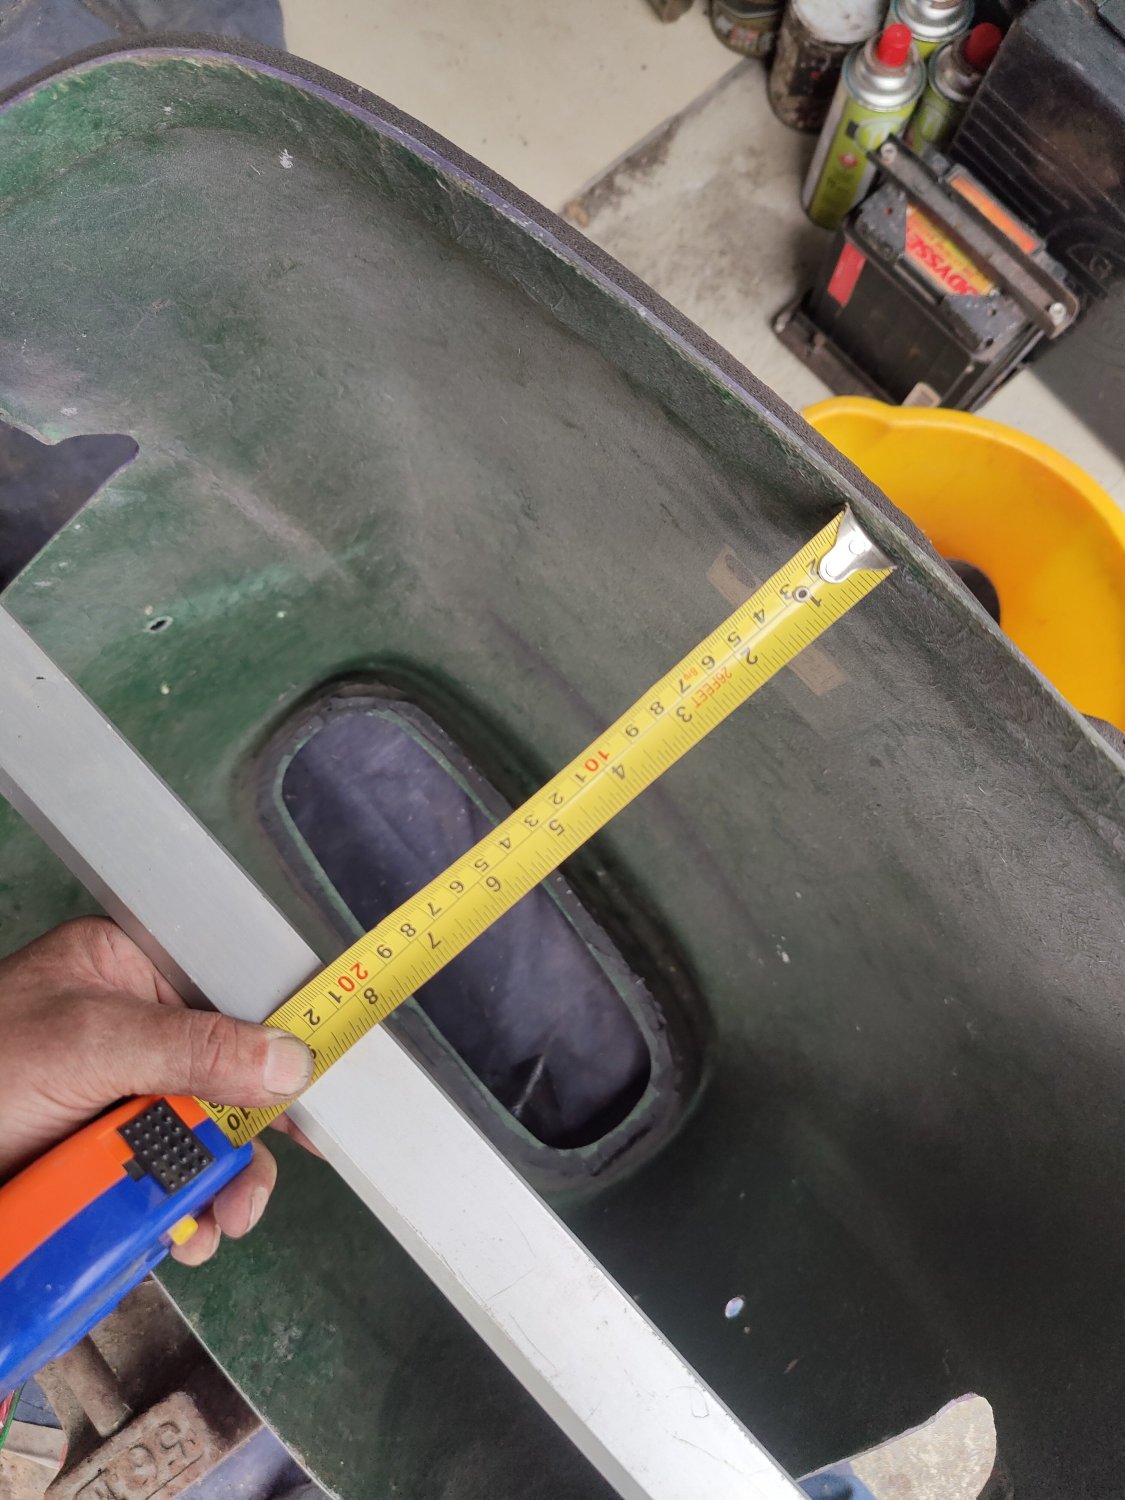
Sold to me as Narrow Lowline but it's not a Lowline in fact I don't think it's even a narrow. Reading on the forum / looking at pics I believe it maybe an early fixed arch wide body. Any experts offer some advice? It's had a life, looks like it's had an engine change at some point, it's been painted and the side panels have been cut by the previous owner. But, realistically, it's nothing a weekend with some fibreglass and sandpaper wouldn't sort. I could do with moving this along as I've lost some of my storage. Currently in BD22 would prefer collection but may be able to help move for the right money. Obviously new owner will need to satisfy themselves that it is what they need. Happy to provide measurements, more pics just let me know what you need.
- Today
-
What the postie brought today!
p k replied to Stuart Davis AO - Devon Cornwall & Somerset's topic in The Start Line
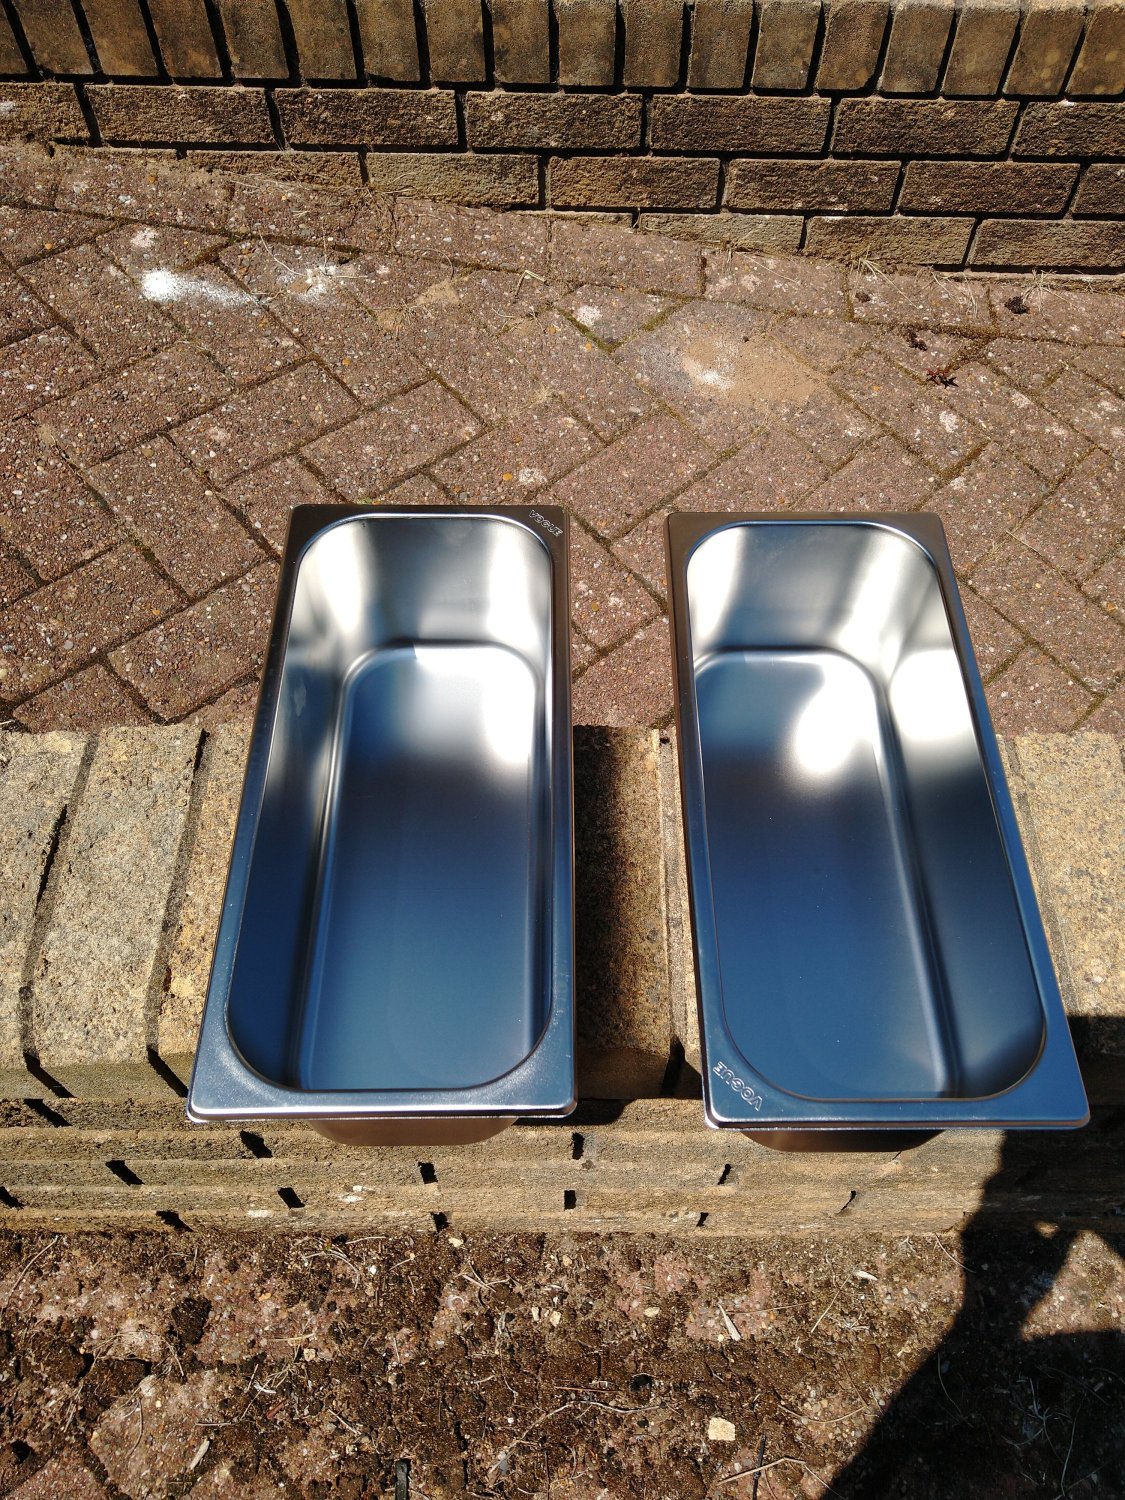
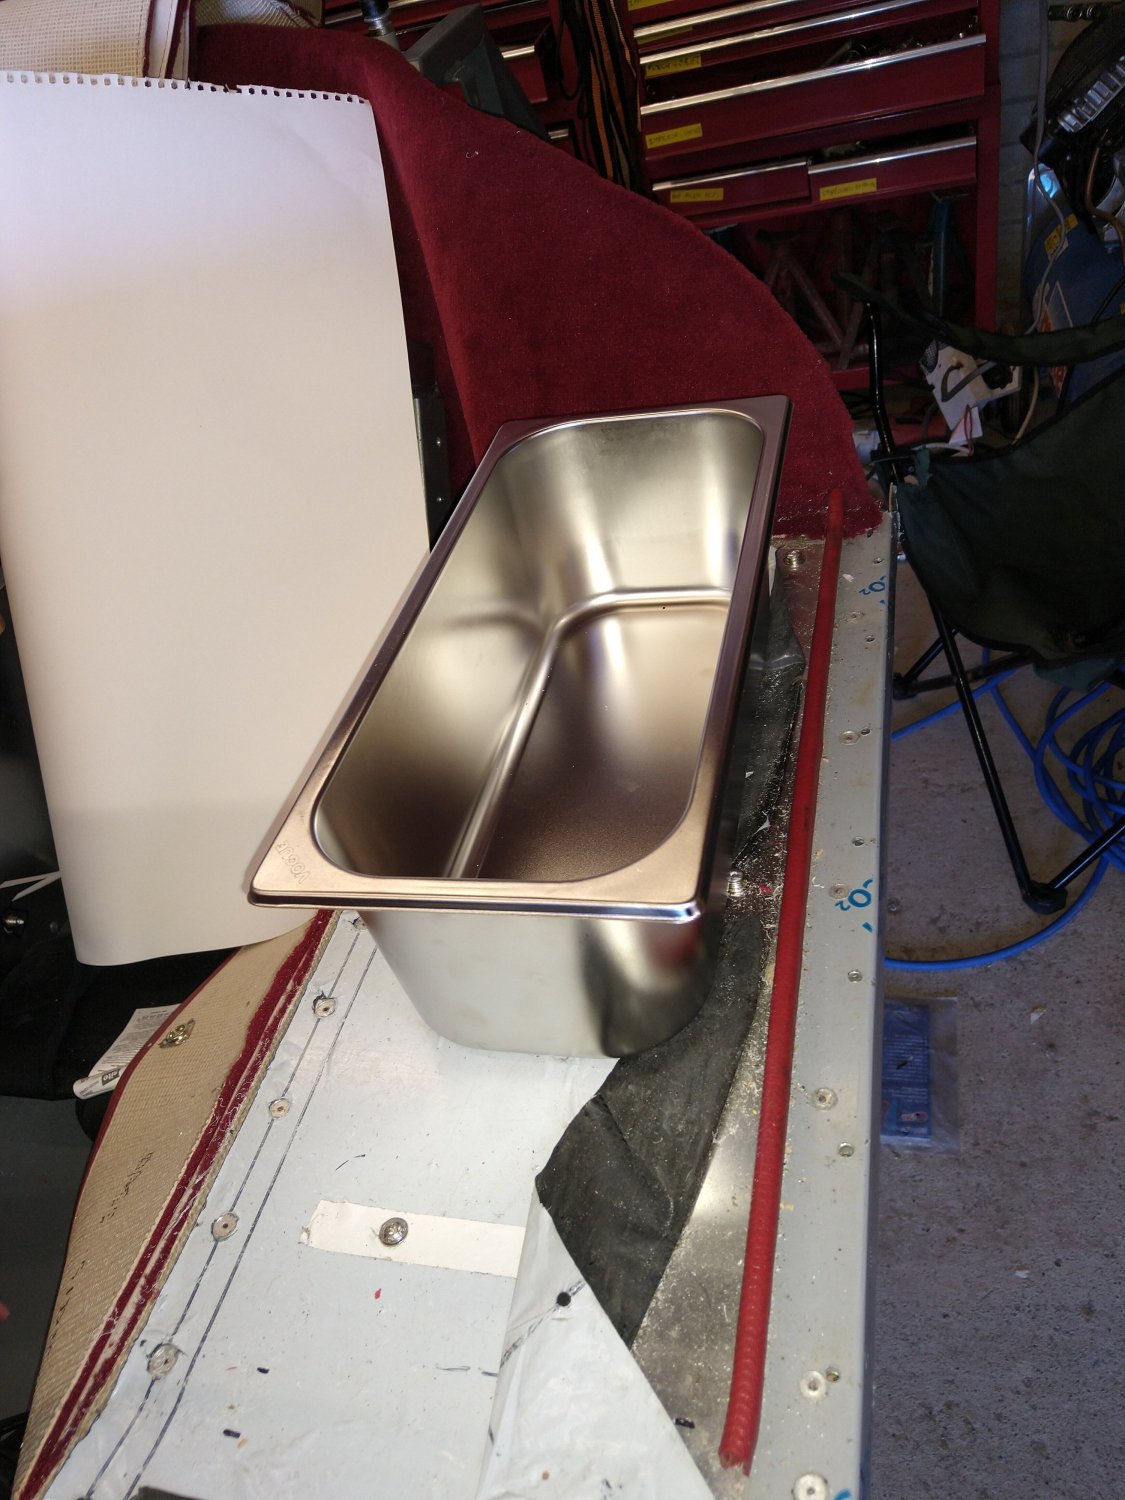
I was familiar with the gastronorm range but they were all the wrong sizes to fit in the Xi sills , this size is sold specifically for scoop ice cream . I wanted a metal one to restore the stiffness in the sill as it involves cutting a large hole in the sill . -
Mole started following What the postie brought today!
-

What the postie brought today!
Mole replied to Stuart Davis AO - Devon Cornwall & Somerset's topic in The Start Line
They are called gastronorm containers. If you Google you will see that they are based upon a set size.. the biggest is a 2x1, then the most common is a 1x1 which is half the size. They are then available in halves, thirds, quarters and months etc as a fraction of the 1x1.. Different depths too.. also in polycarbonate.. -

What the postie brought today!
p k replied to Stuart Davis AO - Devon Cornwall & Somerset's topic in The Start Line
Took a bit of finding in the right size after spotting them in an ice cream parlour, I was not that confident of making my own , aluminium never folds where I want it too. I probably wont fit them until post IVA and door refit just to make sure the covers open without problems . -
.thumb.jpg.9b16fe9048384bc18b7624ec36bb89c1.jpg)
What the postie brought today!
Morris replied to Stuart Davis AO - Devon Cornwall & Somerset's topic in The Start Line
They look just right. I made mine from aluminium but I haven't finished off the covers yet. -

What the postie brought today!
p k replied to Stuart Davis AO - Devon Cornwall & Somerset's topic in The Start Line
Close, they are stainless steel food containers used to serve food from in canteens , this size are actually sold for ice cream. They are an excellent fit into the cills/sponsons on the Xi as the only storage -

What the postie brought today!
Flying Carrot Steve replied to Stuart Davis AO - Devon Cornwall & Somerset's topic in The Start Line
What are they please? Looks like the kind of thing you'd find cutlery in at a supermarket or motorway services cafe! 😂 -

What the postie brought today!
p k replied to Stuart Davis AO - Devon Cornwall & Somerset's topic in The Start Line
-
-
- 1
-

-

Silverstone Festival 22nd to 24th August 2025
Marcus Barlow - Show and Events Co-ordinator replied to Marcus Barlow - Show and Events Co-ordinator's topic in Local Area Meets, Events & Kit Car Shows
No parade lap this year unfortunately for WSCC, hopefully next year being the 40th anniversary of the club 👍 -

Recent snap of your Westfield
Ian Kinder (Bagpuss) - Joint Peak District AO replied to SXRORY's topic in The Start Line
-
Ditto - been considering one of these for a while!
-
Silverstone Festival 22nd to 24th August 2025
Mat Jackson 1975 replied to Marcus Barlow - Show and Events Co-ordinator's topic in Local Area Meets, Events & Kit Car Shows
Ive booked this now - ended up booking for a whole weekend as Im not sure which day we will be there - or if we just come for the whole lot.. A few people have mentioned parade laps if we are parked in field - when do these happen? - Yesterday
-

Hunstanton to Cromer fish and chip Blat saturday 16th August
Martin Bell - (Bellyboy) East Anglia AO posted a topic in Local Area Meets, Events & Kit Car Shows
-
I am already in love with Jaffa, it looks awesome and we can't wait to meet you again @MattV, and Paula too if she's still around 😁 We are on holiday next week so hope to see you very soon after that x
-

Y Ddraig Goch.
John Dolan - Wirral & North Wales AO replied to John Dolan - Wirral & North Wales AO's topic in Local Area Meets, Events & Kit Car Shows
I'm sure we can find somewhere to rendezvous. It would be great to see you, it will be a good weekend. John. -
Hi are these still available? send us a message if they are thanks Darren 07920321714
-
Silverstone Festival 22nd to 24th August 2025
Nick Mucklow replied to Marcus Barlow - Show and Events Co-ordinator's topic in Local Area Meets, Events & Kit Car Shows
Thanks that's great. -

Silverstone Festival 22nd to 24th August 2025
Marcus Barlow - Show and Events Co-ordinator replied to Marcus Barlow - Show and Events Co-ordinator's topic in Local Area Meets, Events & Kit Car Shows
here: -
Nick Mucklow started following Silverstone Festival 22nd to 24th August 2025
-
Silverstone Festival 22nd to 24th August 2025
Nick Mucklow replied to Marcus Barlow - Show and Events Co-ordinator's topic in Local Area Meets, Events & Kit Car Shows
-
Y Ddraig Goch.
DIY-Si replied to John Dolan - Wirral & North Wales AO's topic in Local Area Meets, Events & Kit Car Shows
Thanks, I'll give it a think and see how i might fit into that, as I'd be coming over from Northampton. -

Silverstone Festival 22nd to 24th August 2025
Marcus Barlow - Show and Events Co-ordinator replied to Marcus Barlow - Show and Events Co-ordinator's topic in Local Area Meets, Events & Kit Car Shows
Officially no vehicle movement every day between 9am and 17:30pm for cars on club display stands (except for parade laps) that's why we tend to leave cars in overnight if we are camping, although getting out before 17:30 is OK I have found in the past -
Silverstone Festival 22nd to 24th August 2025
Mat Jackson 1975 replied to Marcus Barlow - Show and Events Co-ordinator's topic in Local Area Meets, Events & Kit Car Shows
Brill - if I leave the Westie infield, any issues with getting it out again when we want to go - or is it locked in for a set time? -
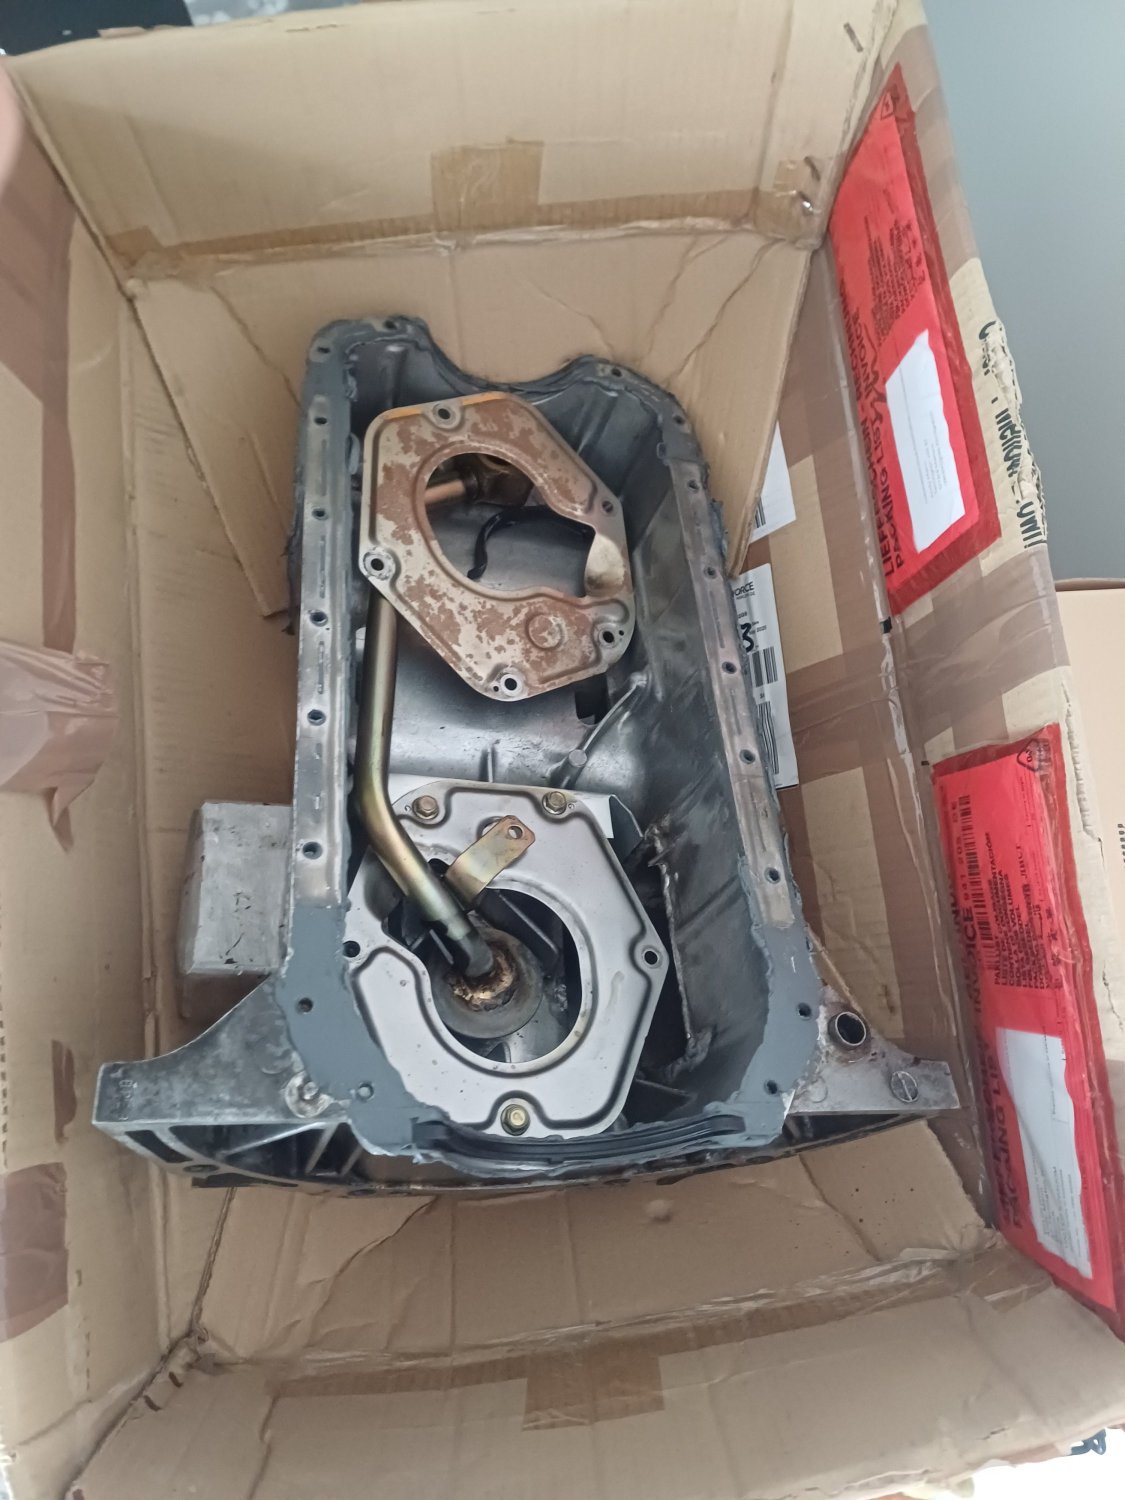
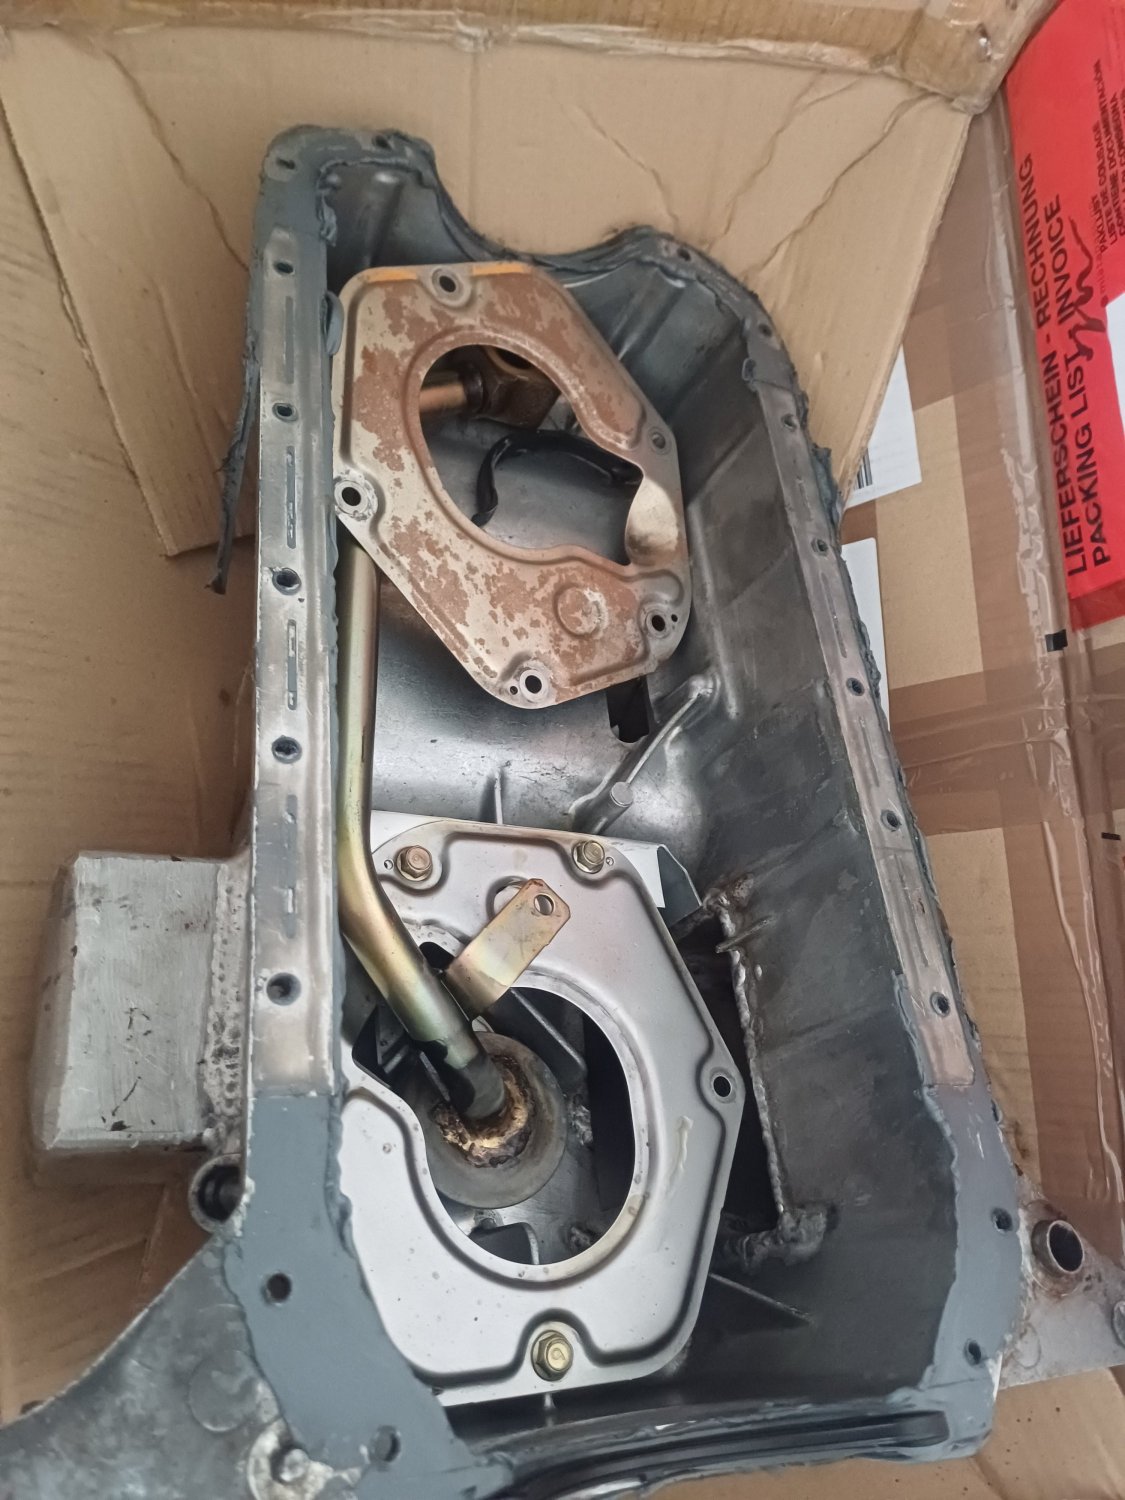
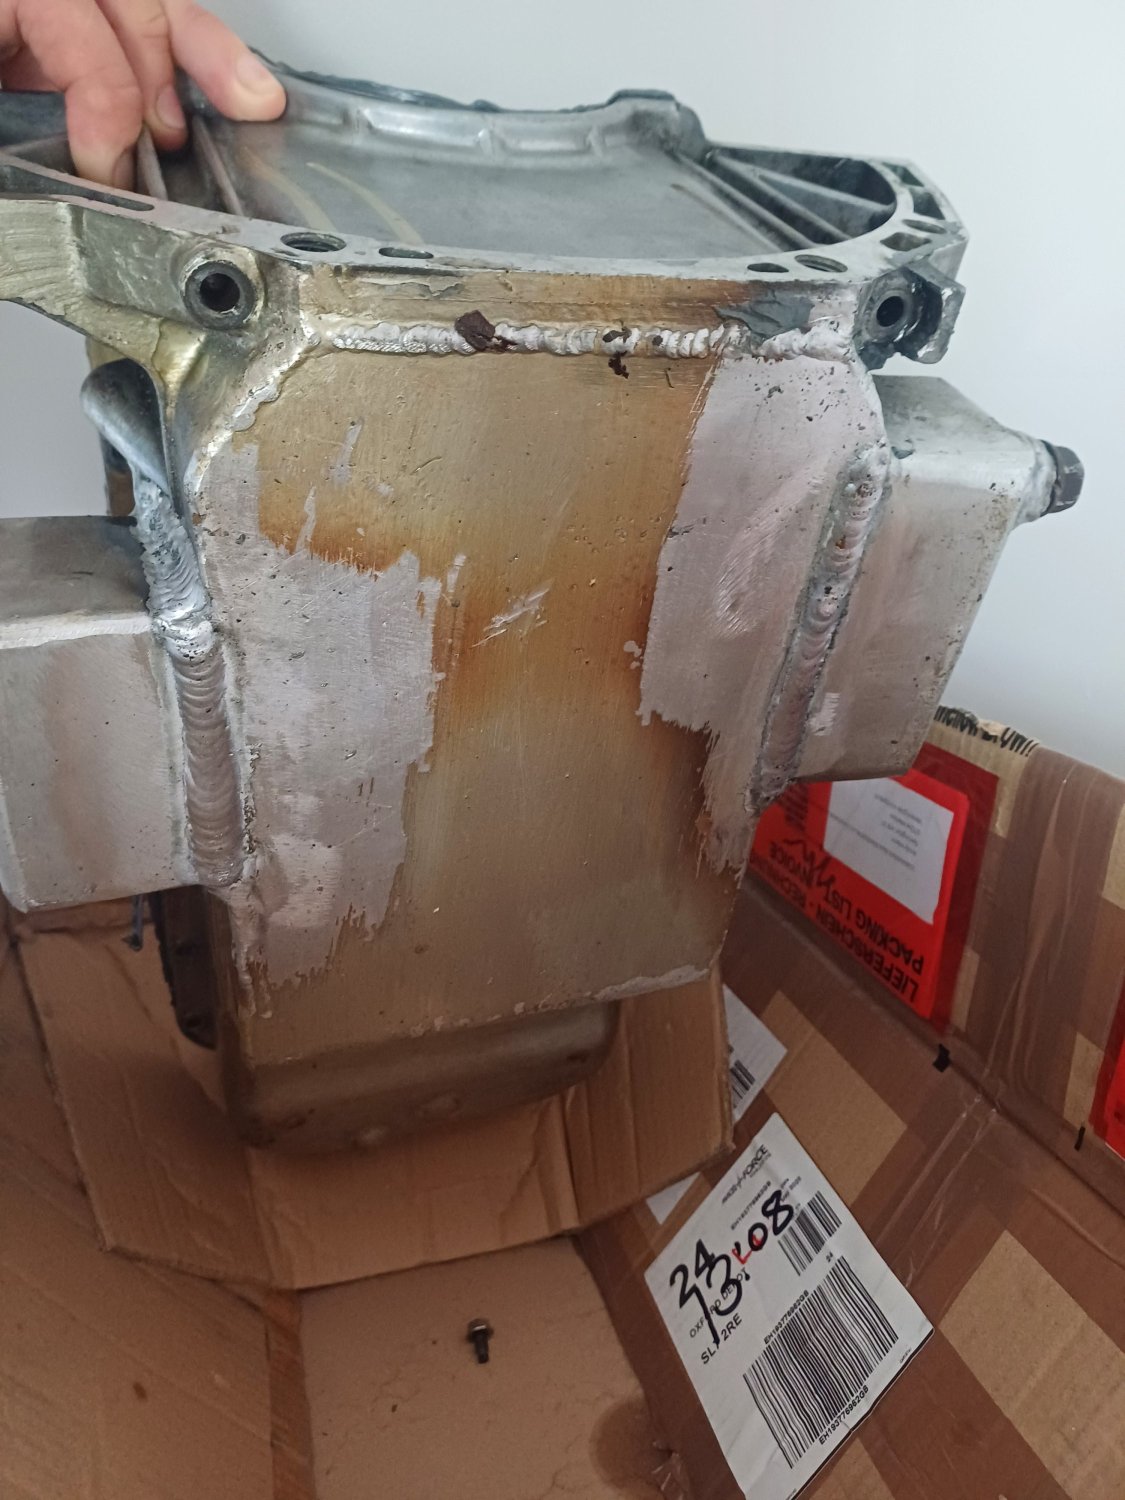
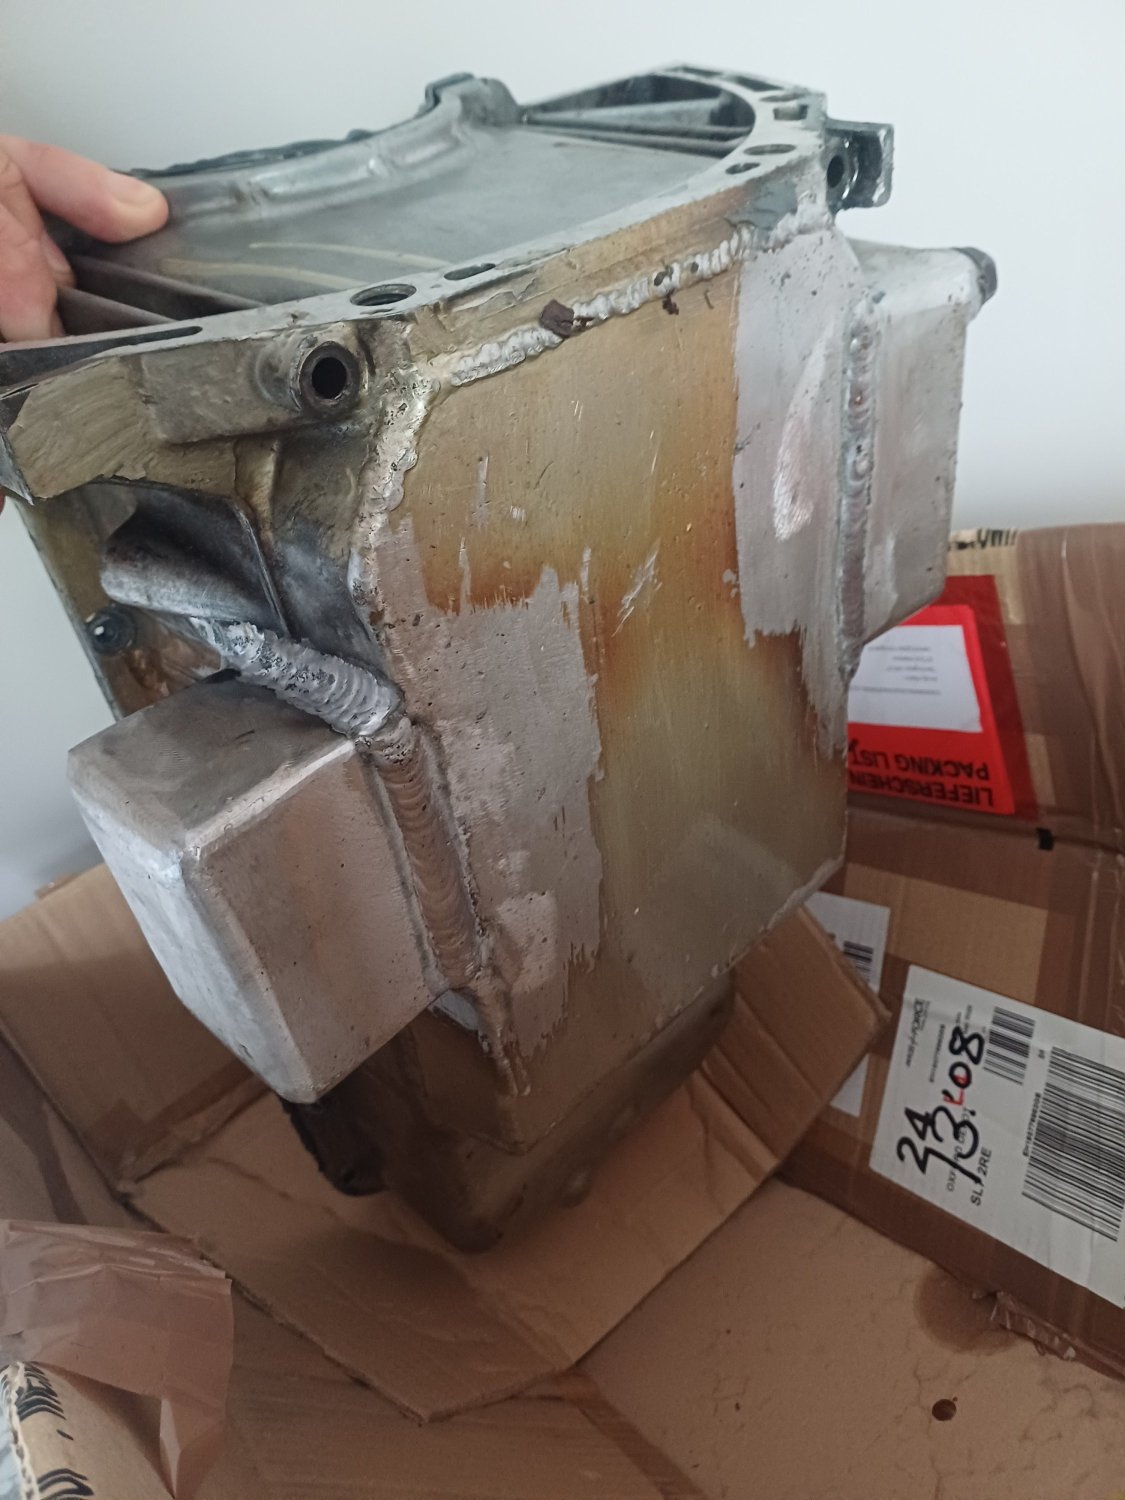
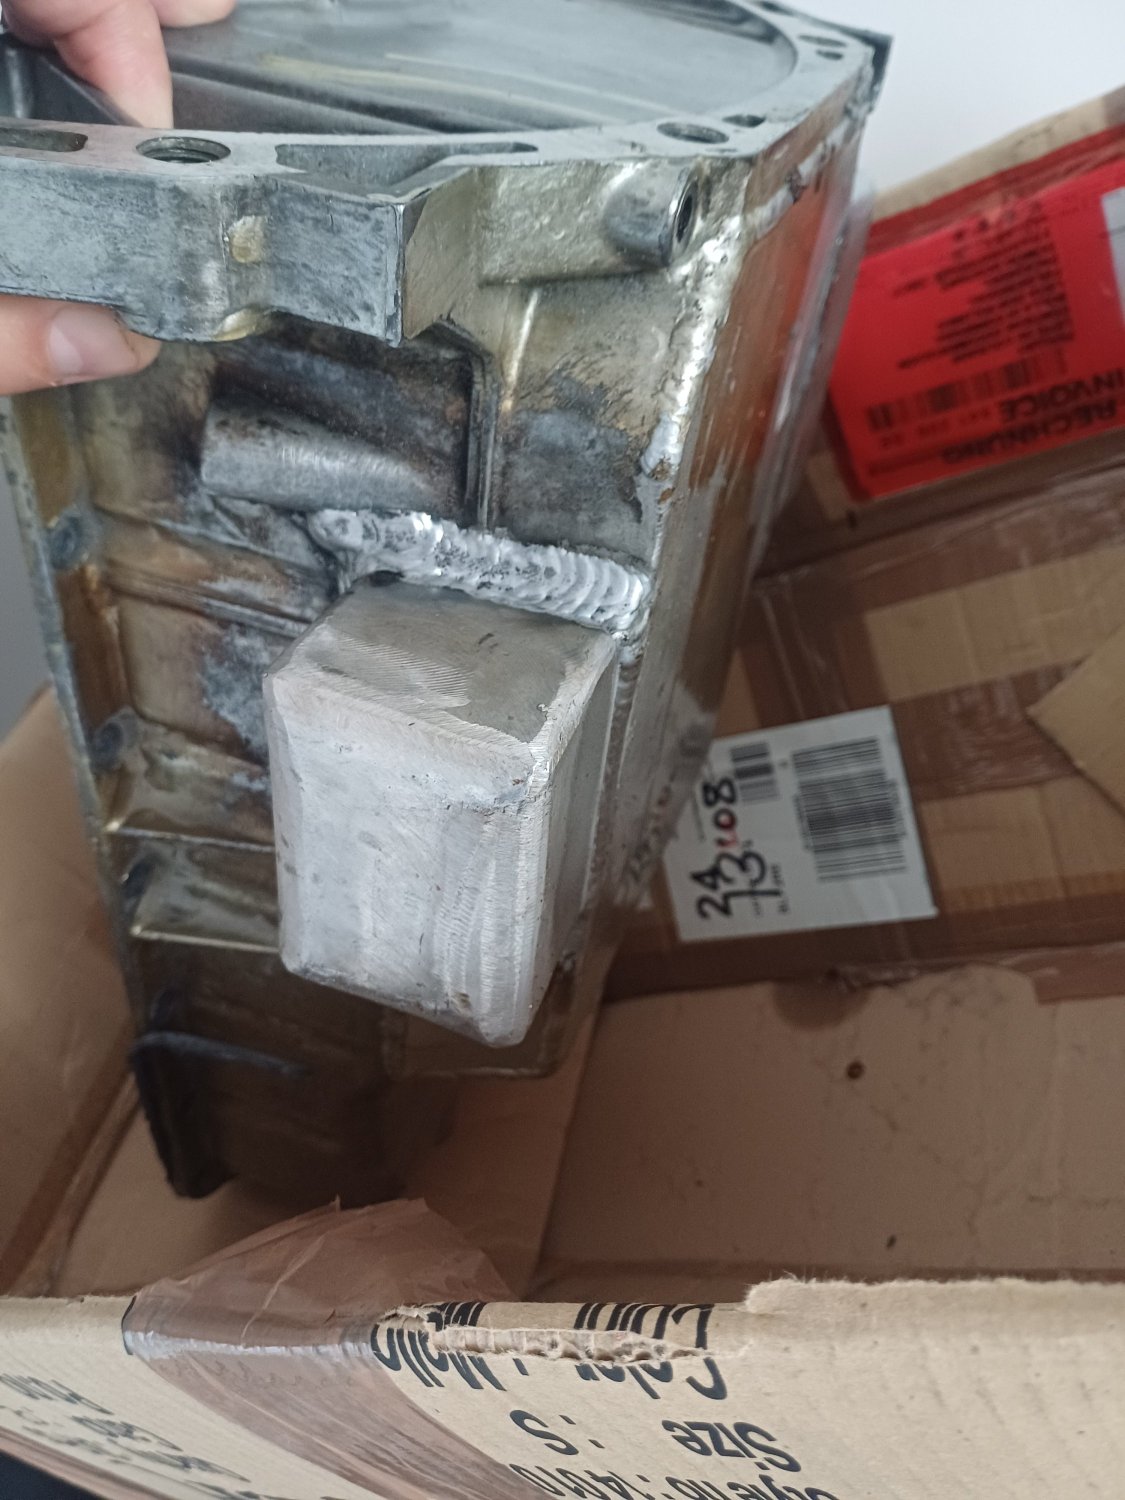
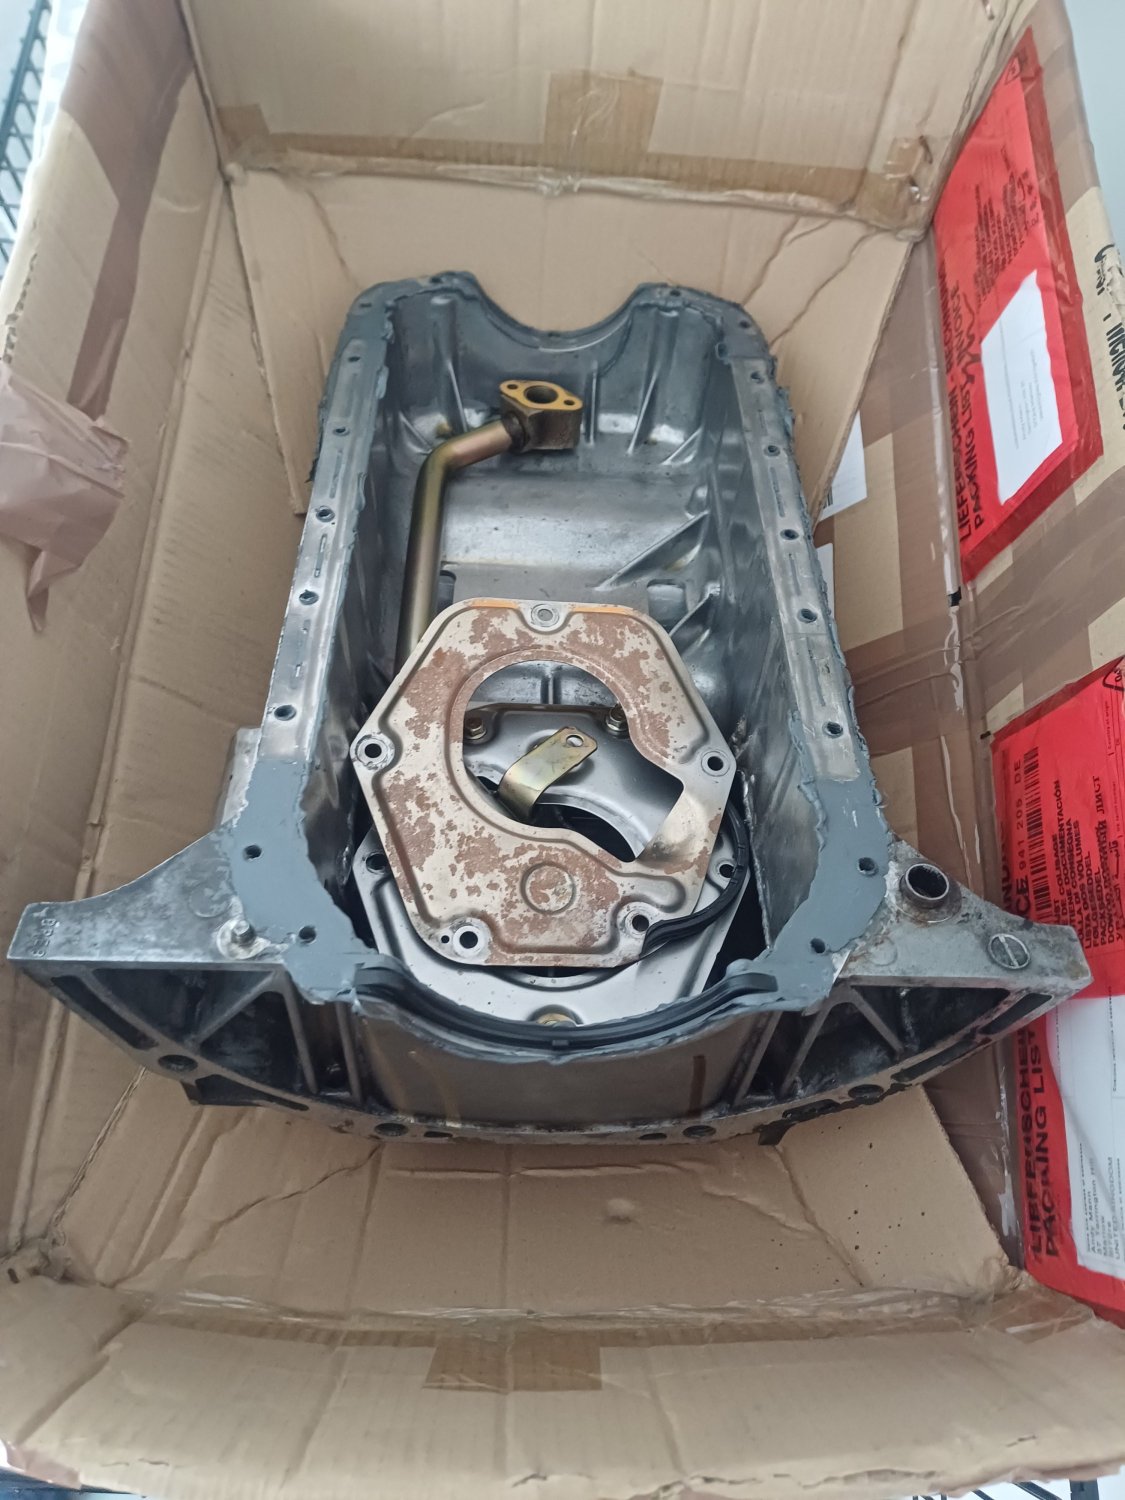
I was running this shortened, baffled and winged sump on my mk1 mx5 1.8 engine for a good few years now, I've since converted to taller mounts and standard sump. Reason being I've had to chase and fix several weeps of oil in the sump since it was shortened and welded. It has another weep in a place I've marked on the sump, cant bear to fix it again! As such I'd be happy to let anyone have it for the cost of shipping it (£10-20? No idea. I've not checked). Clearly it'd suit anyone handy at welding aluminium, or as a base as a shortened sump. Seems a shame to scrap it, especially when mk1 sumps seem a bit harder to source nowadays (or maybe I got unlucky!?).
-

Silverstone Festival 22nd to 24th August 2025
Kingster replied to Marcus Barlow - Show and Events Co-ordinator's topic in Local Area Meets, Events & Kit Car Shows
You can’t specify camping space it’s pot luck. Usually if you have your car infield then it stays there.


