Jump to content

KugaWestie's Blog

  • entries
    8
  • comments
    47
  • views
    16,006

Electric Mirrors Upgrade - Final Part


KugaWestie

3,134 views

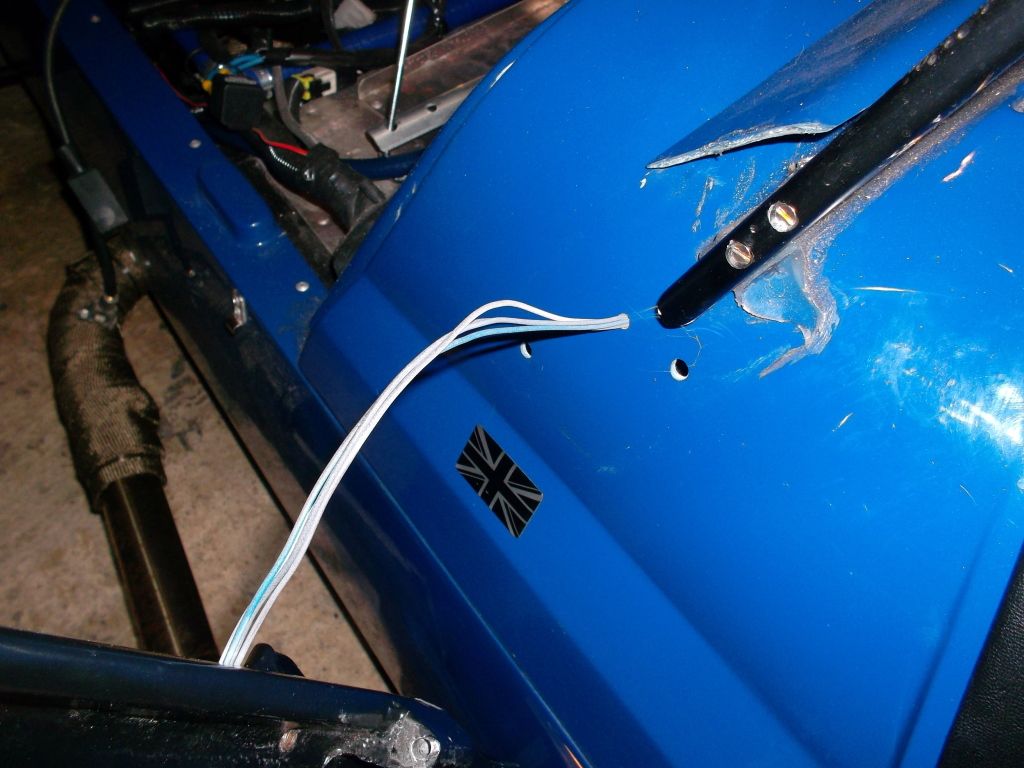
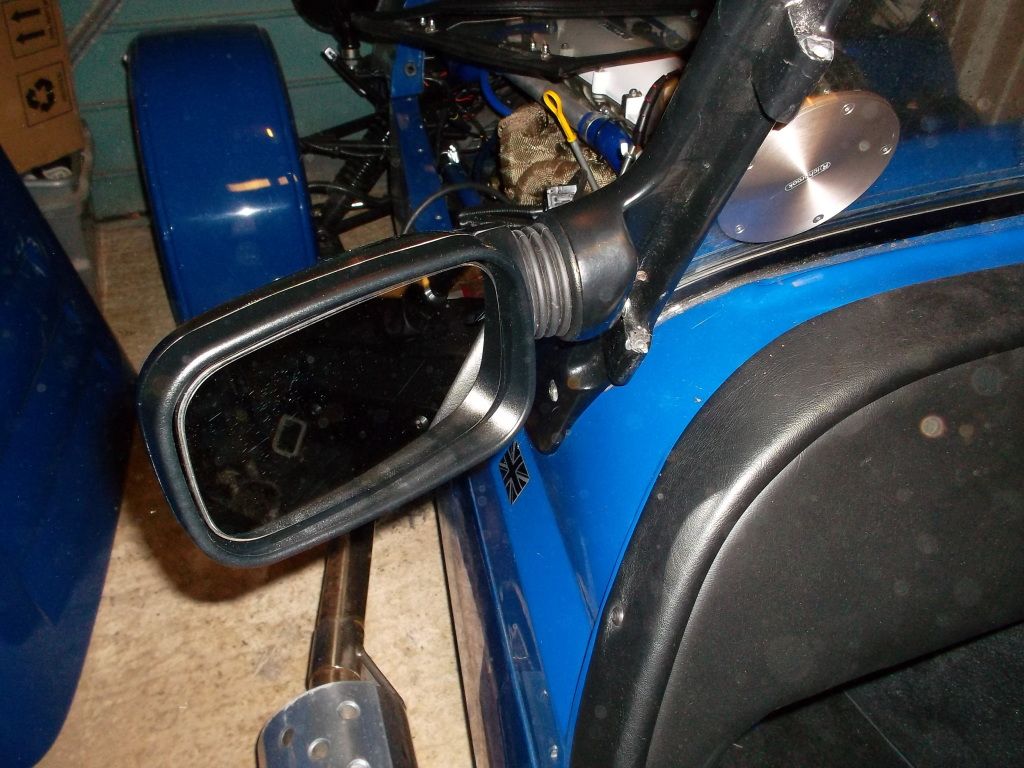
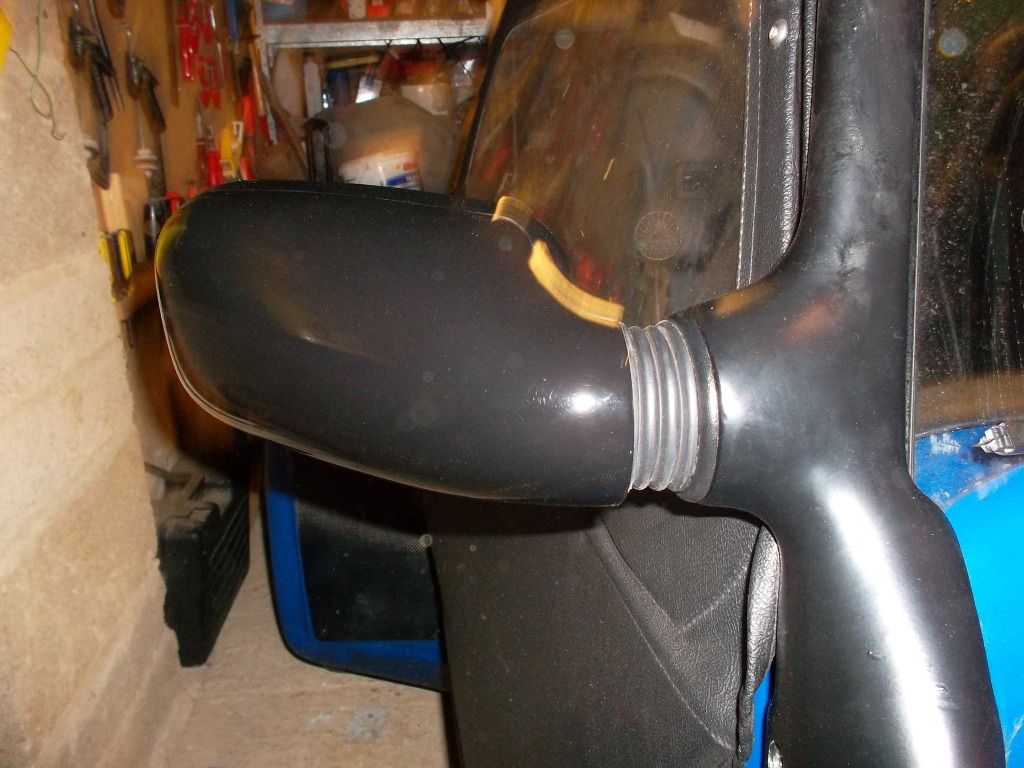
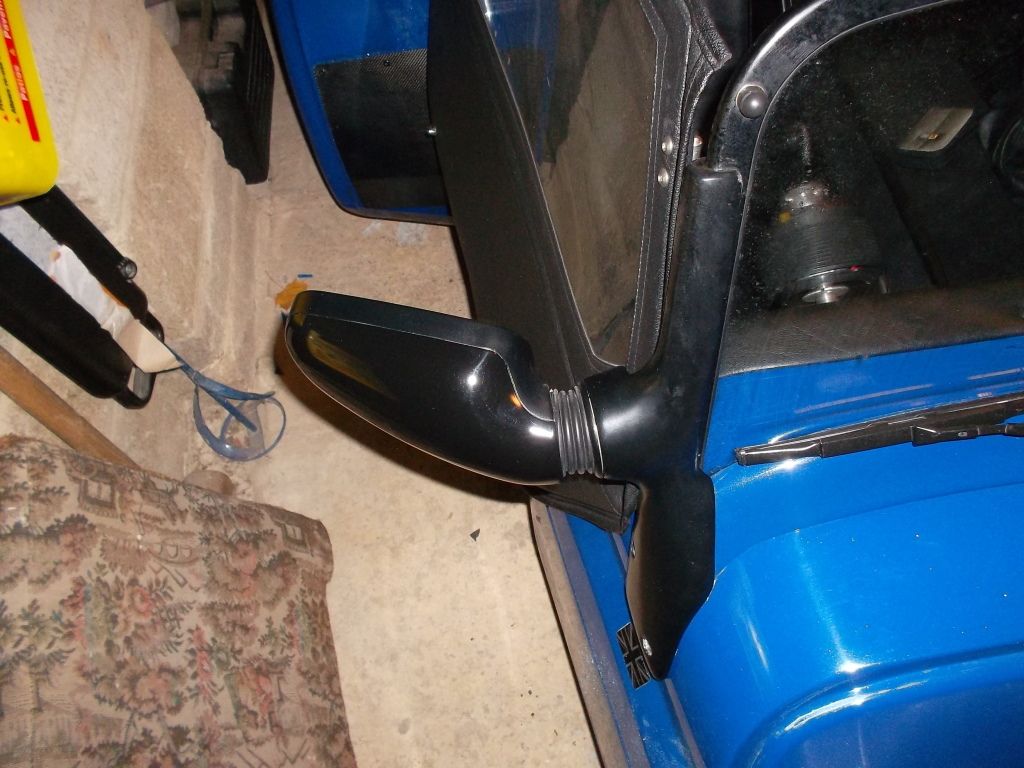
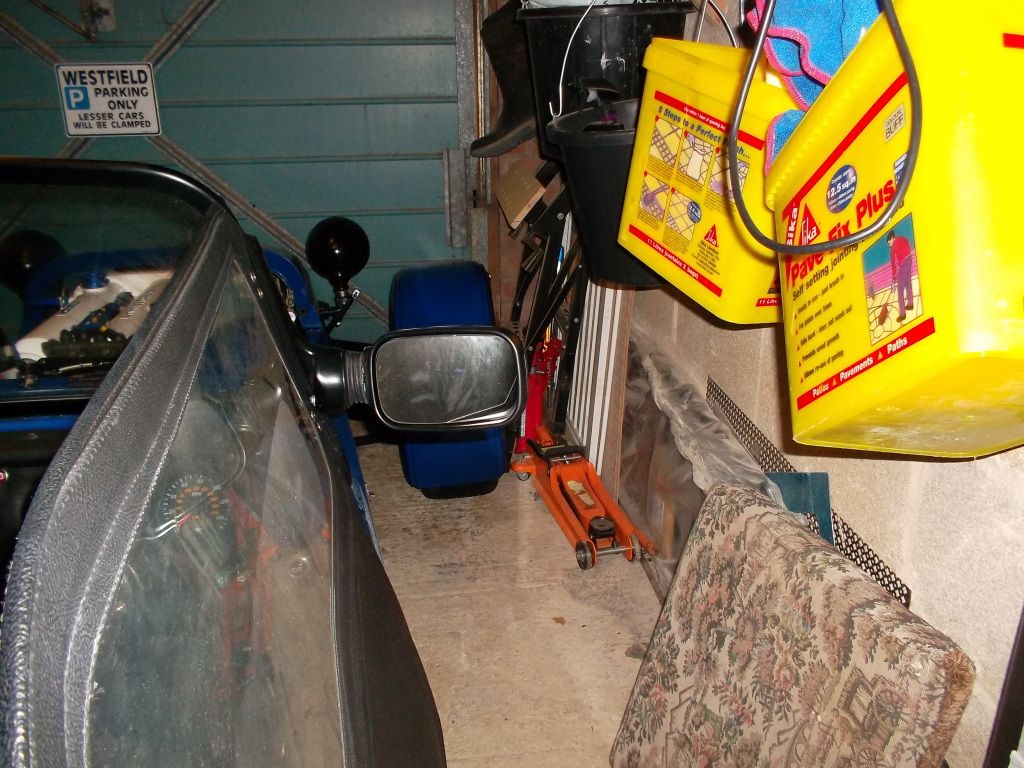
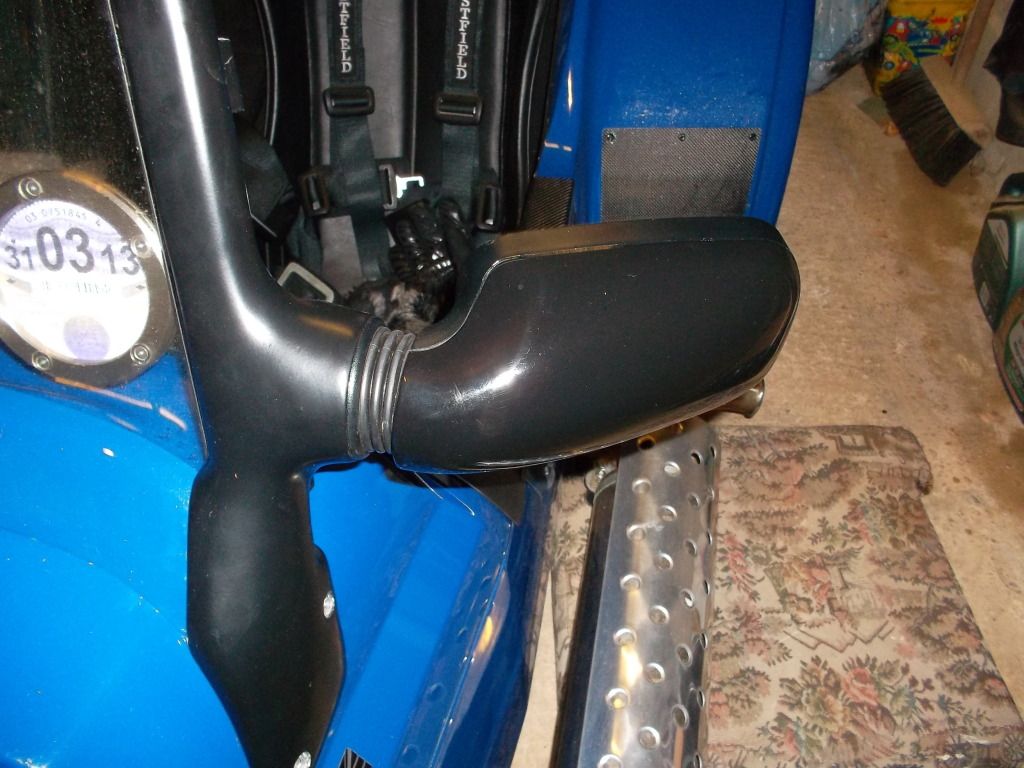
A couple of hours this afternoon has completed the job :d

Feedingcablesin.jpg

Fitteda.jpg

Fittedb.jpg

Fittedc.jpg

Fittedd.jpg

Fitted.jpg

And a nice little video :)

  • Like 2
  • Thanks 1

15 Comments


Recommended Comments

Good job well done.............Is that a ghost i can see in the third photo????

  • Like 1
Link to comment
deanoecosse

Posted

Thats a great job Gary. It's one of those fairly small jobs but makes a huge difference. I'm sure we've all spent time strapping the harnesses on and then find our damn near side mirror needs adjusted, then we have to go through all the PITA faffing about getting unbelted, adjusting, rebelting etc. Thats me got a new job on my winter list now.


What sort of price did you pay for the mirrors?

  • Like 1
Link to comment
KugaWestie

Posted

Thats a great job Gary. It's one of those fairly small jobs but makes a huge difference. I'm sure we've all spent time strapping the harnesses on and then find our damn near side mirror needs adjusted, then we have to go through all the PITA faffing about getting unbelted, adjusting, rebelting etc. Thats me got a new job on my winter list now.


What sort of price did you pay for the mirrors?


Thanks Dean


The total cost for the job was less than £50

I paid £30 for the mirrors on EBay - just bided my time. Also if you are going to spray them anyway then you can be less selective and buy cheap.

The control switch was £6 on EBay

Can of grey primer - £6

Can of gloss black - £6


A good upgrade for less than fifty notes!

Link to comment

Hi Gary now that I have found the blog I will ask the question, is the wiring simple and/or do you have a sketch of the way its done.


Cheers


Bob

Link to comment
KugaWestie

Posted

Ferry - yes they can be heated, but I didnt bother wiring the elements in, I dont think I will ever use them heated. There are only two cables per mirror for the heating element, so it would be easy enough to do

Link to comment

Computer says I don't have permission to open that pdf any advice would be welcome.


Bob

Link to comment
KugaWestie

Posted

Electric Mirror Wiring    


Nearside Mirror (Passenger)

2 x Black Cables Heated Glass

White Cable Connect to Black and Yellow cable on switch

Grey Cable Connect to Black and Blue cable on switch

Blue and Brown Cables Join together and Connect to Grey and White cable on switch        


Offside Mirror (Driver)

2 x Black Cables Heated Glass

Blue Cable Connect to Black and Lilac cable on switch

Brown Cable Connect to Black and Brown cable on switch

White and Grey Cables Join together and Connect to Grey and White cable on switch        


Switch

Green Fused or switched live feed

Black Earth

Link to comment

Thanks Gary spot on, will print it all out tomorrow.


Bob

Link to comment
KugaWestie

Posted

No problem Bob - good luck with it


Upgradeitus - bad disease isnt it!!!

Link to comment

Gary, juts in case any one else reads this. I have just received my brand new boxed mirrors from a place on Ebay £39 the pair, for some reason one is dearer than the other. Can't get much better than that, now I have to sort out some time to fit them.

Thanks for the help

Bob

Link to comment
Dave Eastwood (Gadgetman) - Club Chairman

Posted

Just finished the same upgrade, Got a package of wing mirrors and a switch from an MGF, unfortunately none of the eBay switches had the connector with them, so I ended up visiting a local scrappy for that. (The switch is from a Rover 200, MGF possibly MG TF and mk 1 Landrover Freelander, may also be used on mk 1/2 Discoveries). Mine came from a Freelander that had been in a fire, fortunately the switch/connector and 30 cm of loom were untouched.


The mirror fit was interesting, IIRC the mirrors are common to the Rover 200 too, not sure if they align any better, but the MGF mirrors mounting posts were so far out they were never going to screw into the Westfield uprights without pointing upwards at 45º.


In the end, I stripped the mirrors right down and removed the cast aluminium locking pin that connects the base to the mirror housing. It has two ridges that lock into the housing to align them both. A few minutes with the Dremmel soon took most of the ridges off. Drilling the hole the pin fits through slightly oversize allows the mirror housing to rotate on the base.


After reassembling the mirrors and setting the right alignment on the car, I then just Epoxied the locking pins into position in their new orientation.


Job done, mirrors now point in the right direction!

Link to comment
×
×
  • Create New...

Important Information

Please review our Terms of Use, Guidelines and Privacy Policy. We have placed cookies on your device to help make this website better. You can adjust your cookie settings, otherwise we'll assume you're okay to continue.