Leaderboard


Popular Content
Showing content with the highest reputation on 18/05/19 in all areas
-
Well, short story long, I will finally reveal the secret. Years ago, I had the same problem of tarnished catches. After scratching my head for several seconds, I decided to approach NASA to help find a solution. A government fund of $7million was awarded to help with the research. I worked closely with the scientists to try to solve the dilemma, and after 7 years of painstaking (sometimes heartbreaking and frustrating) experimentation, we came upon a solution to the problem, and as a byproduct, to this day, is used daily on the ISS to help maintain its lustrous protective finish. You will not believe the final result of our joint research. It will astound you, and I will now reveal the outcome. But, even now, after every trip, the bonnet catches have to be very carefully removed and each subjected to 7 hours of meticulous cleaning under clean laboratory conditions to preserve the finish. Are you ready for this? Wipe with spray wax now and again! Enjoy Switzerland, and I wish we could join you on the trip. David3 points
-
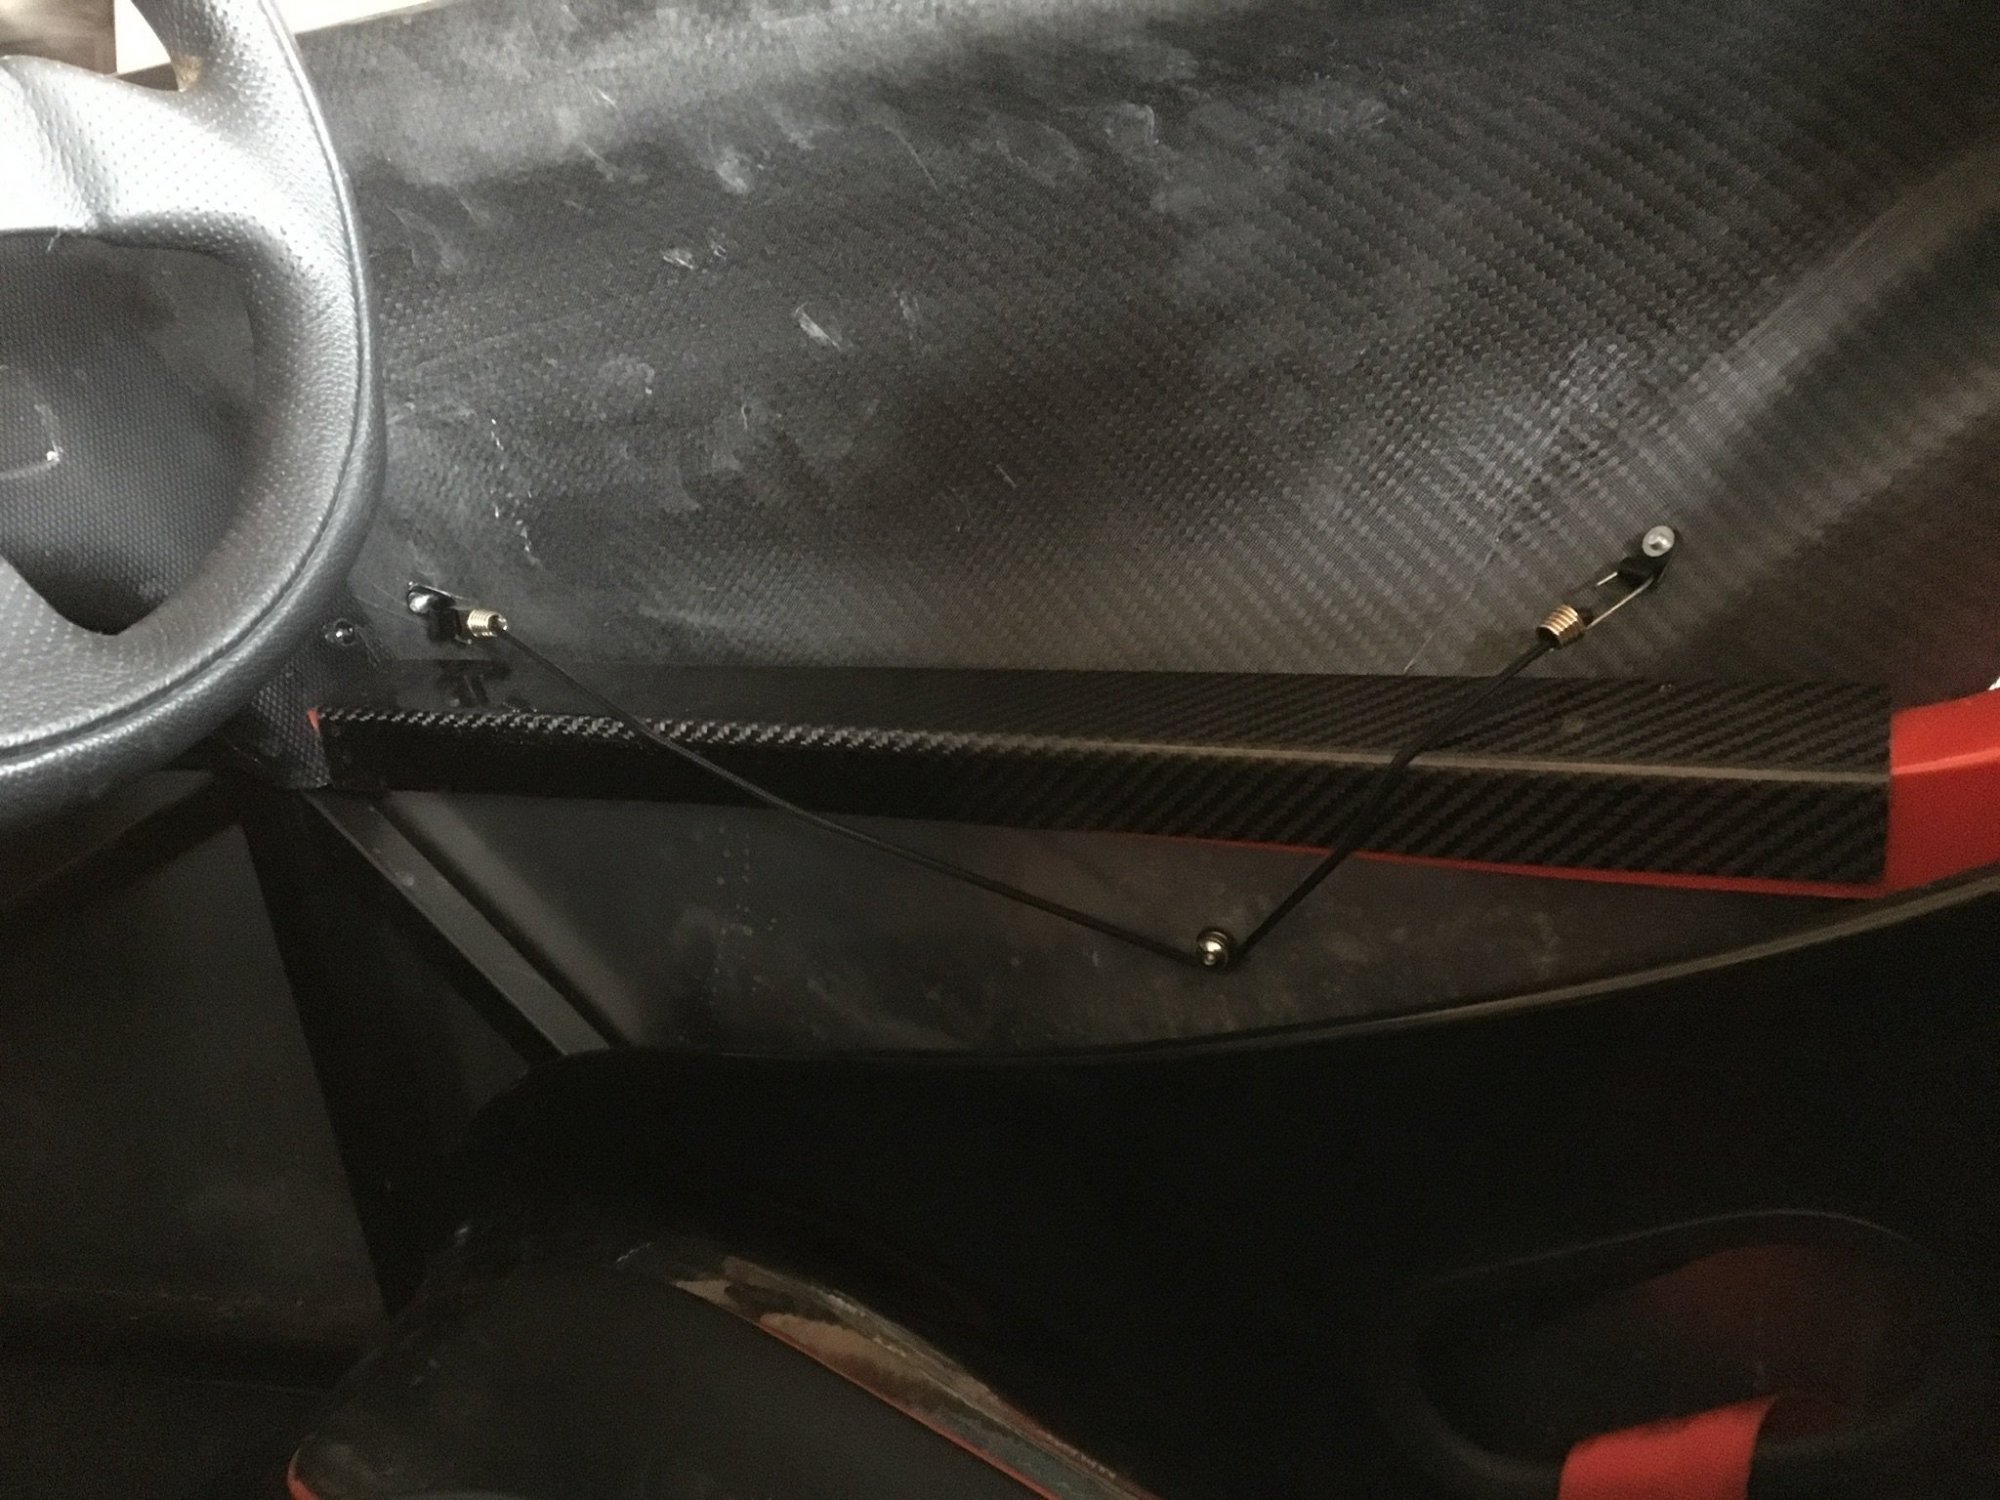
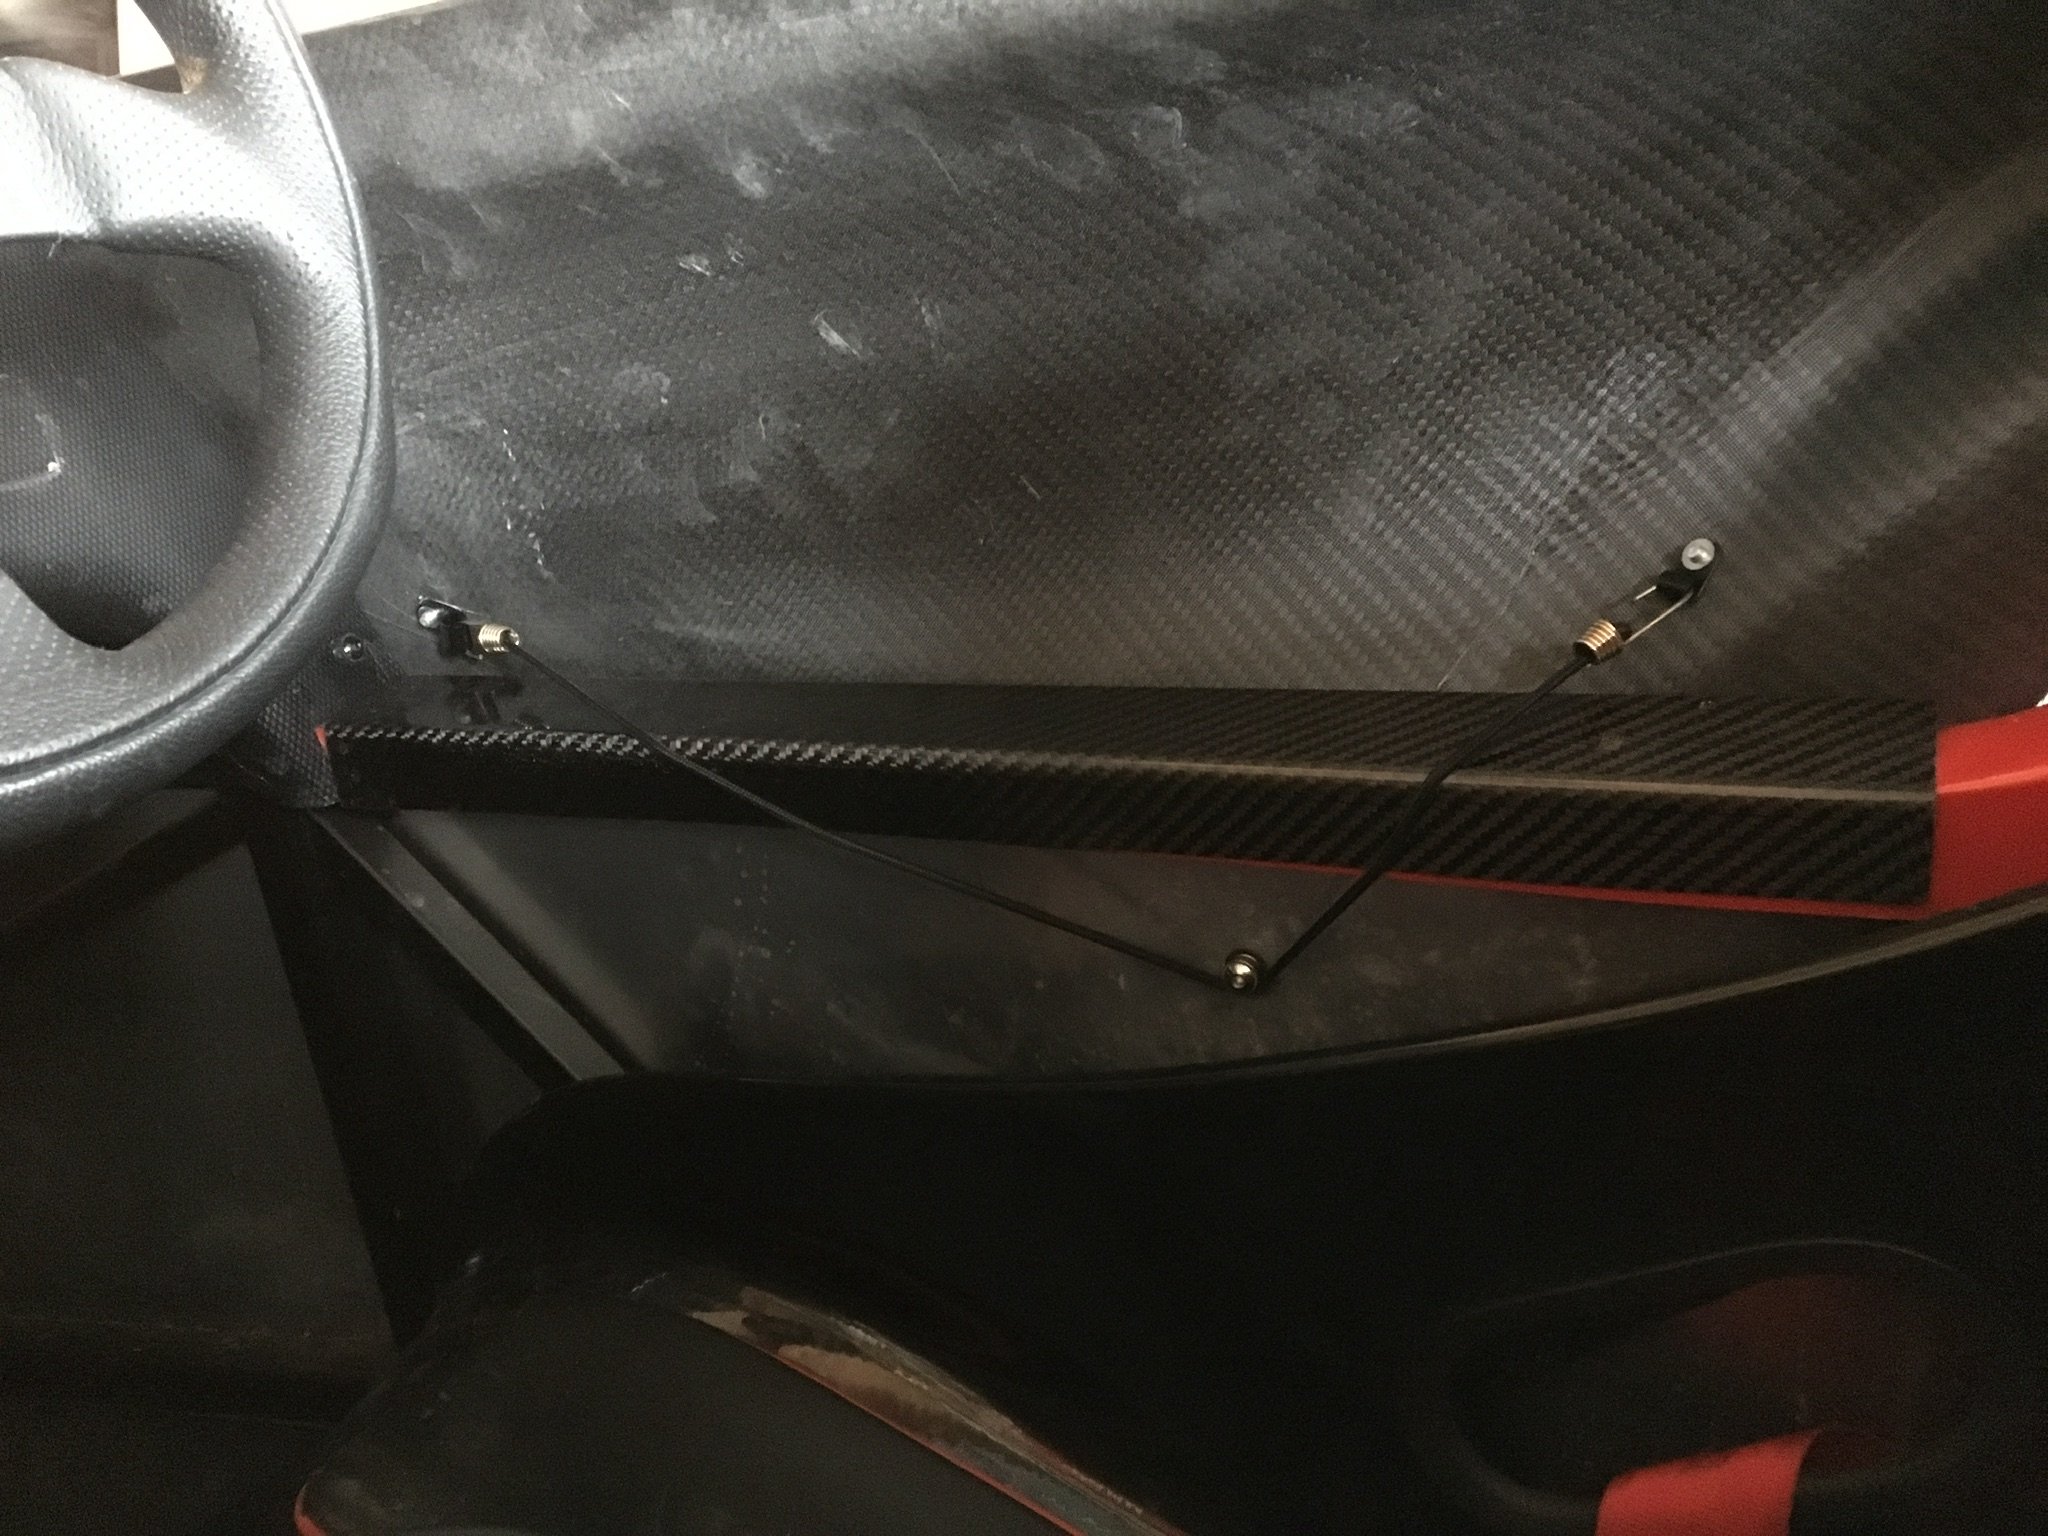
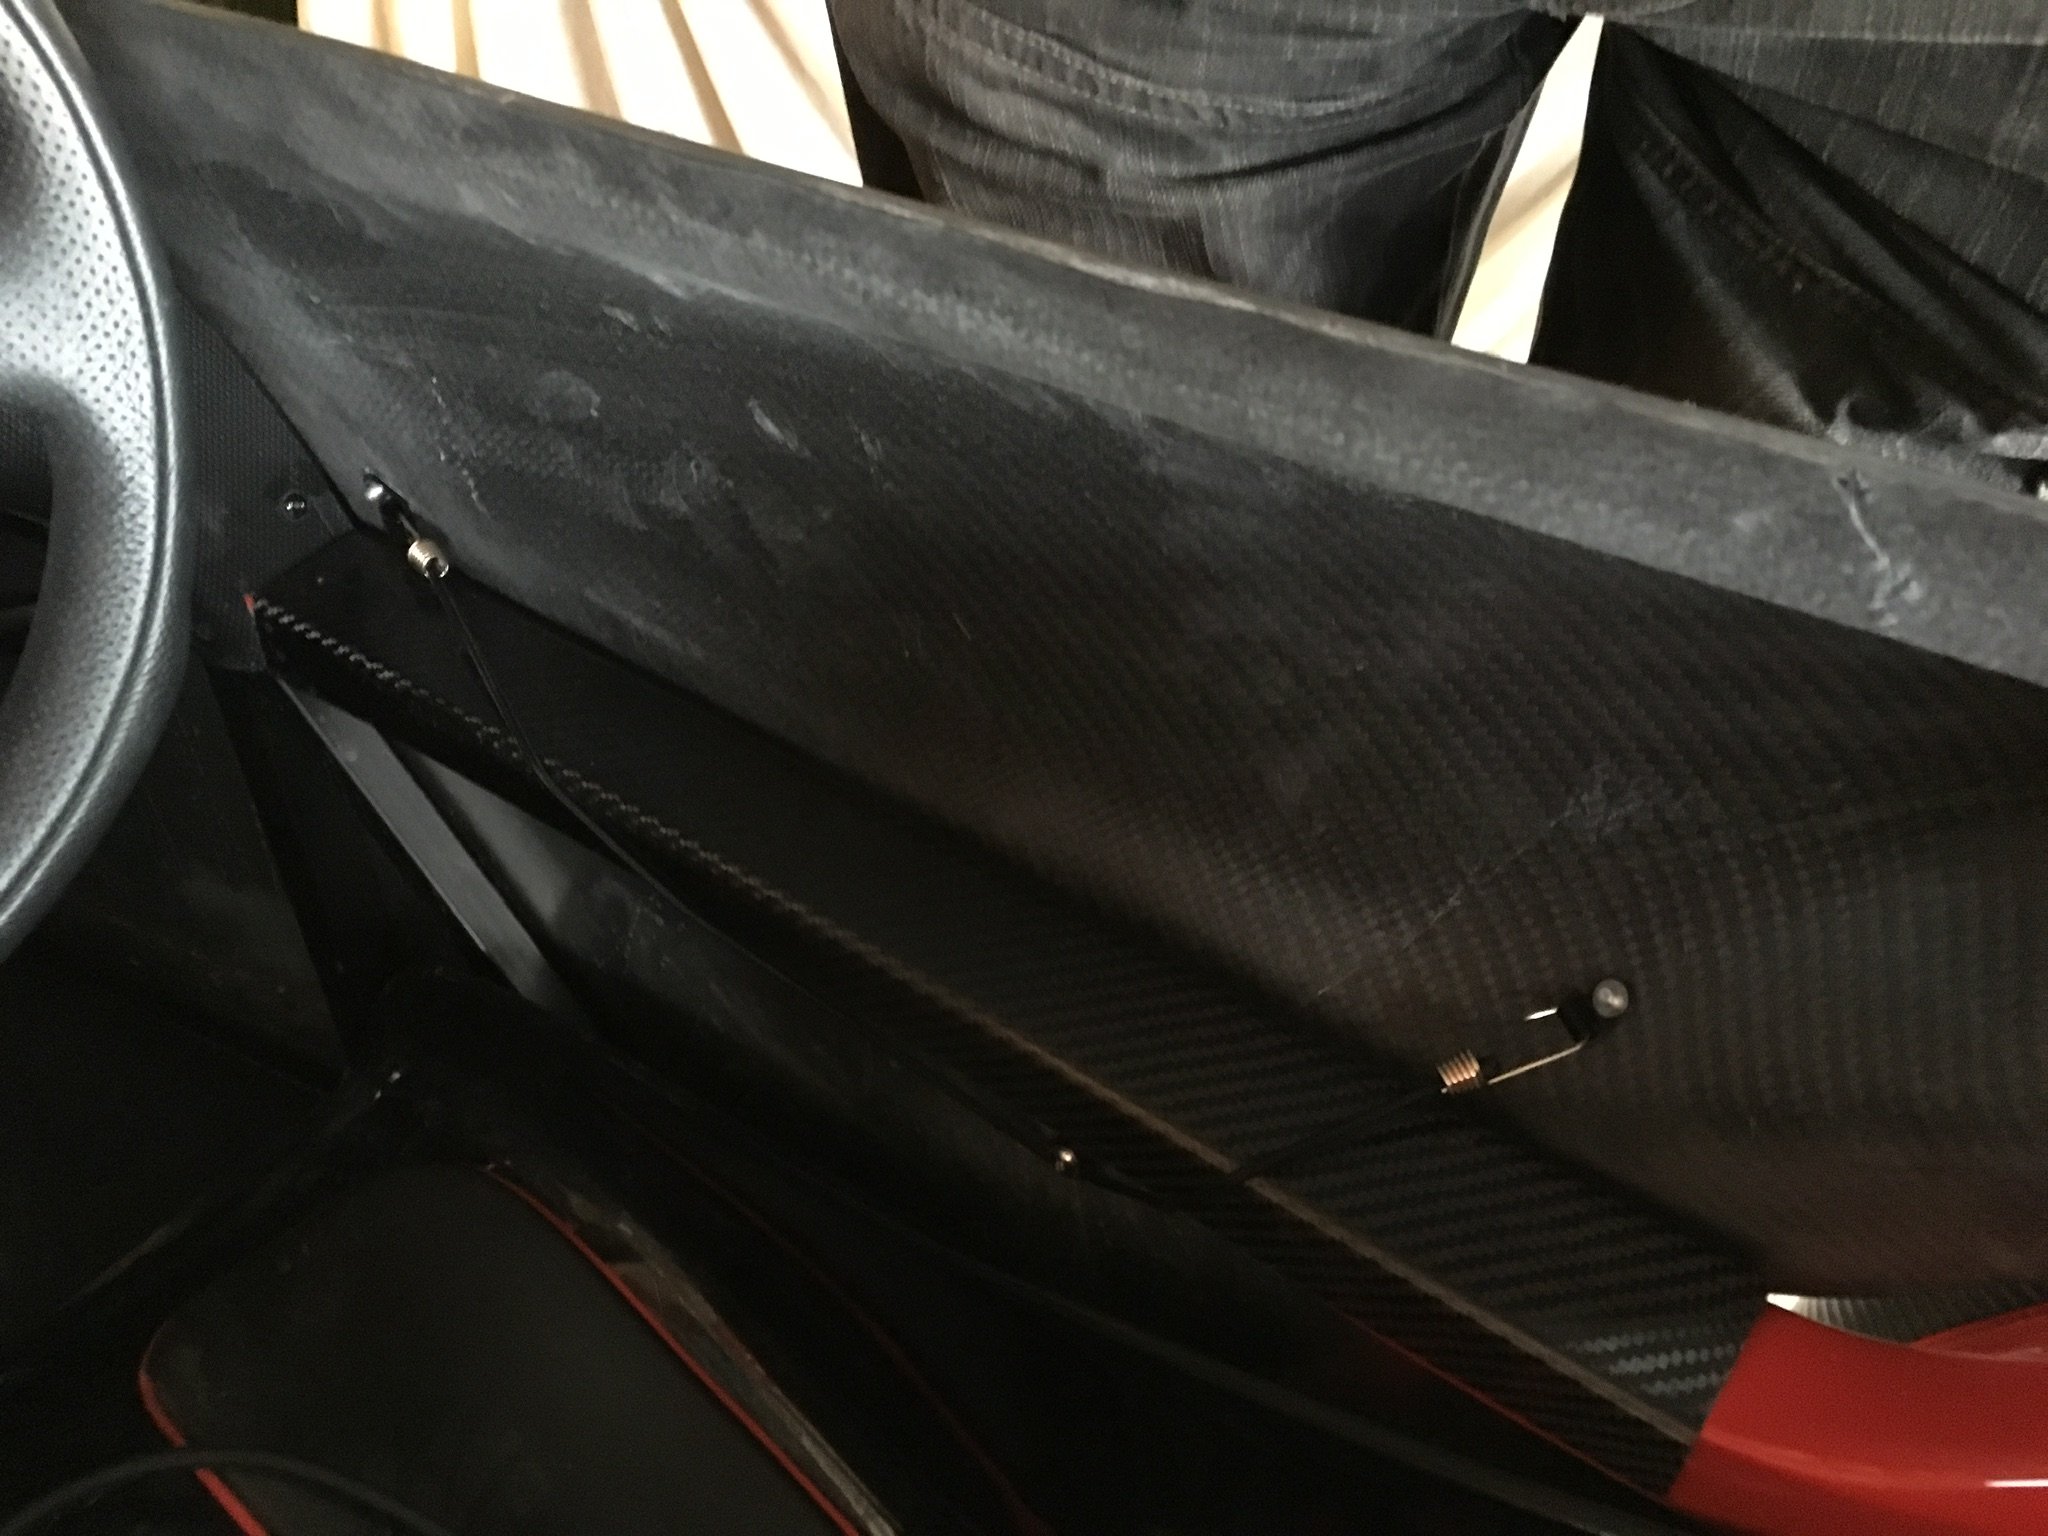
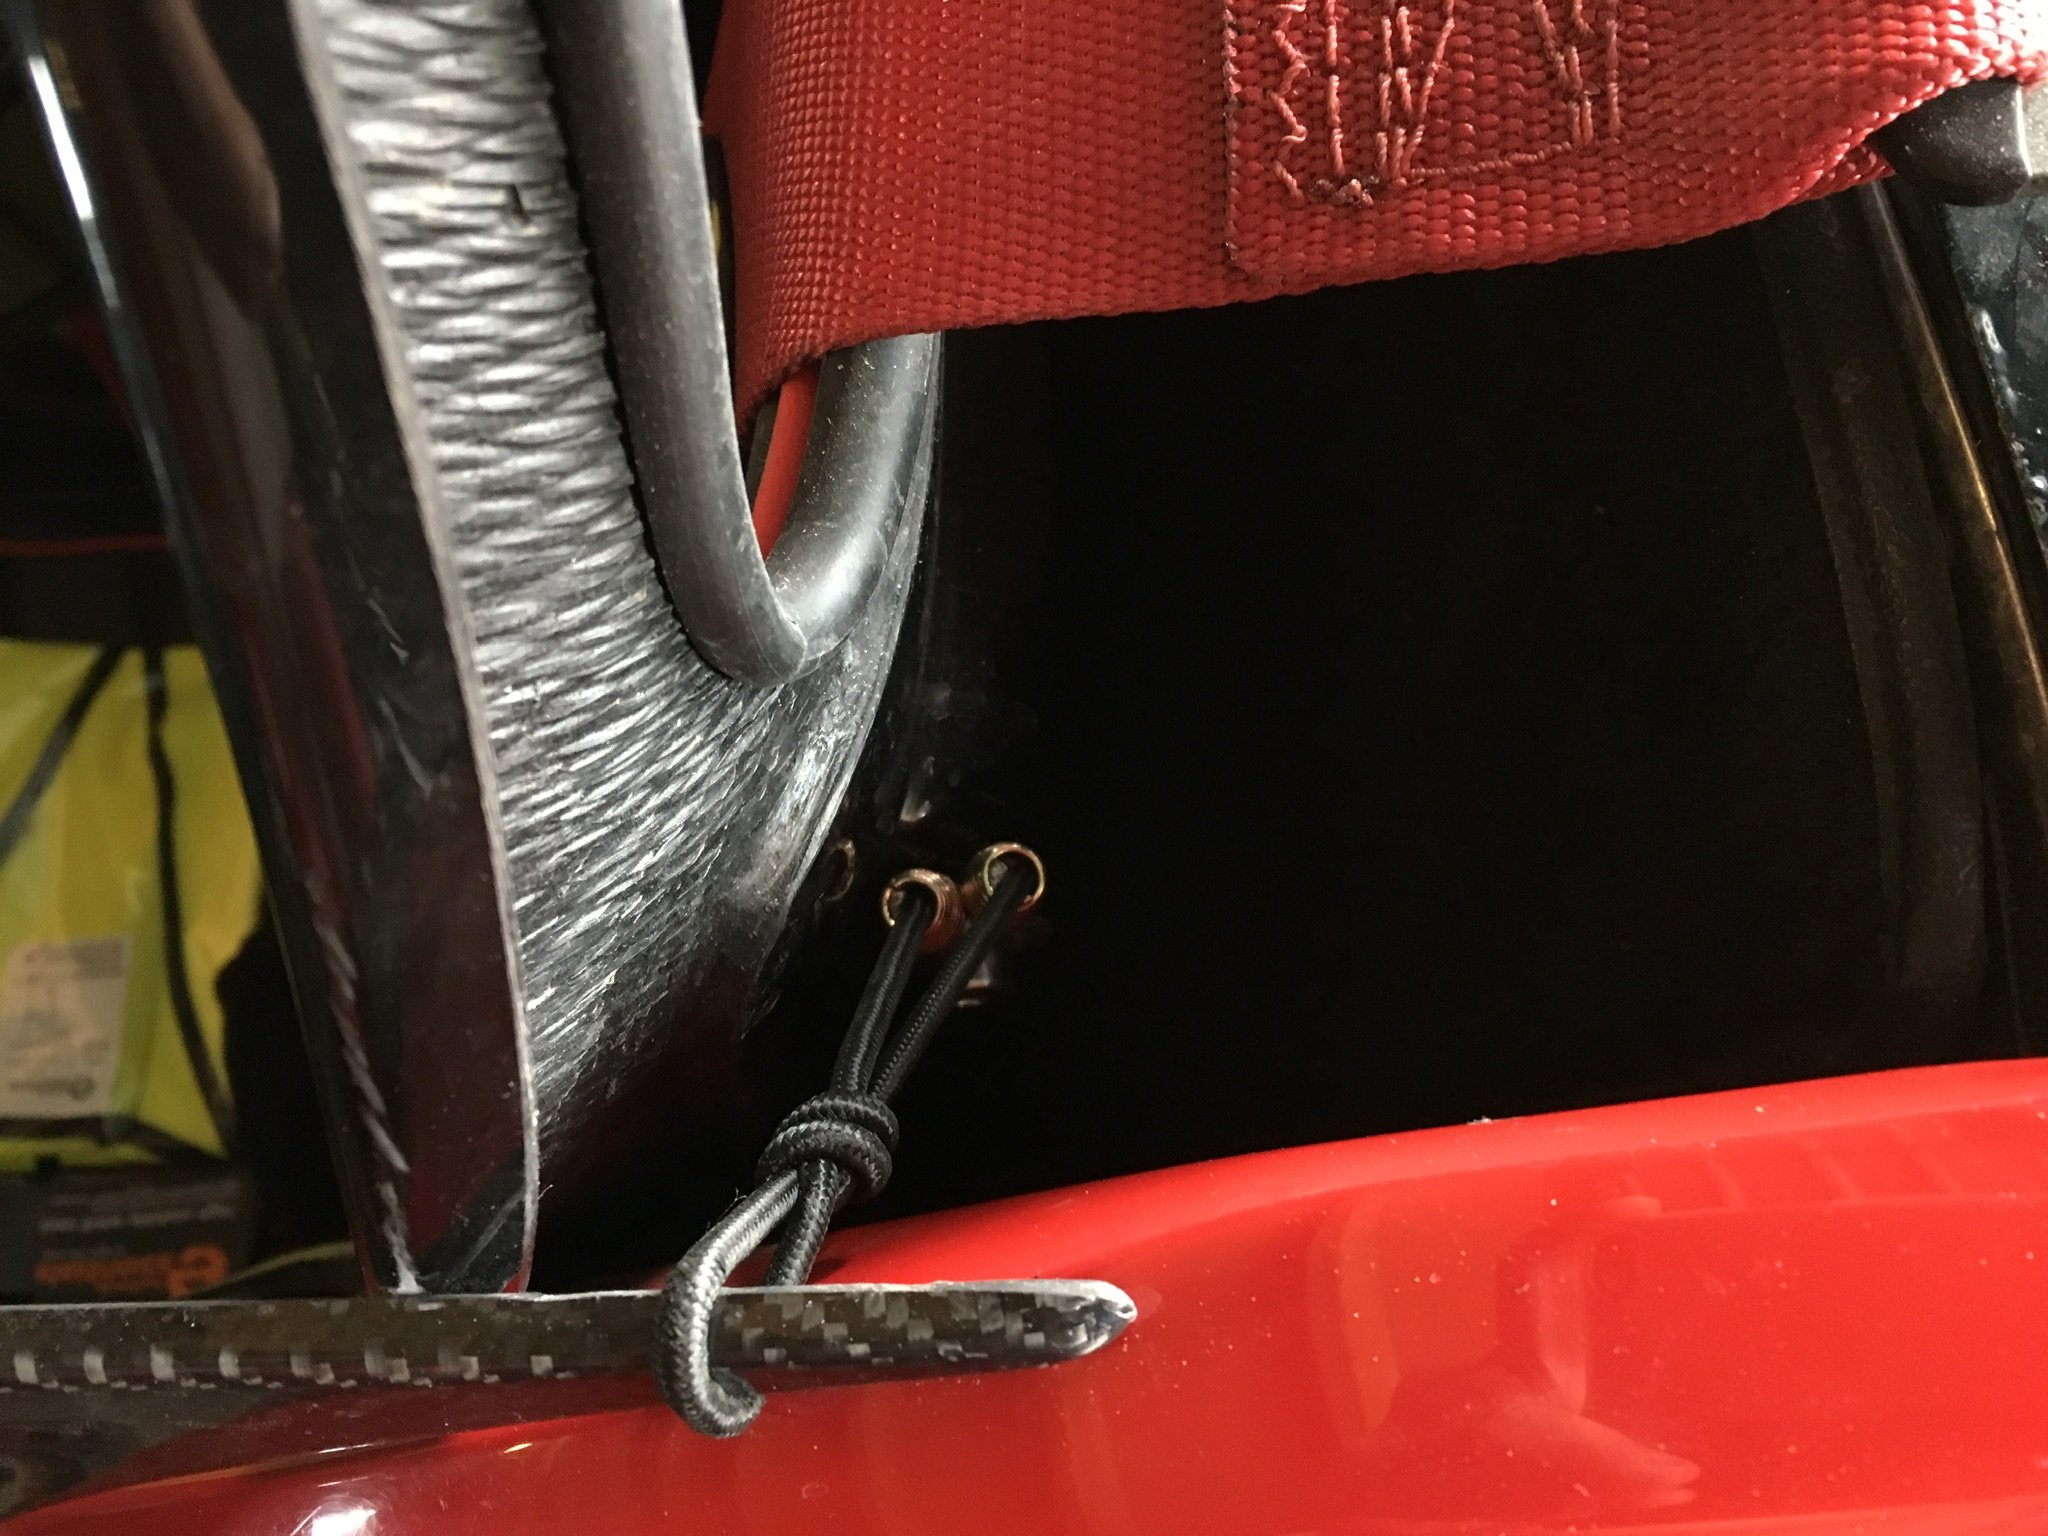
Early version of how I held them in place. Two pop rivets in the door with p-clips to connect bungee chord. Later on I used chord without hooks. At the front I had a press stud that would easily pop off or act as a pivot. Initially I had the back pointy end hooked in place with a small bungee - now I have a cage and that holds the doors in place! don’t think I used this added fixing too much in the end - as I said been through a few incarnations and doors never fell off when not hooked in at the back. Also I repositioned them so they ended up flush (ish) with bodywork rather than early version where they kind of clipped in at the back. Can’t find any more useful pics though and as mentioned now have a cage so they fit differently

 2 points
 -
Got 3 of them from working over there 😀1 point
-
If there is close to enough people I don't mind taking a double session to help it happen Say 30 mins in morning and 30 mins in the afternoon.1 point
-
I've put all my pics up here, sorry if I missed anyone...will leave them up for a week or so then thrift to leave a few of my favourites. https://flic.kr/s/aHsmcskVKX If anyone wants full size copies of any without watermark let me know👍 @Rusty Nuts@Chris jesson @Martyn Vann - Joint Warwickshire AO @Nick PC1 point
-
I have two of these I am taking Jude.

 1 point
 -
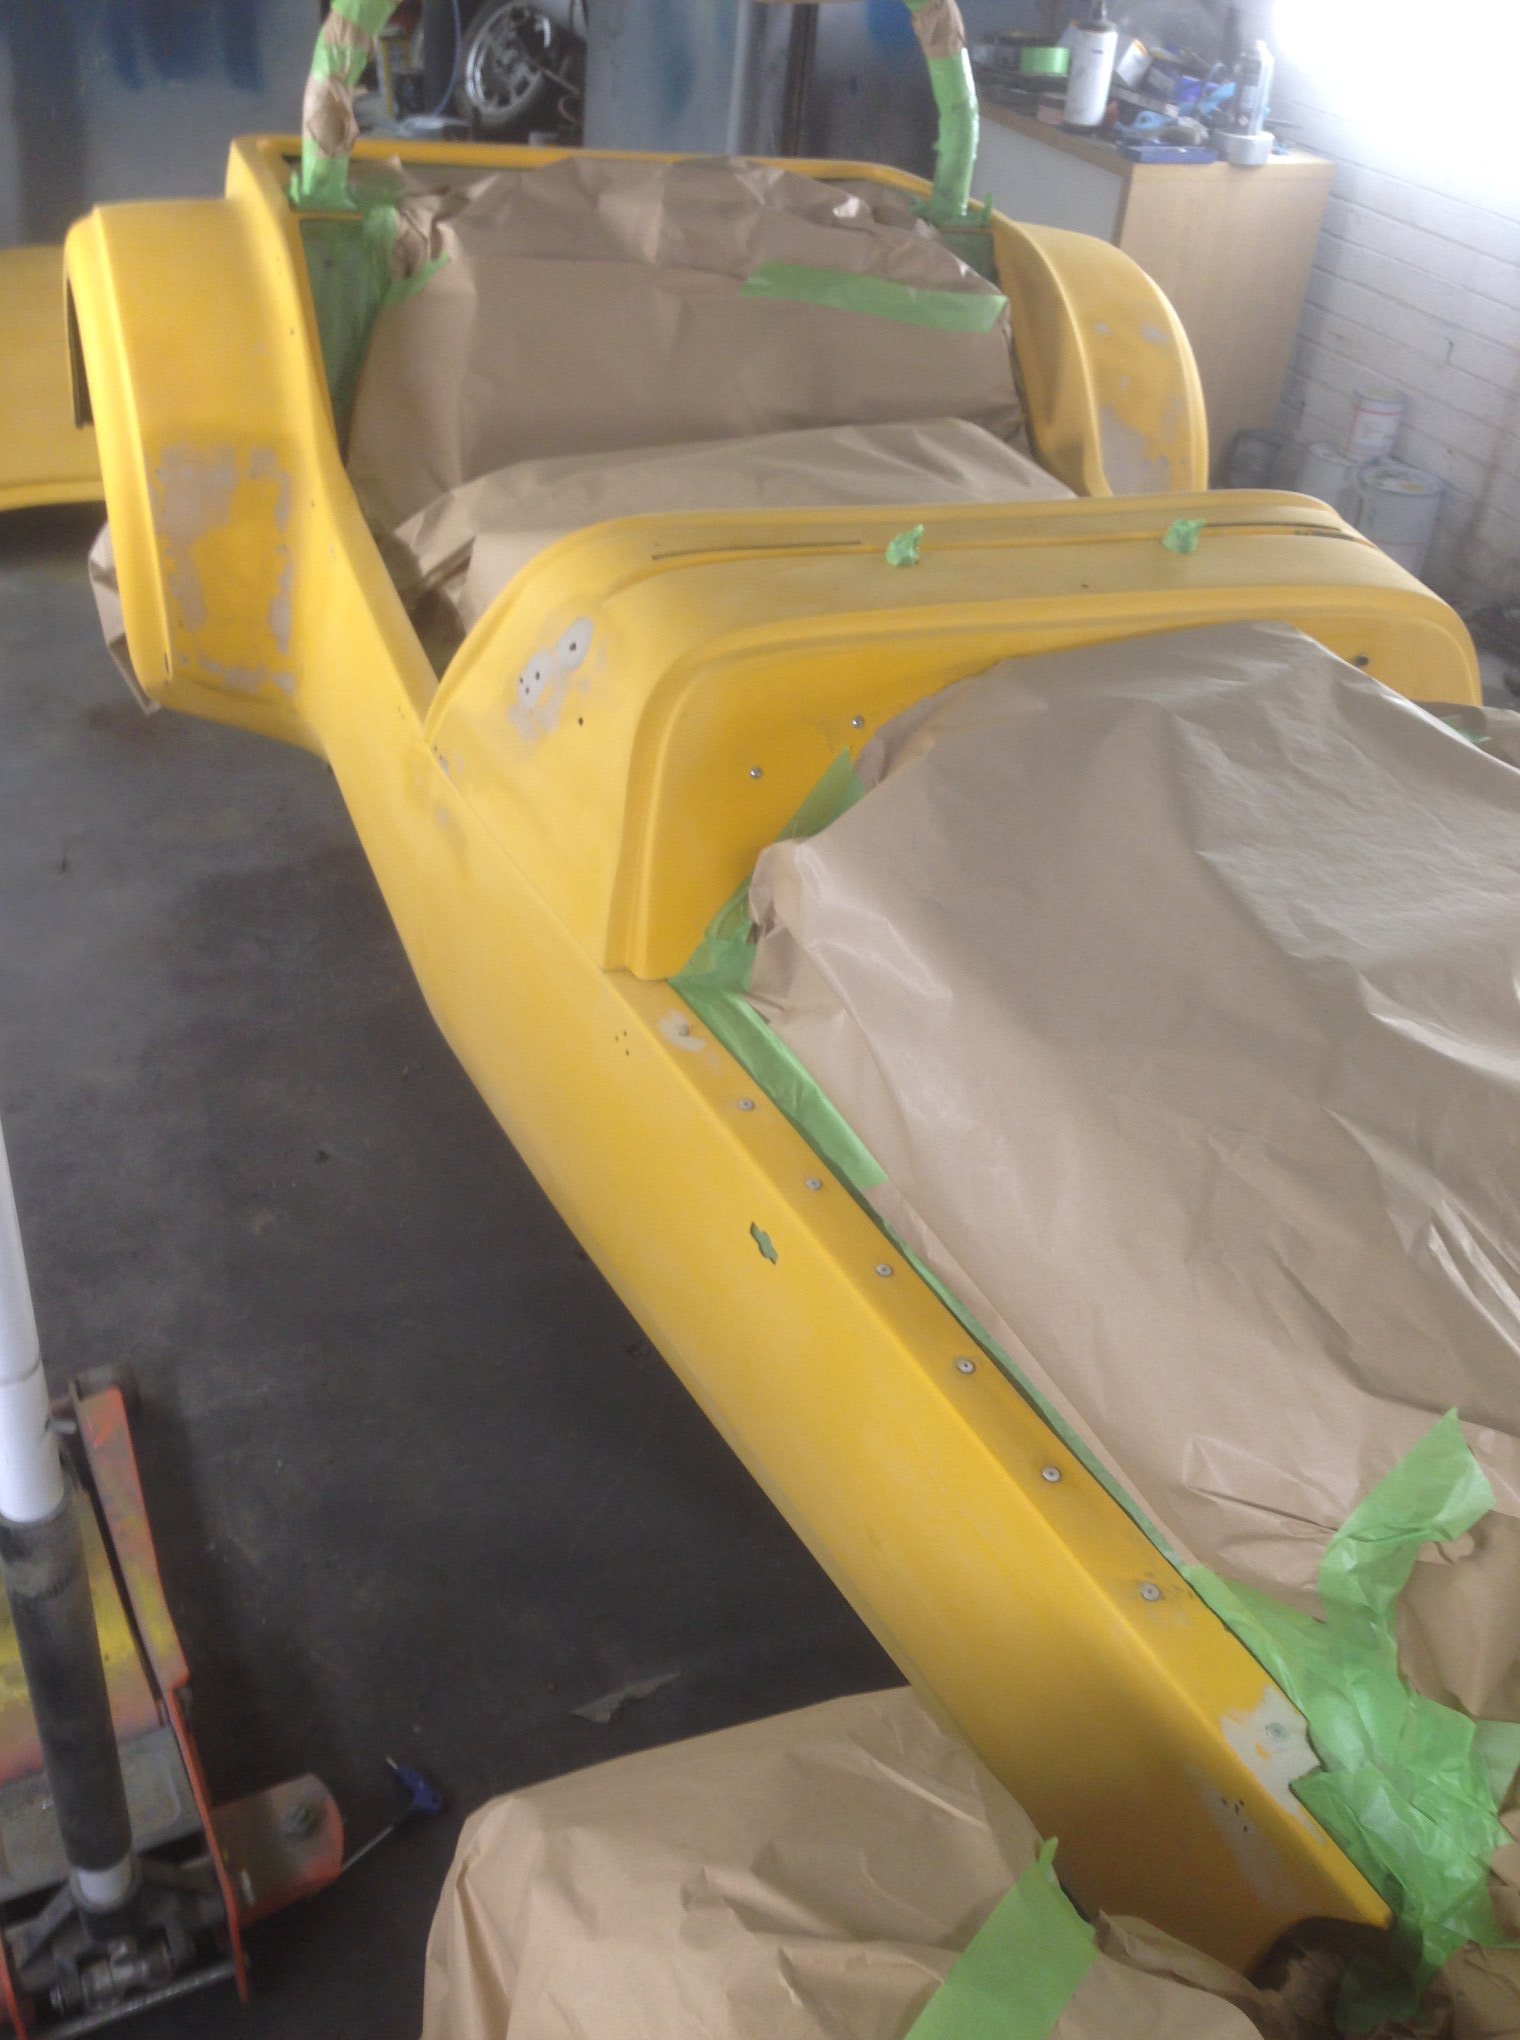
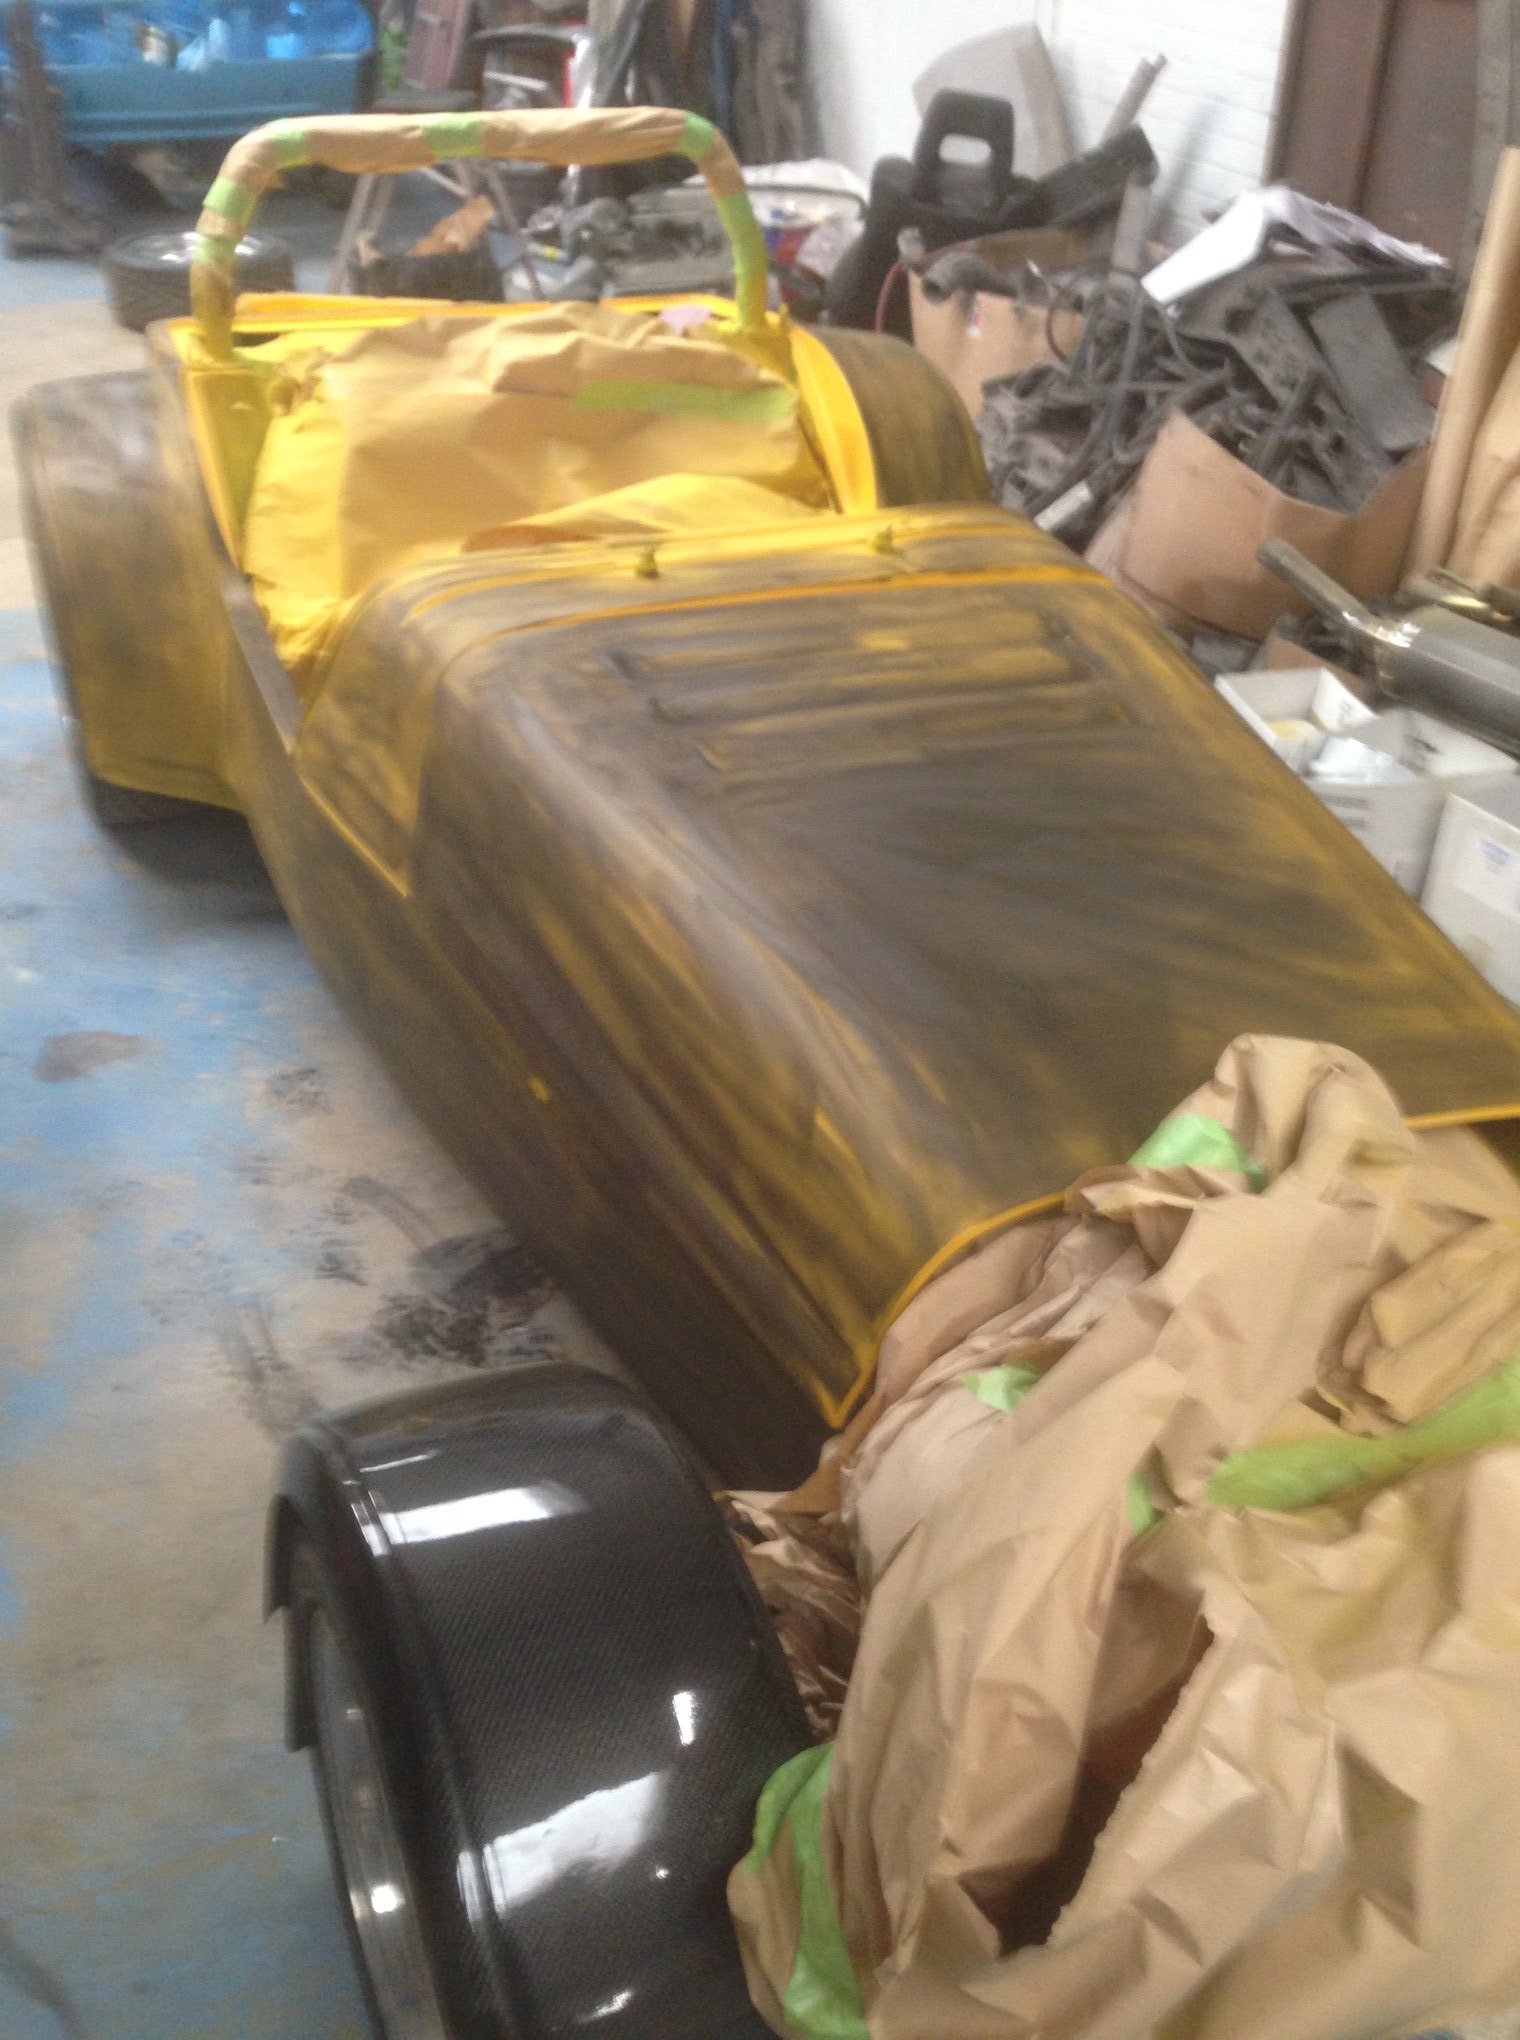
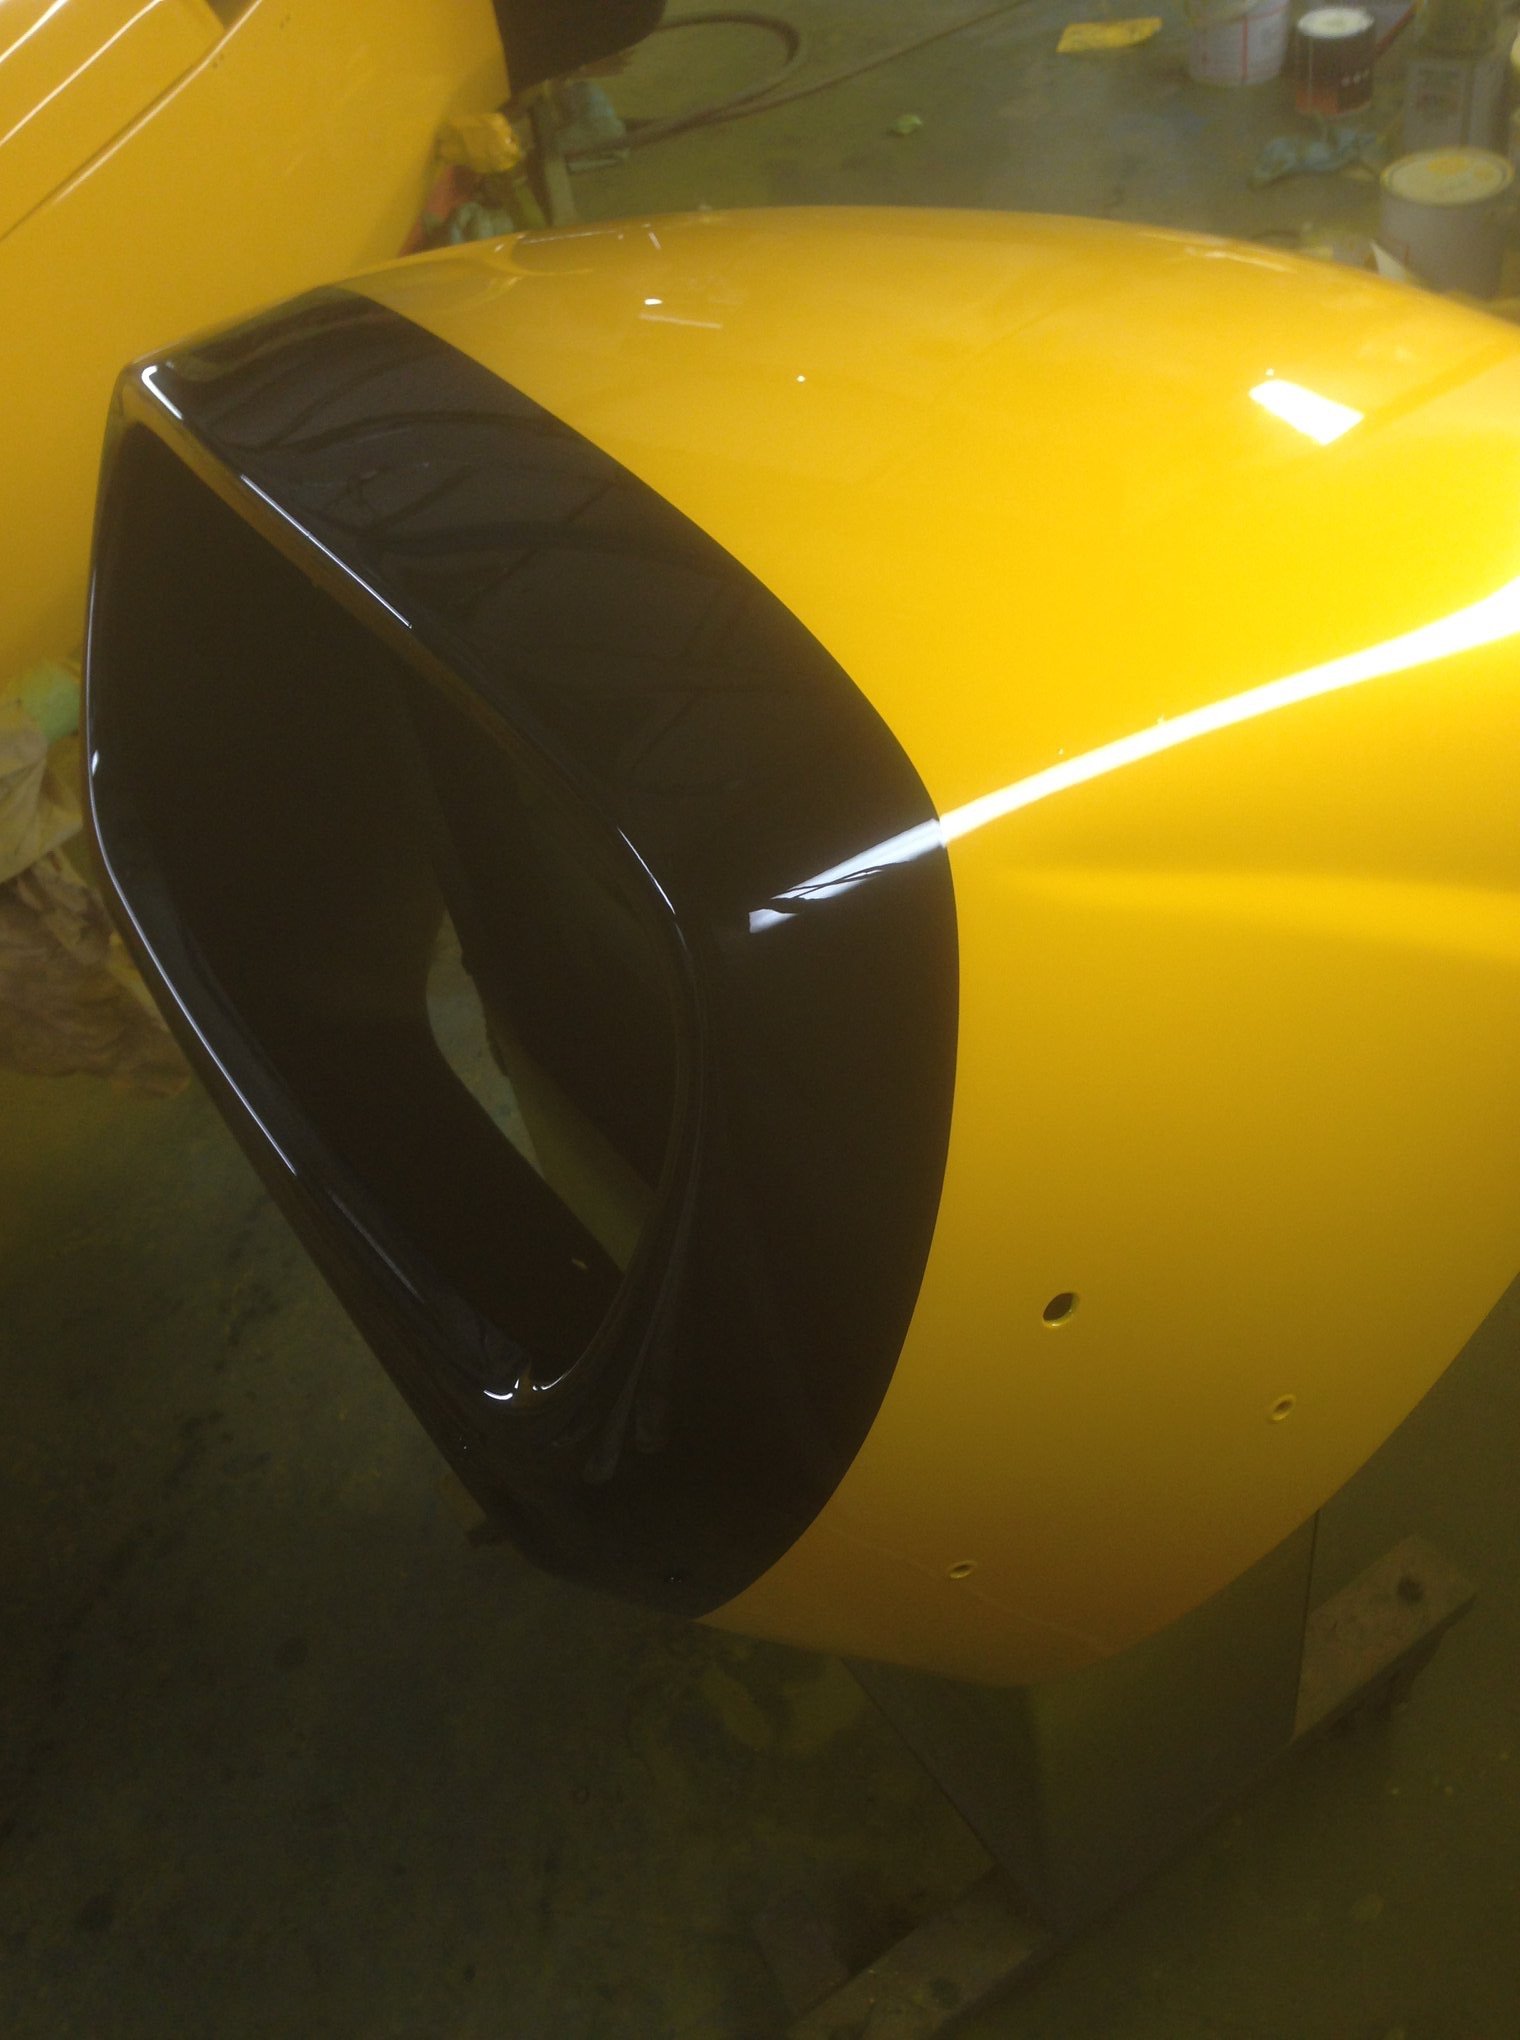
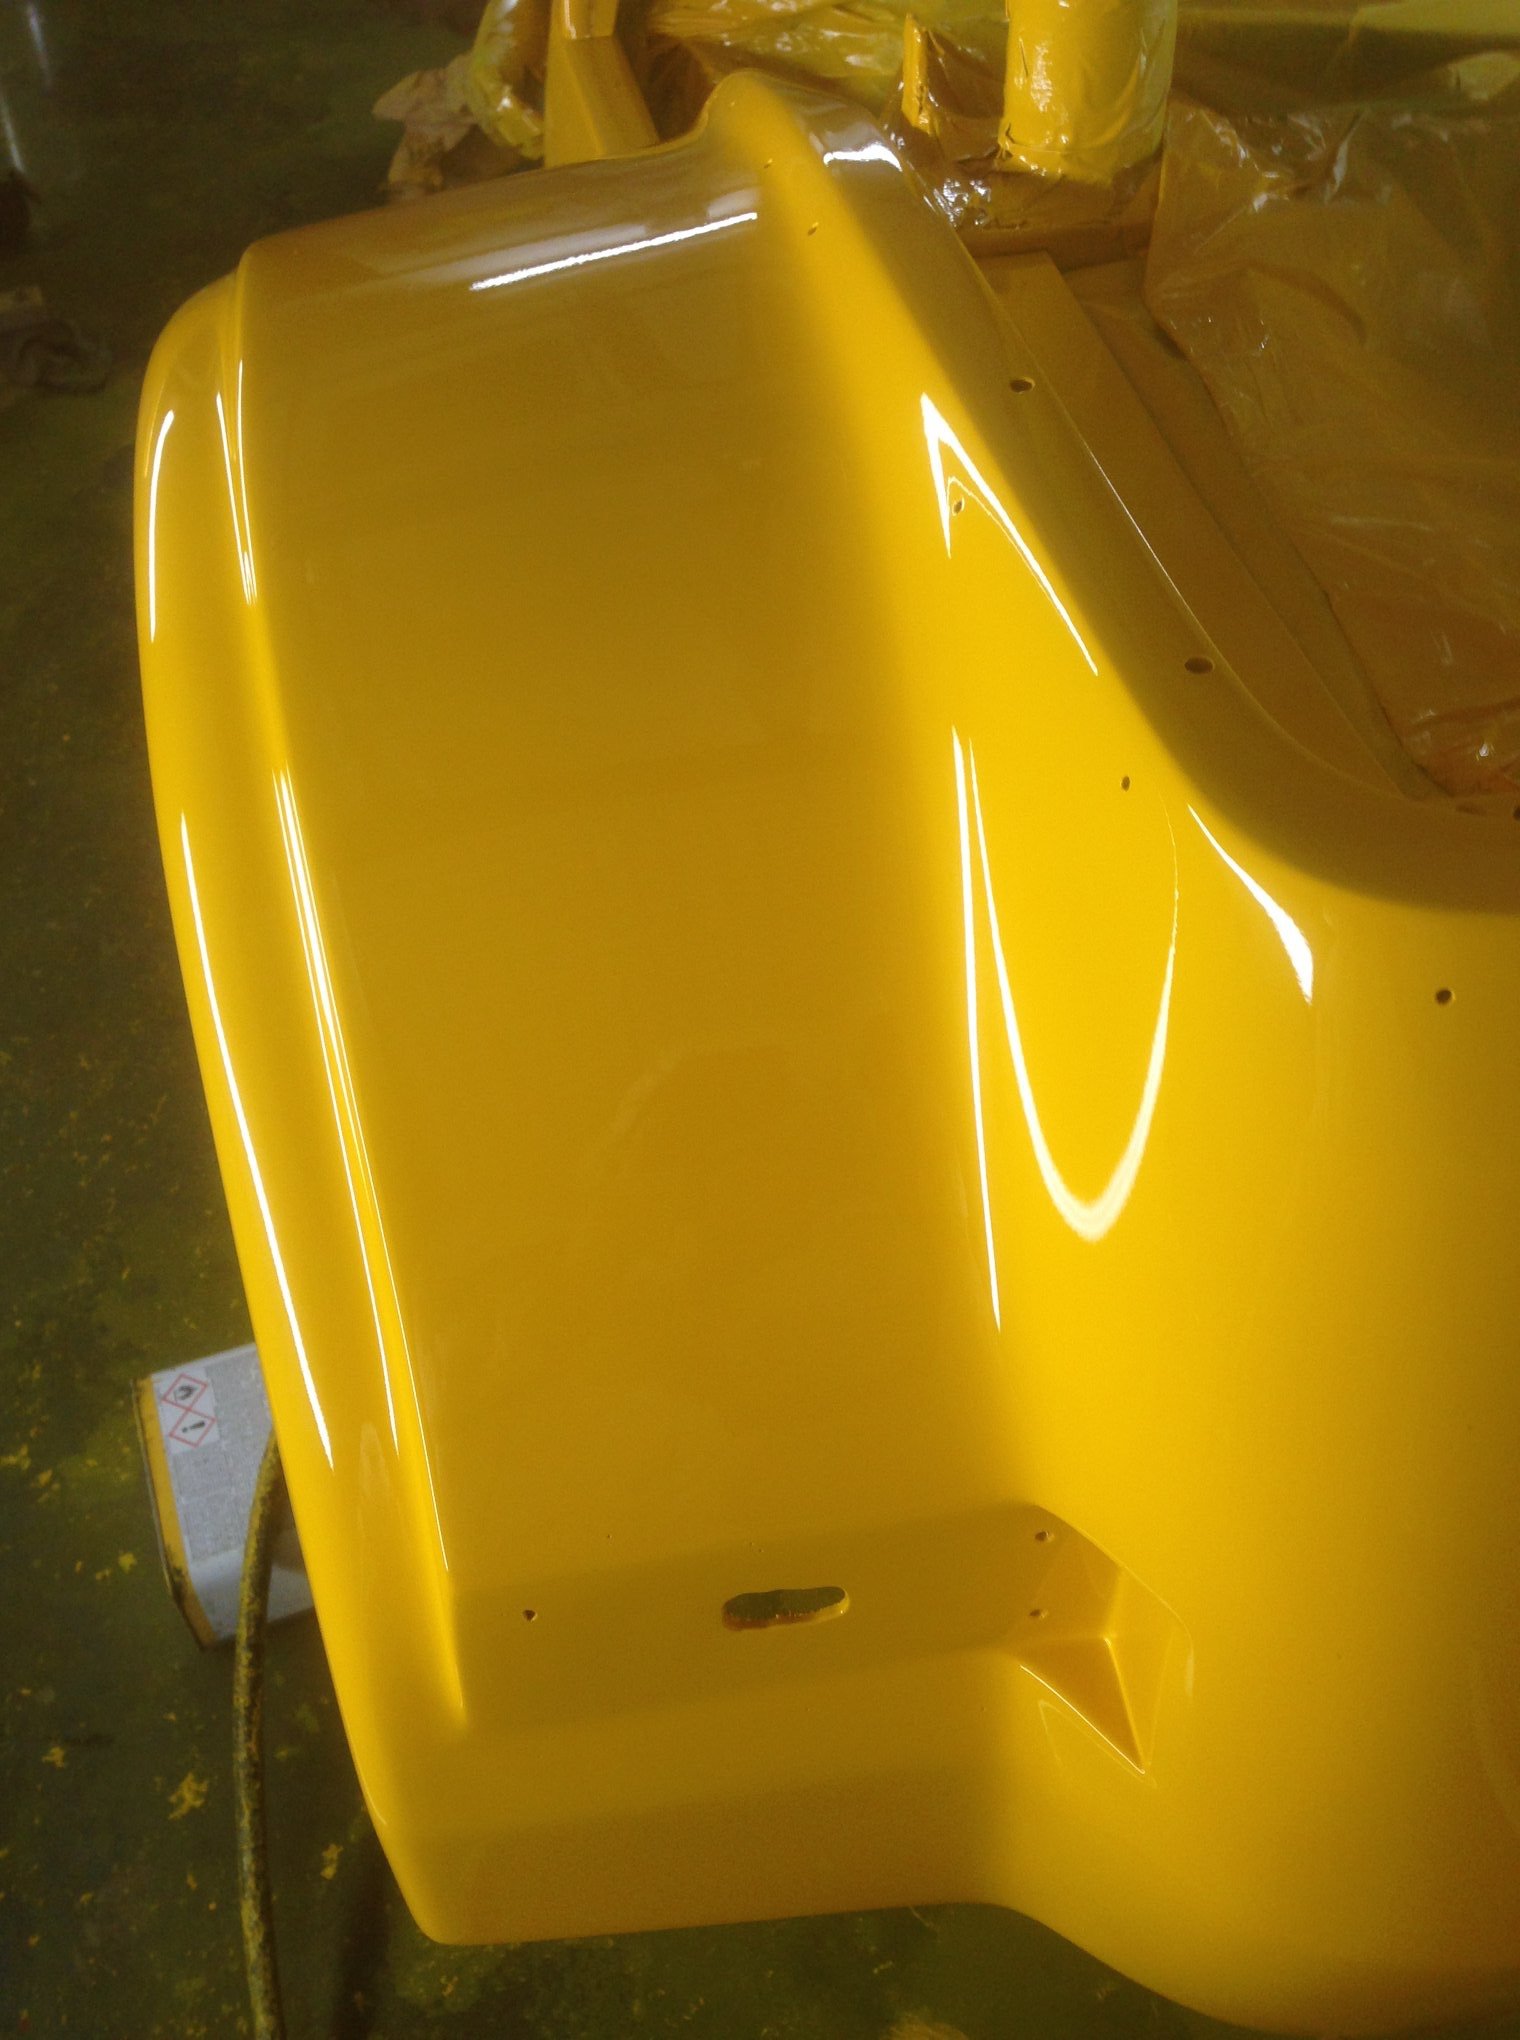
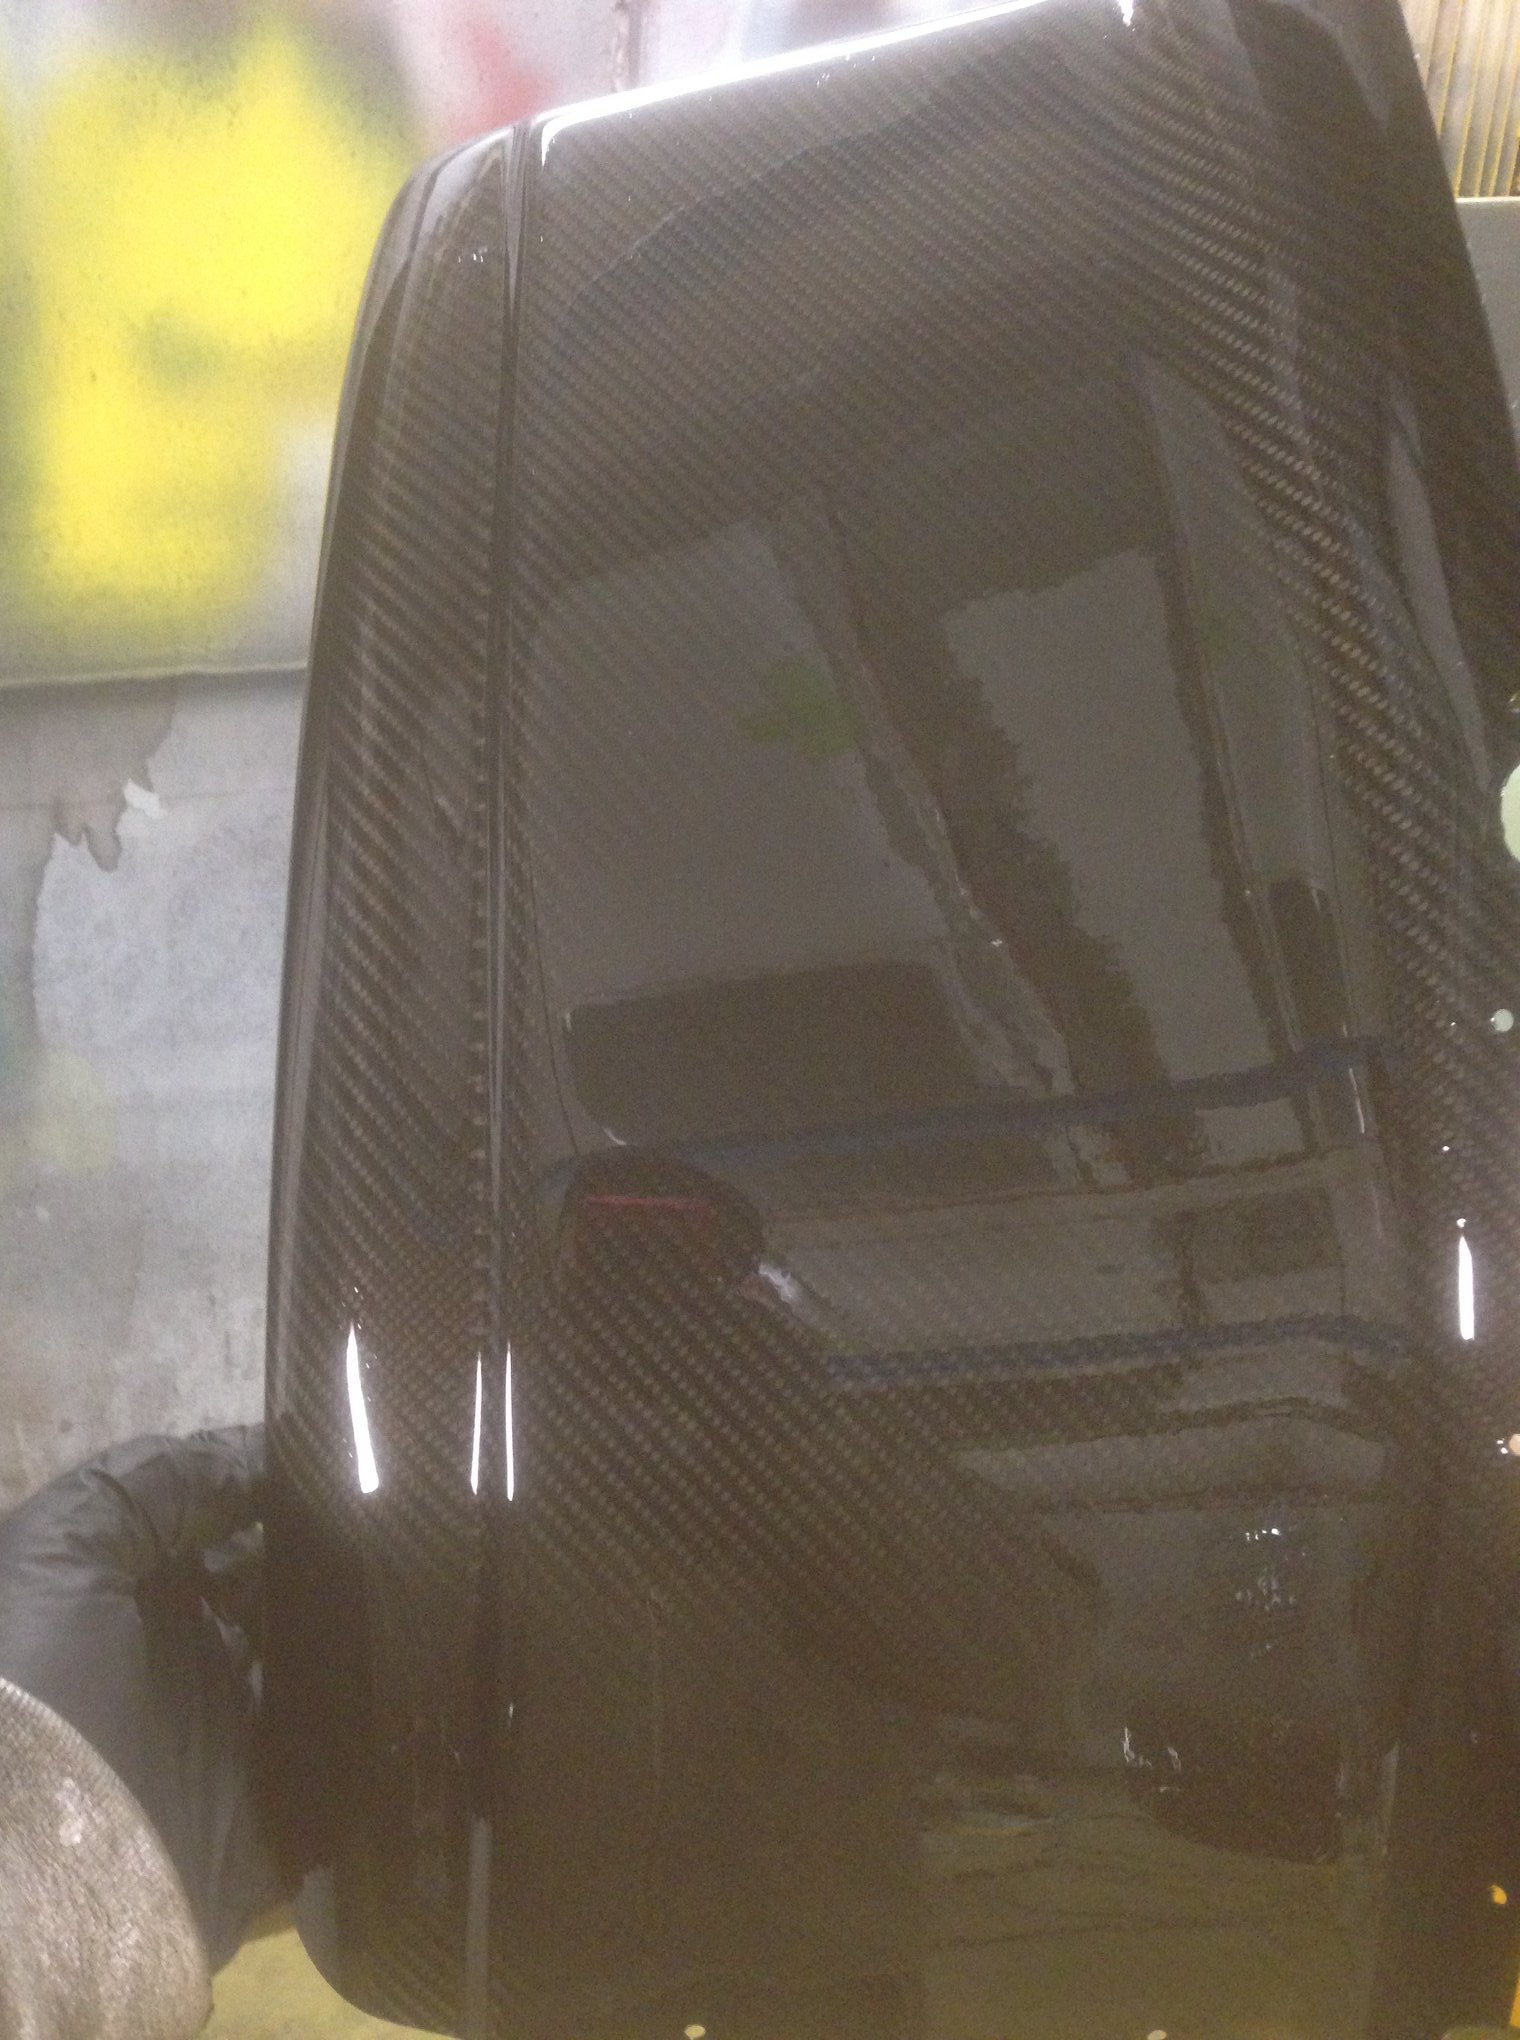
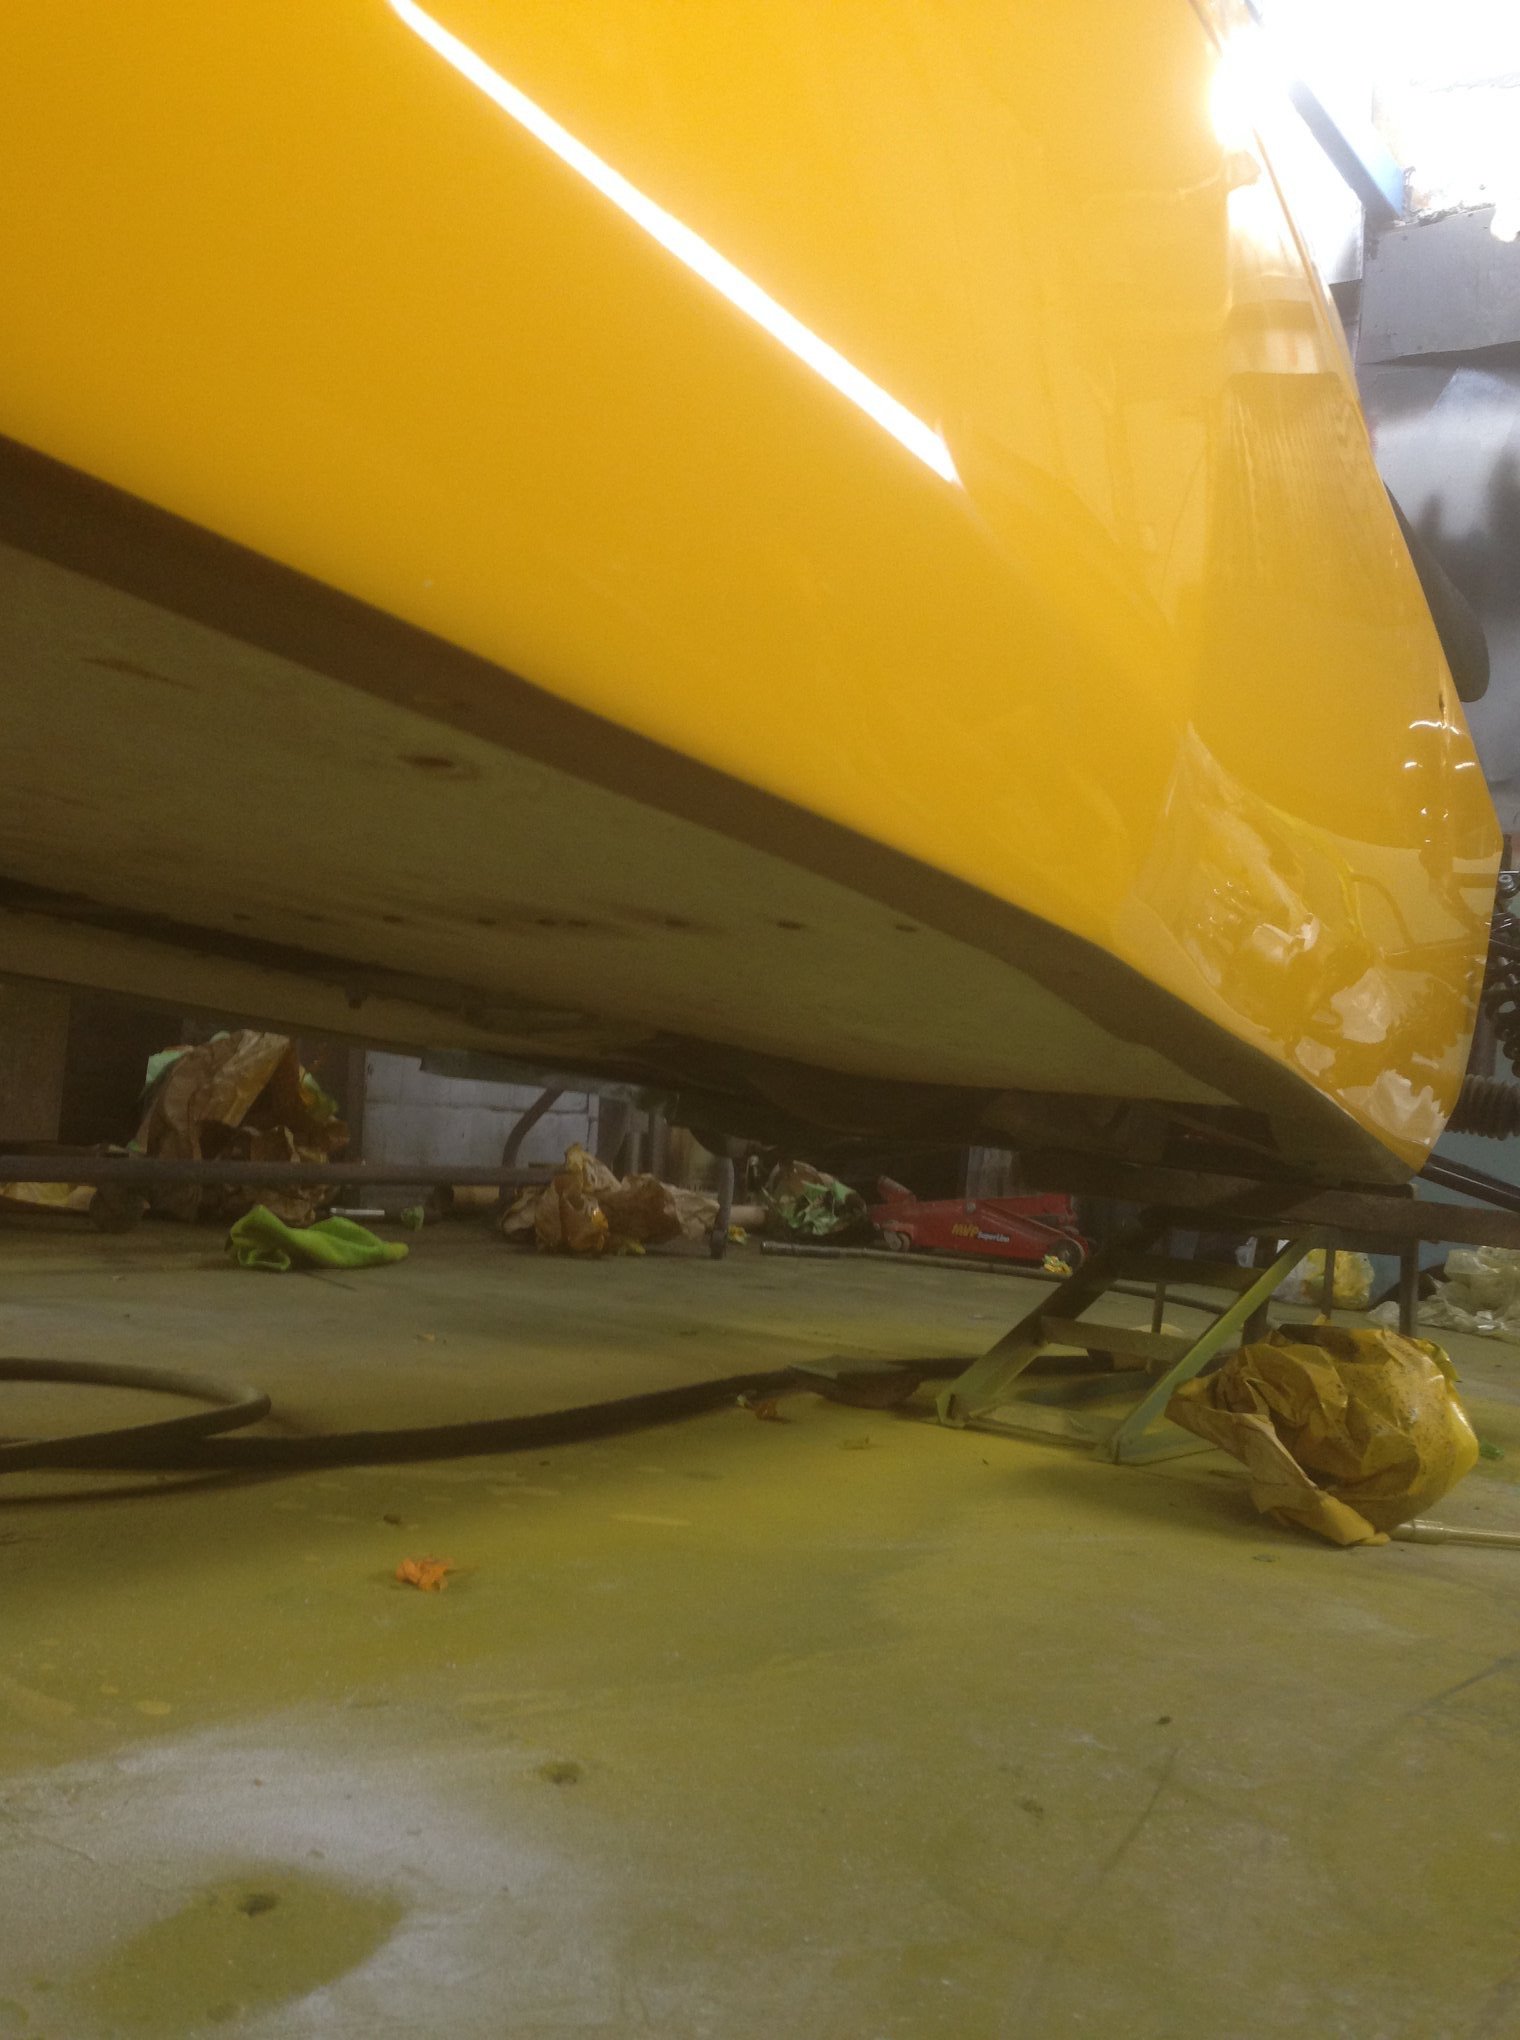
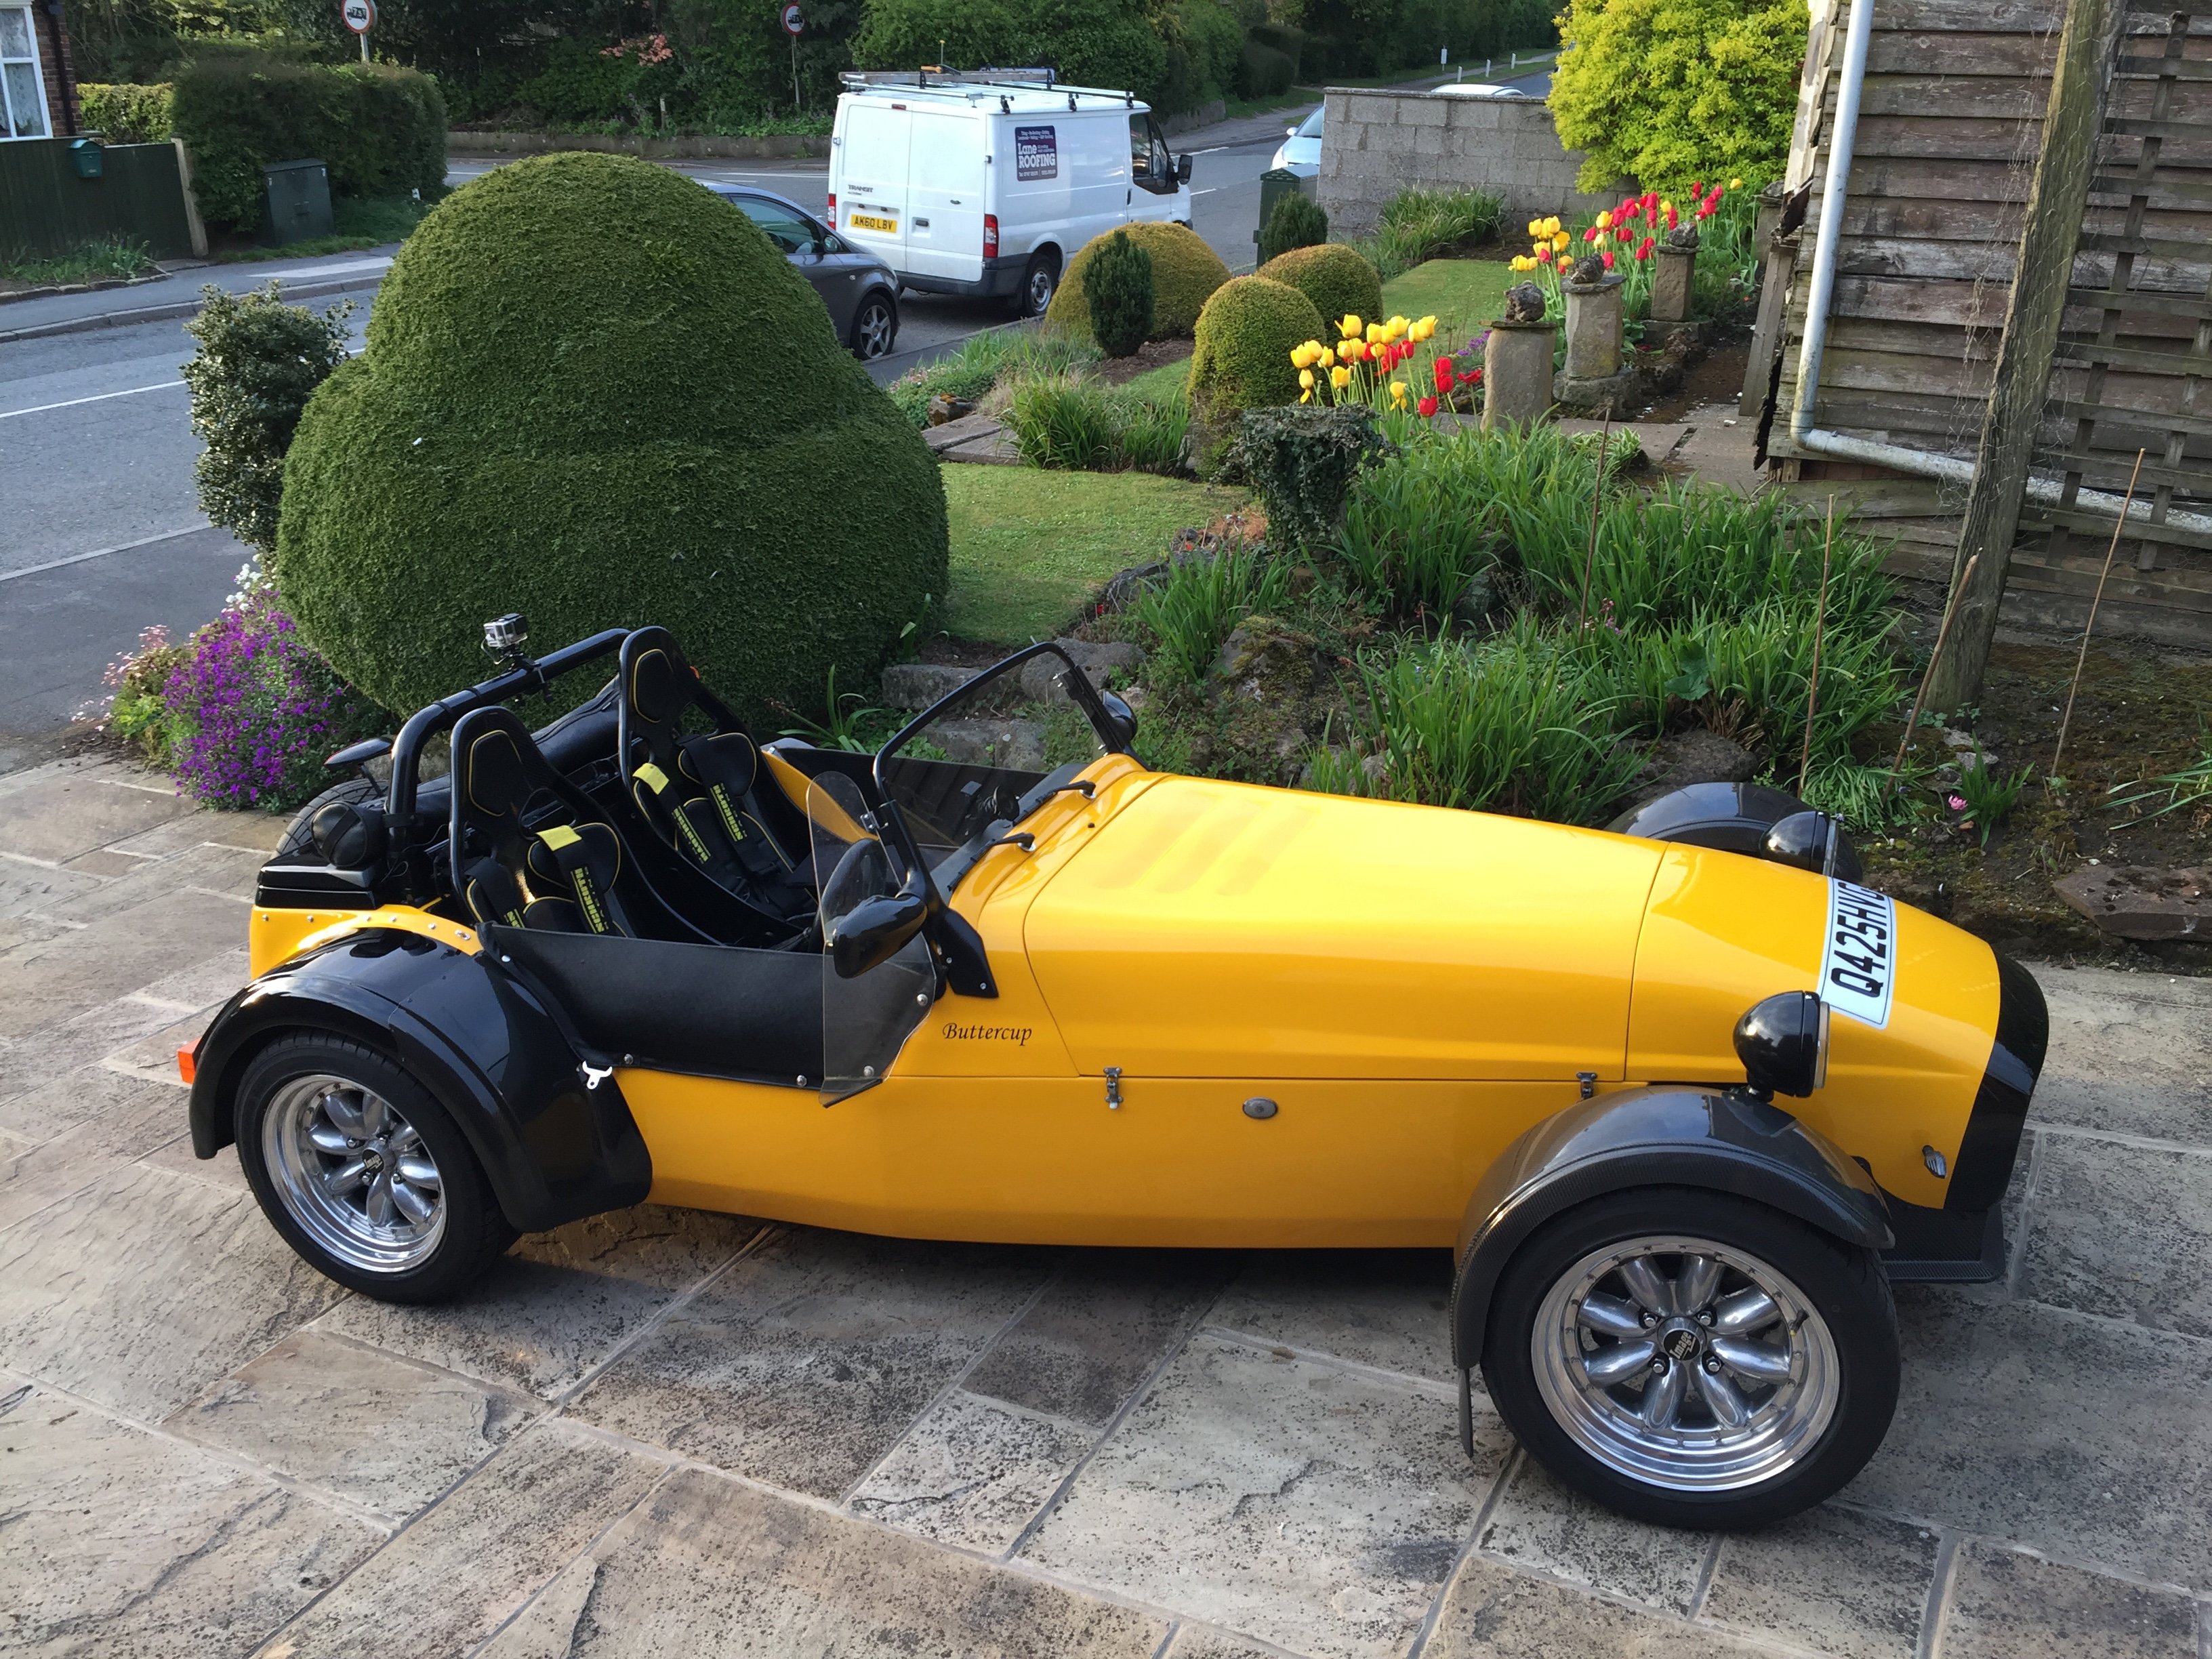
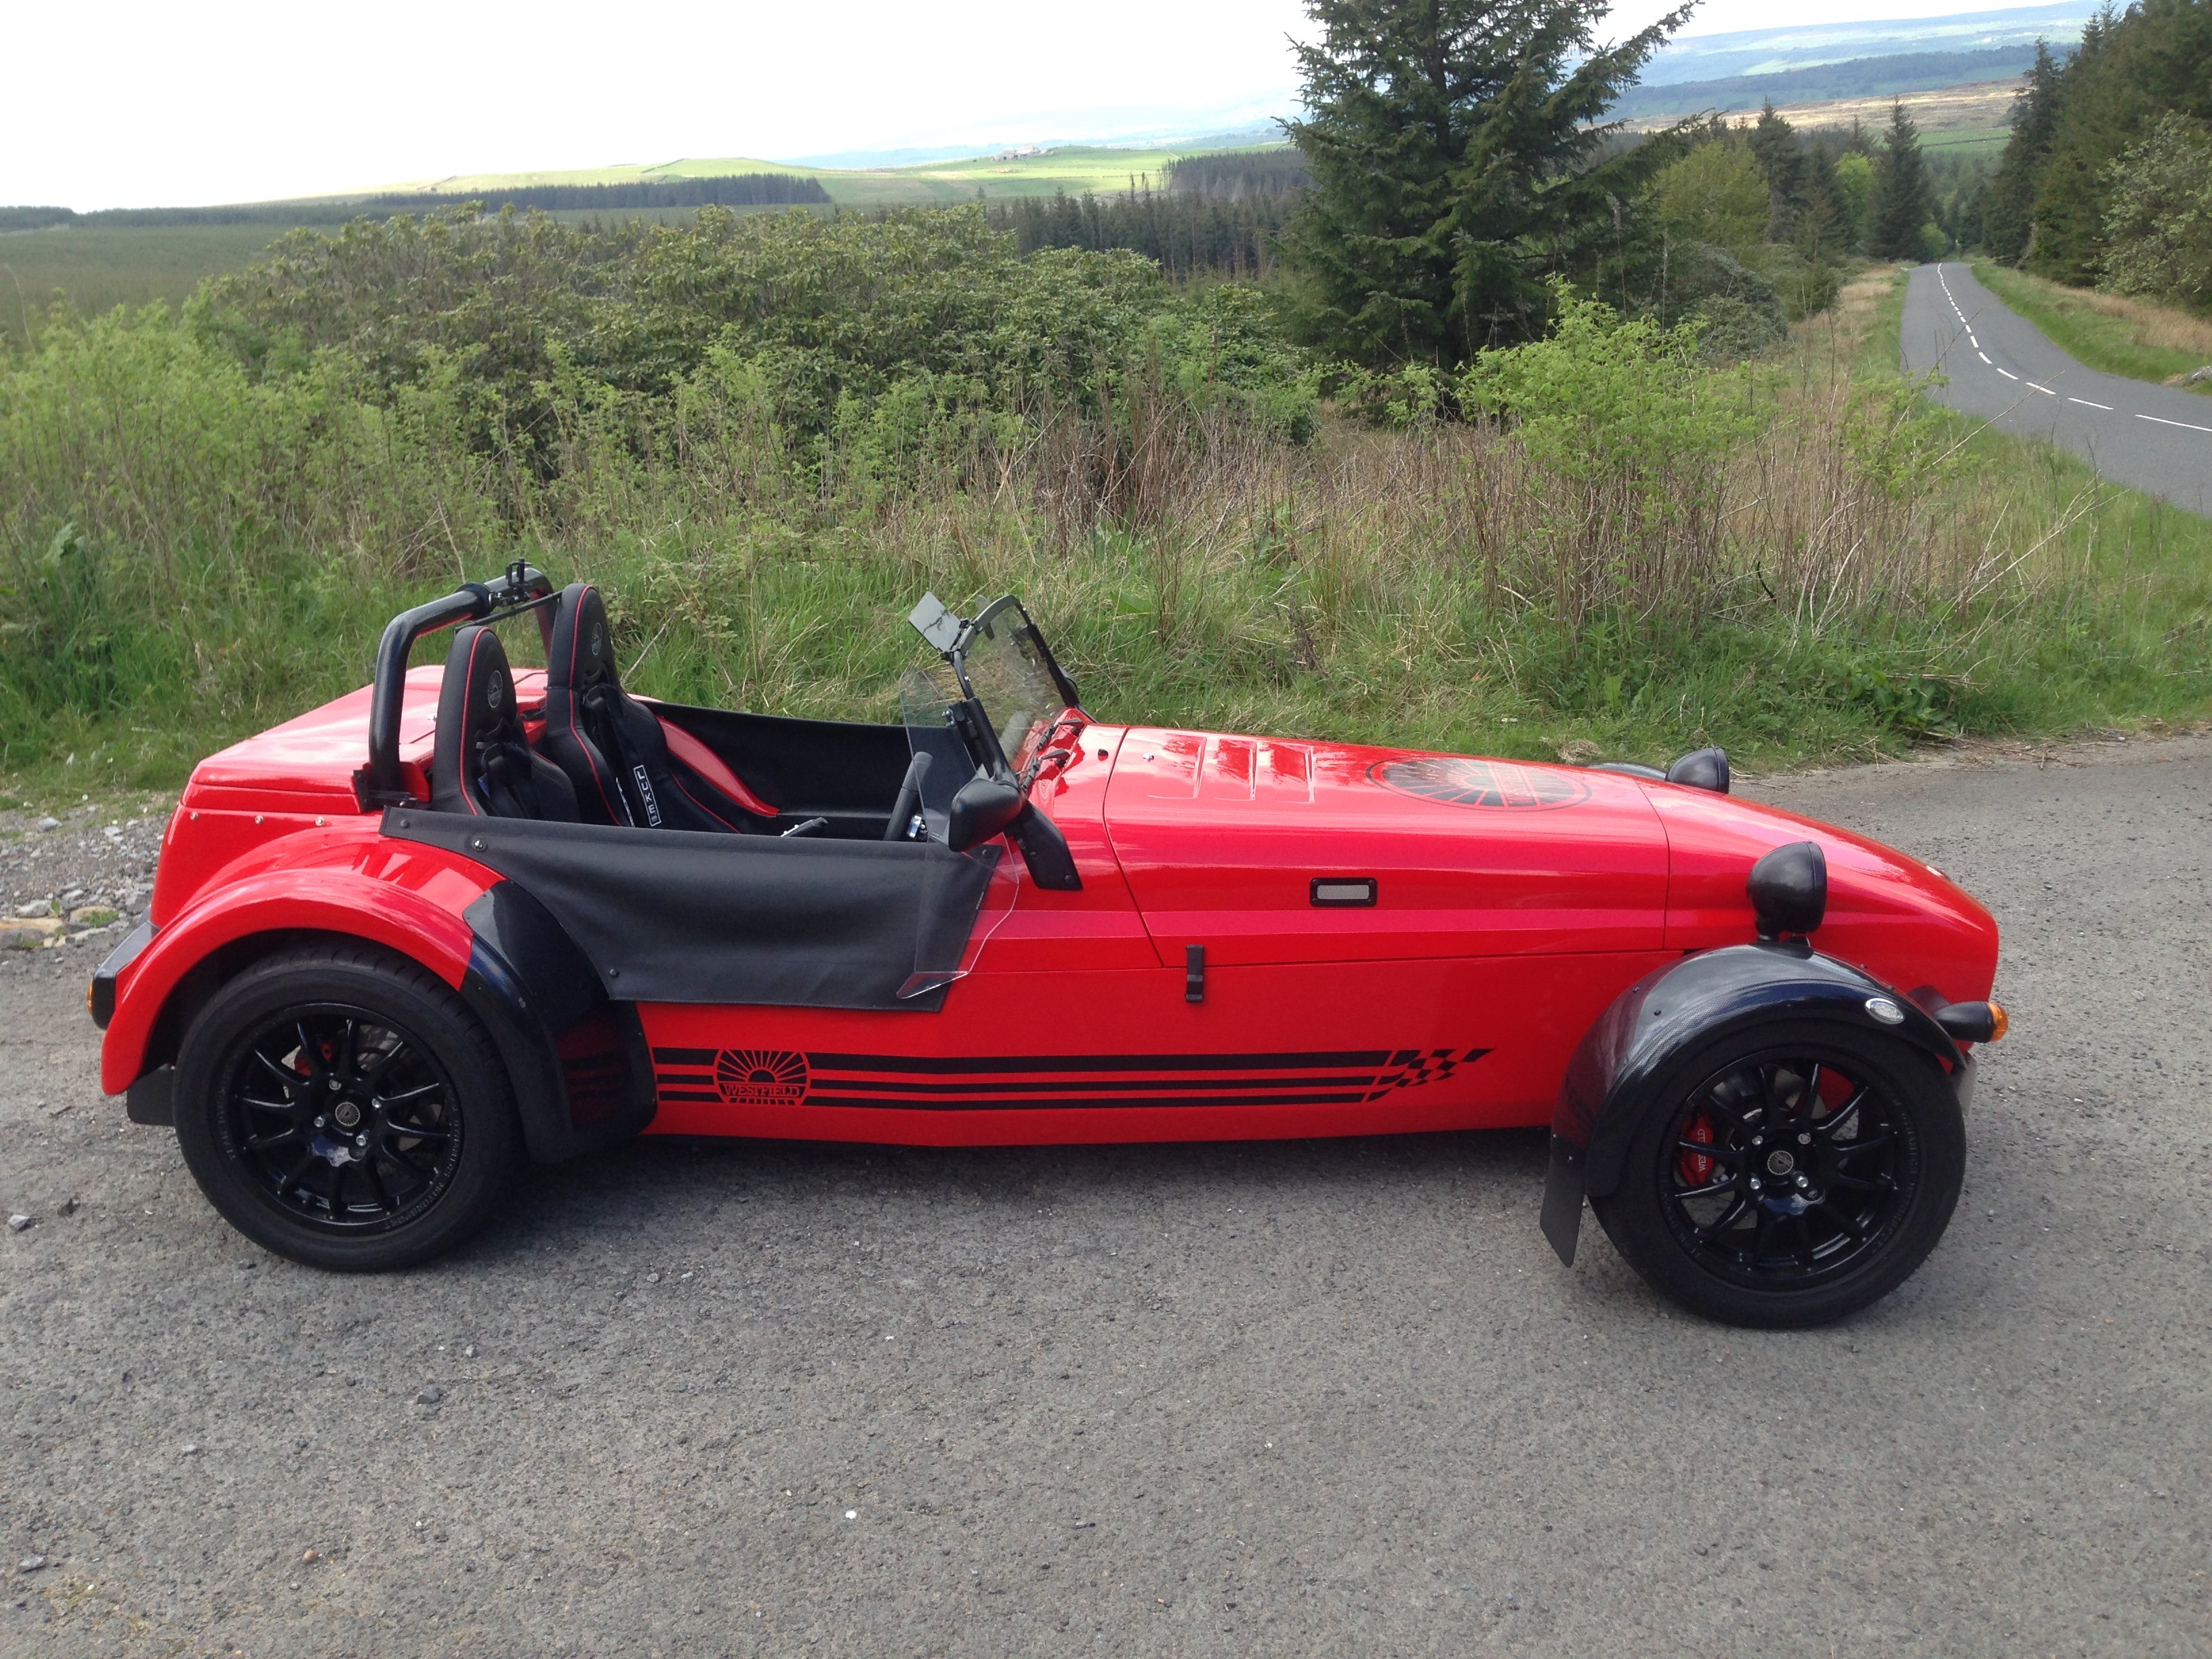
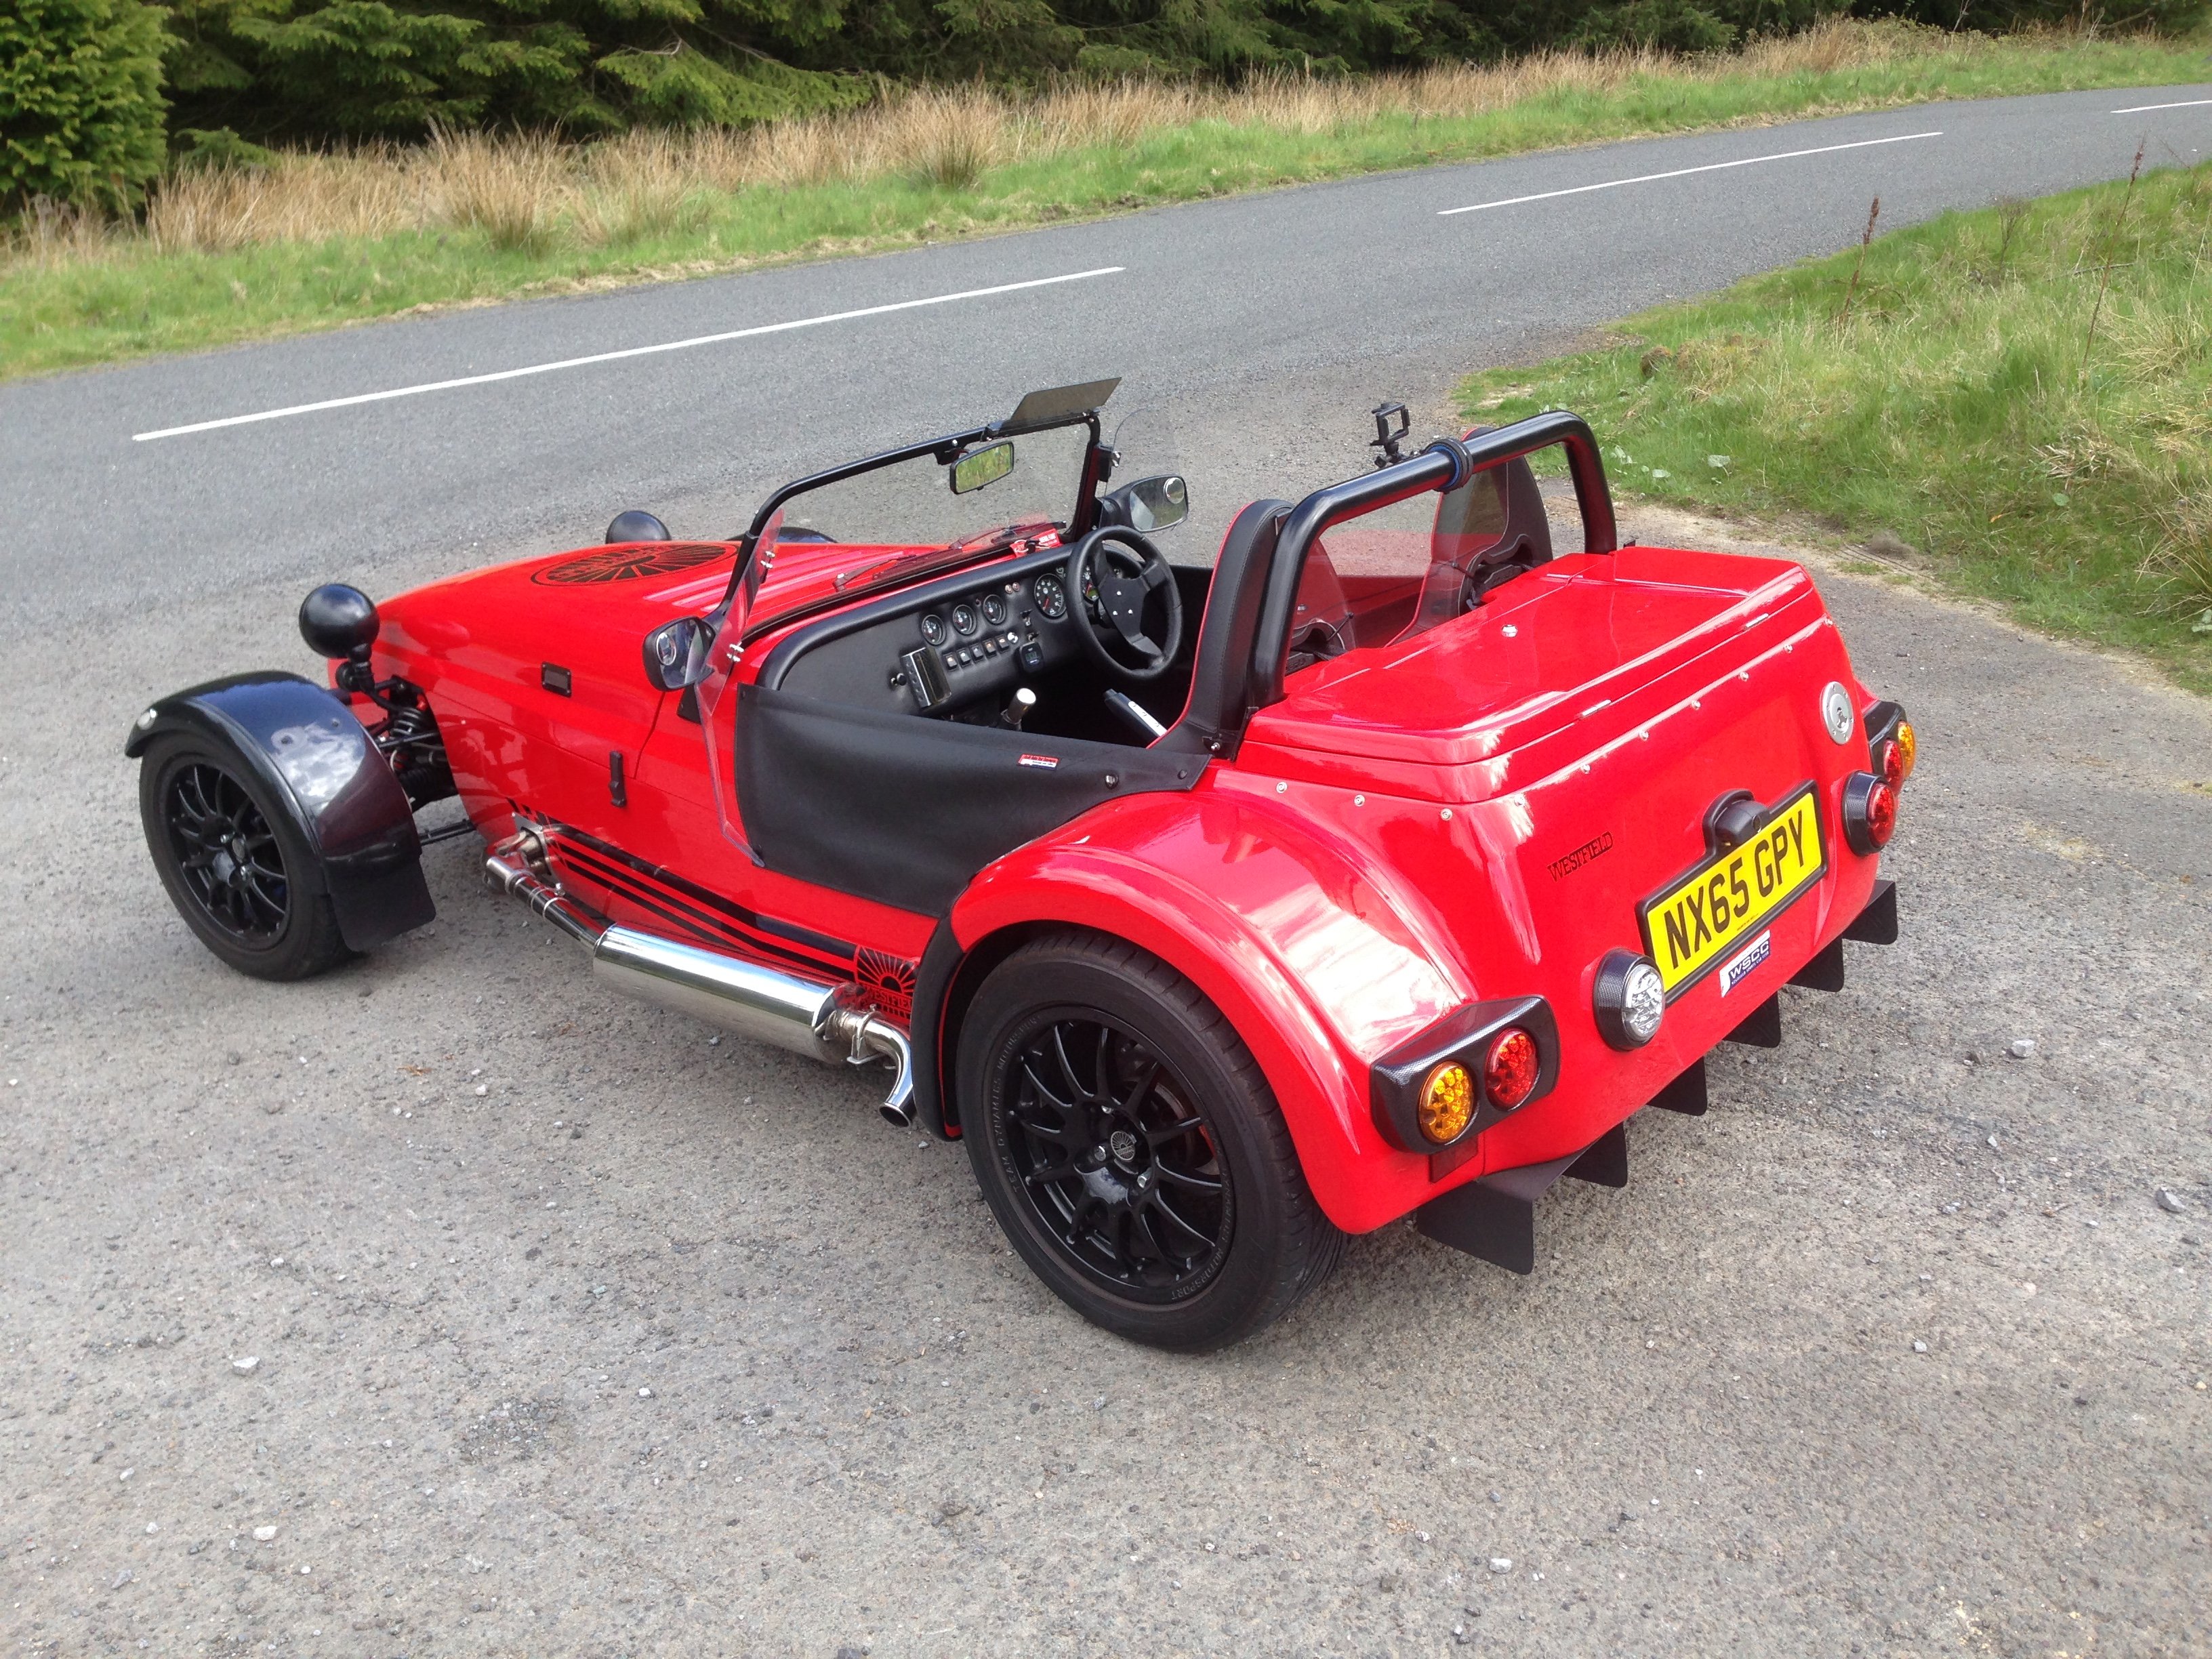
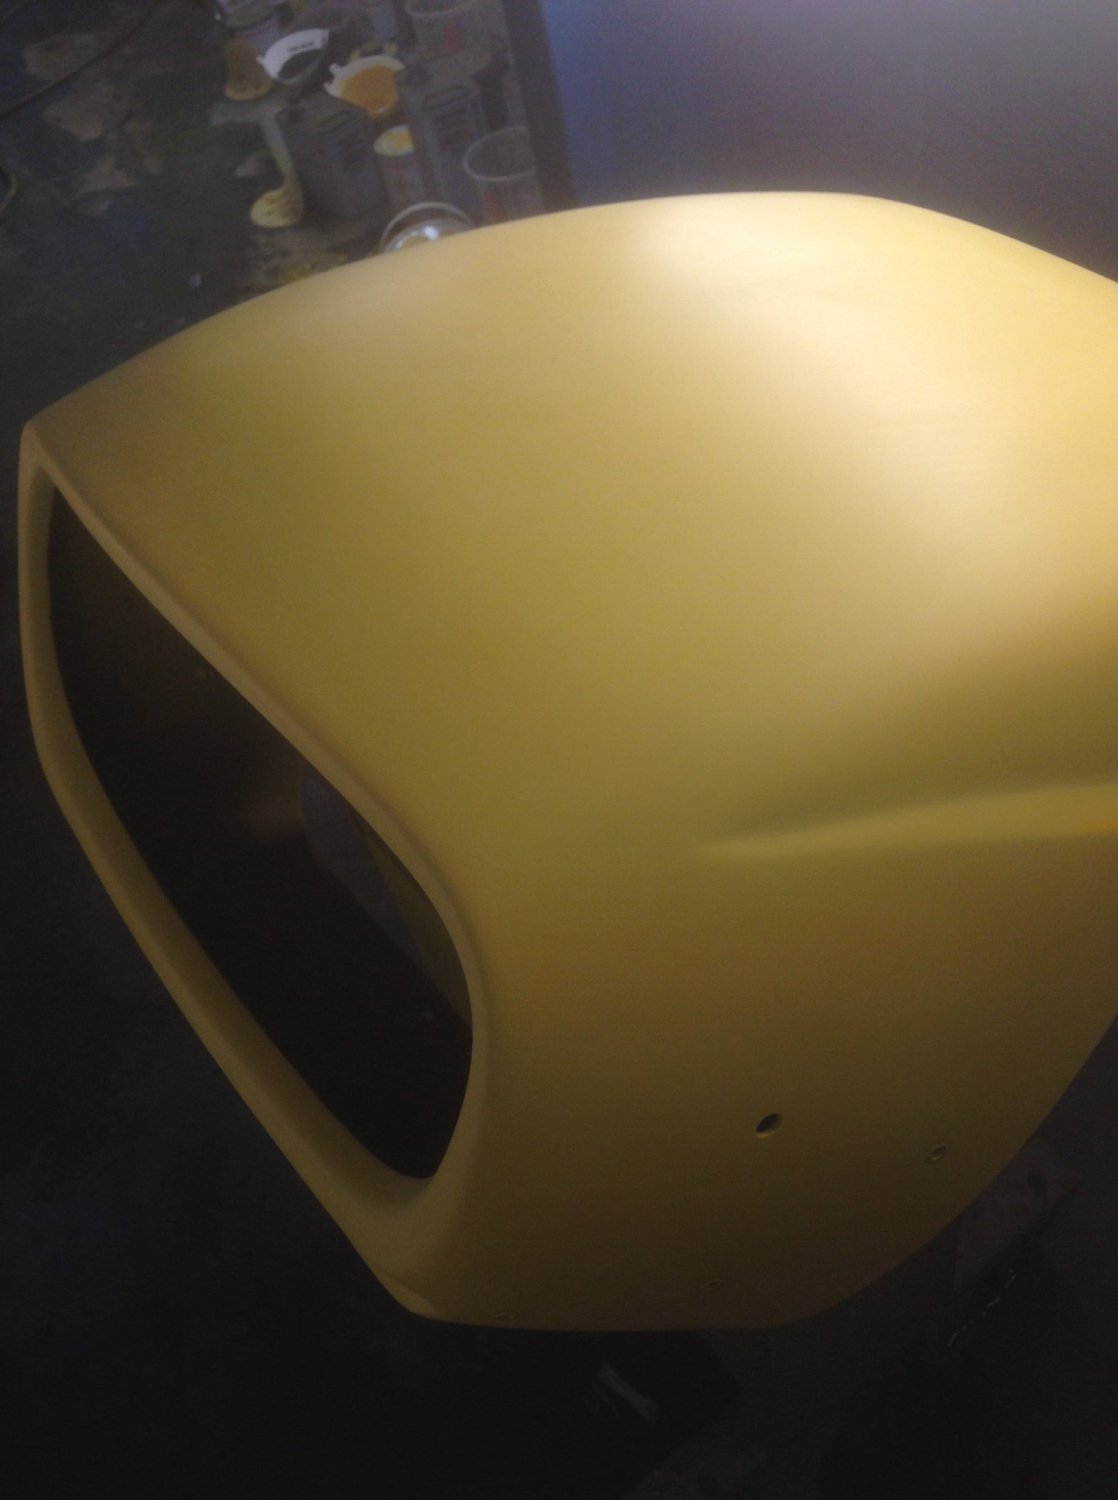
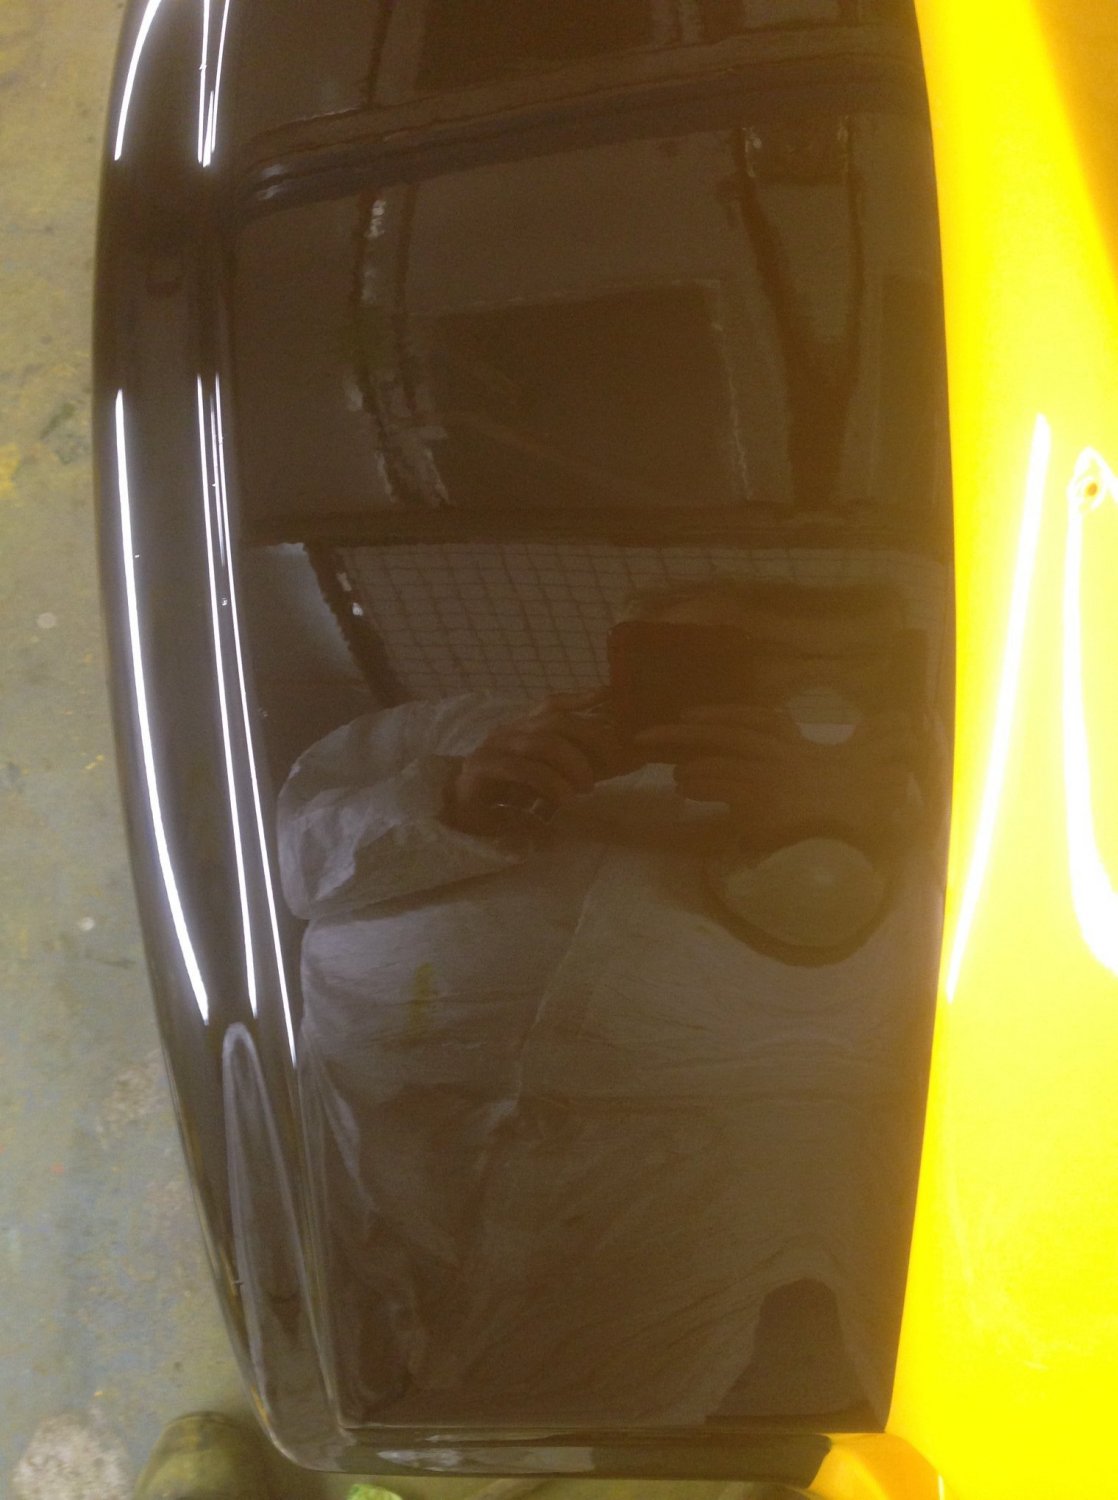
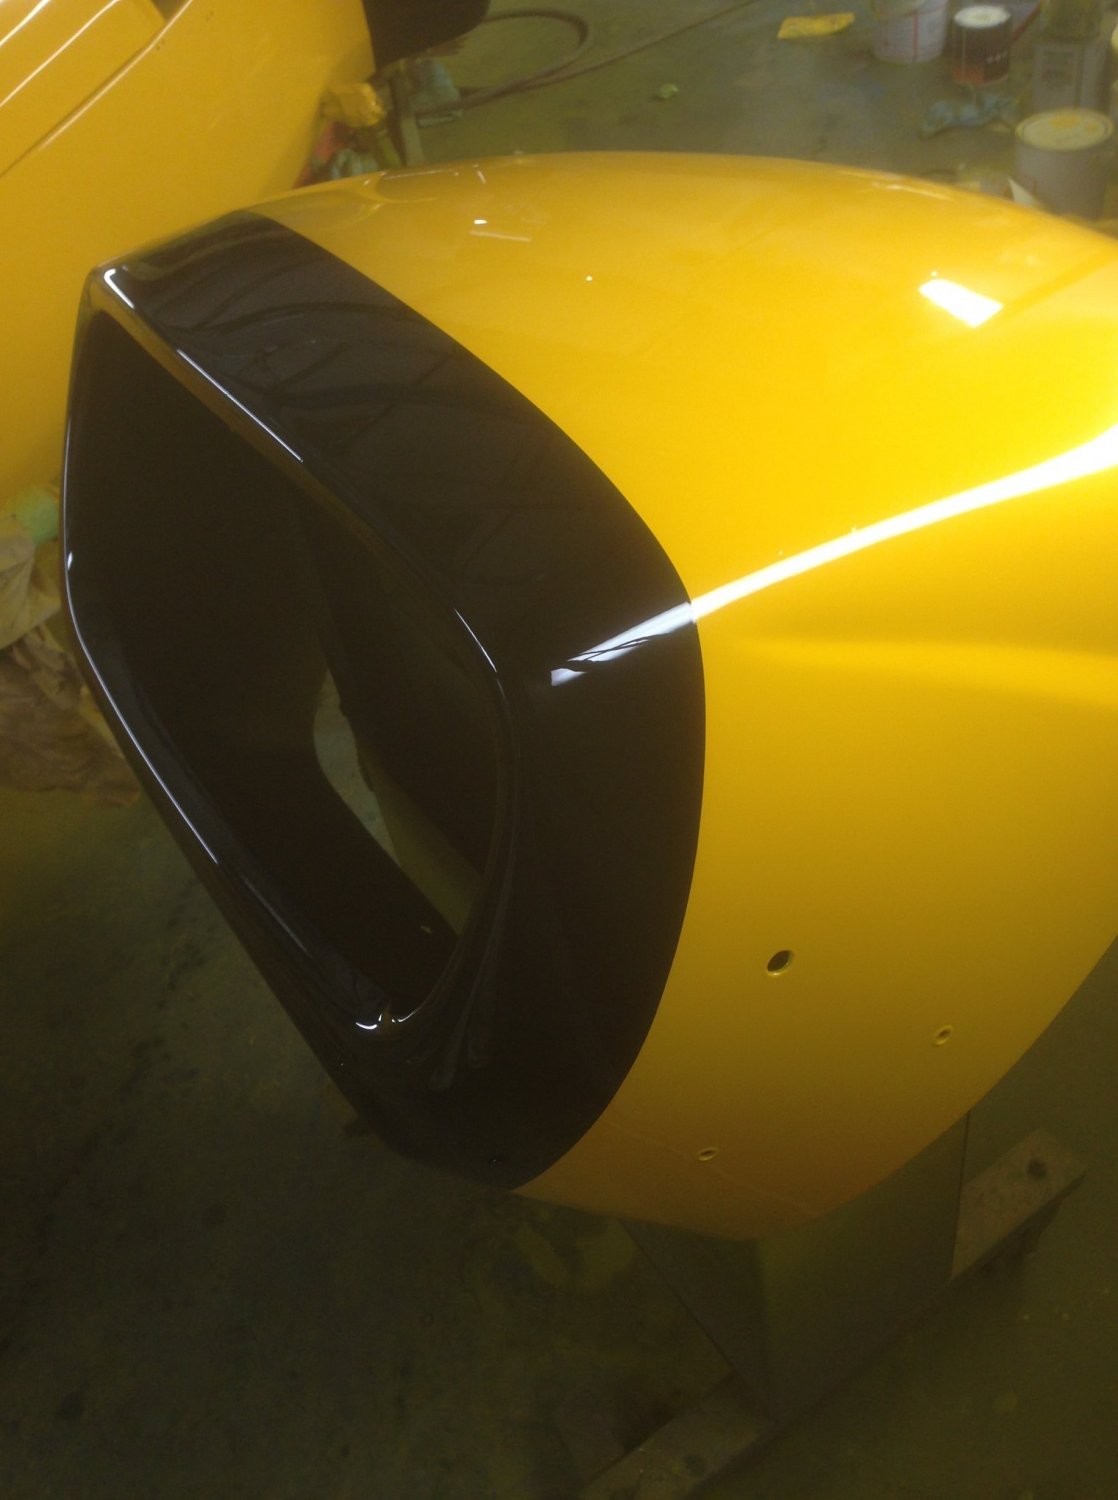
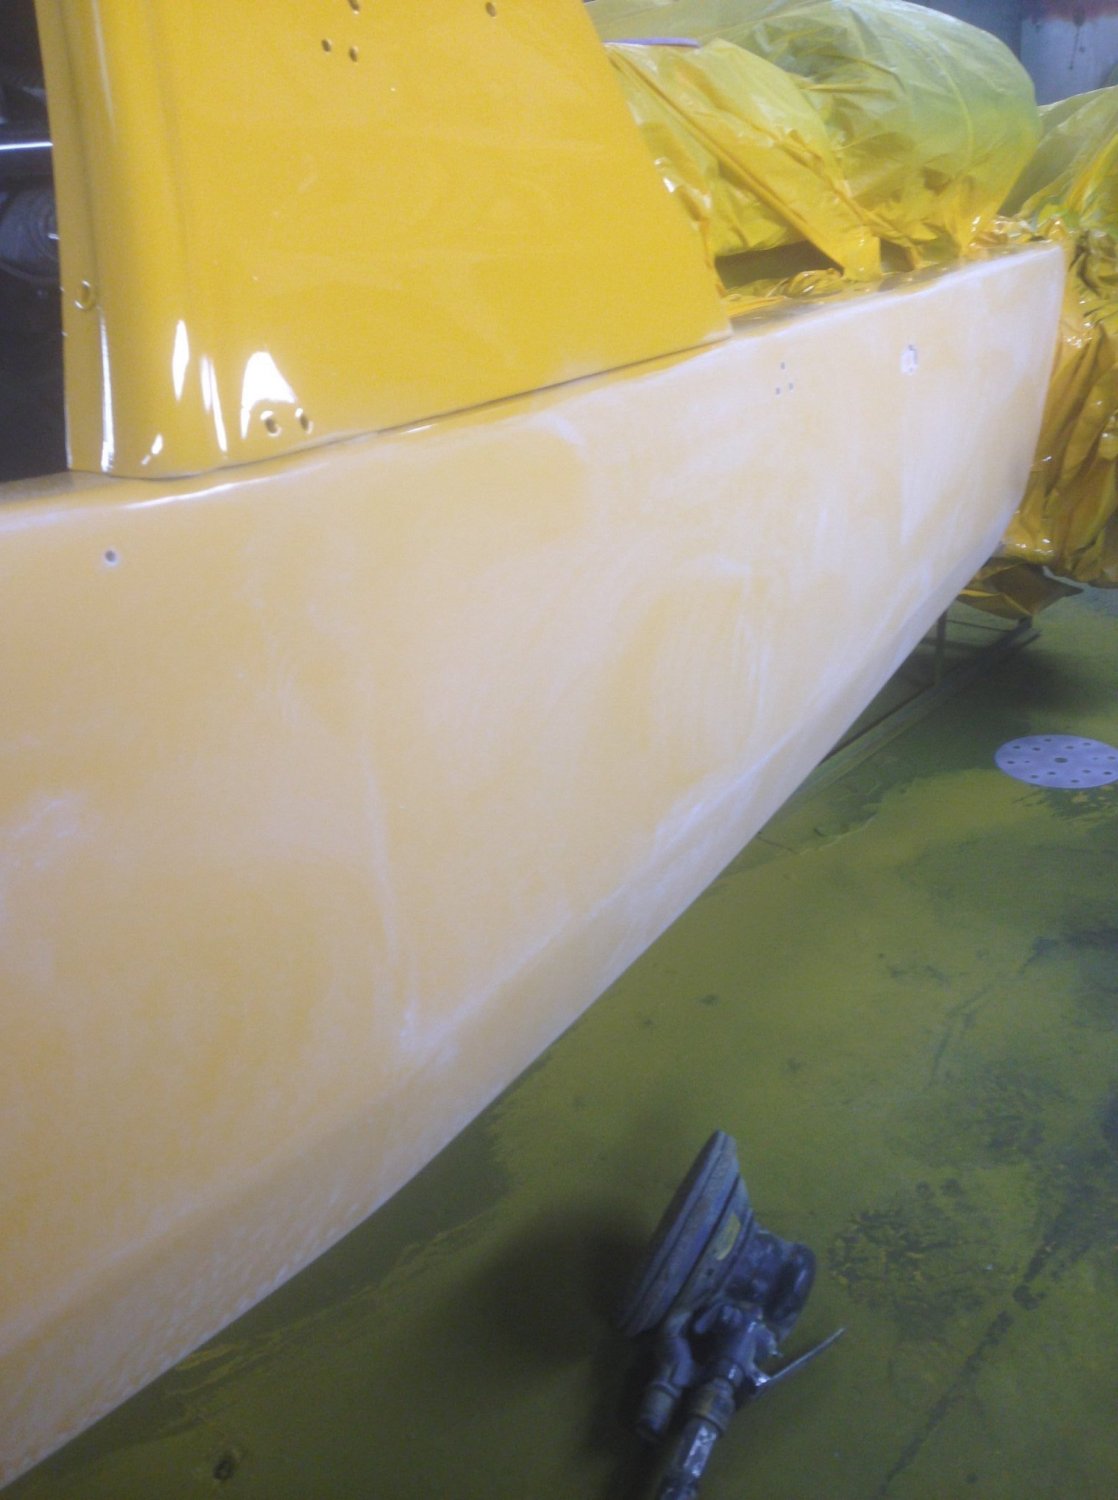
Last year I had Buttercup rebuilt by Luke at Playskool. I am extremely happy with the work Luke carried but the work was all hidden below the bodywork. I felt that the body was letting the car down a little as there where various marks and scuffs from her 19 years. I did discuss with Luke about having a new body but I decided this option wasn't for me. I also thought about wrapping but again decided against it. I saw a car that had been painted by Aaran on this forum, and through the owner I made contact with Aaran. I had various conversations with him and travelled down to Horncastle so we could agree what needed to be done and a price. On the day of taking her down, I was still unsure if I really wanted or needed the work to be done but after collecting the car, I am so pleased that I had the work carried out. I cannot thank Aaran of AJ Restorations enough for his work and attention to detail. Here is a link with plenty of pictures in case you would like to have a look. <iframe src="https://www.facebook.com/plugins/post.php?href=https%3A%2F%2Fwww.facebook.com%2Fmedia%2Fset%2F%3Fset%3Da.1197658287079801%26type%3D3&width=500" width="500" height="745" style="border:none;overflow:hidden" scrolling="no" frameborder="0" allowTransparency="true" allow="encrypted-media"></iframe>


 1 point
 -
That was DropBox - the swines changed their hosting rules a couple of years ago. I’ll add a few more pics as I mounted them better a few months after this post!1 point
-
I've had two blow outs on my single axle trailer quite a few years back. Was my fault really.. pushing the limits of the tyres ratings with my son's Civic on board. Have since gone up on the wheel size with higher rated tyres no problems since. But as you say.. no drama at all. I suppose the worst bit is a twin axle you can keep going and pick a spot for the wheel change where the single axle demands more immediate action?1 point
-
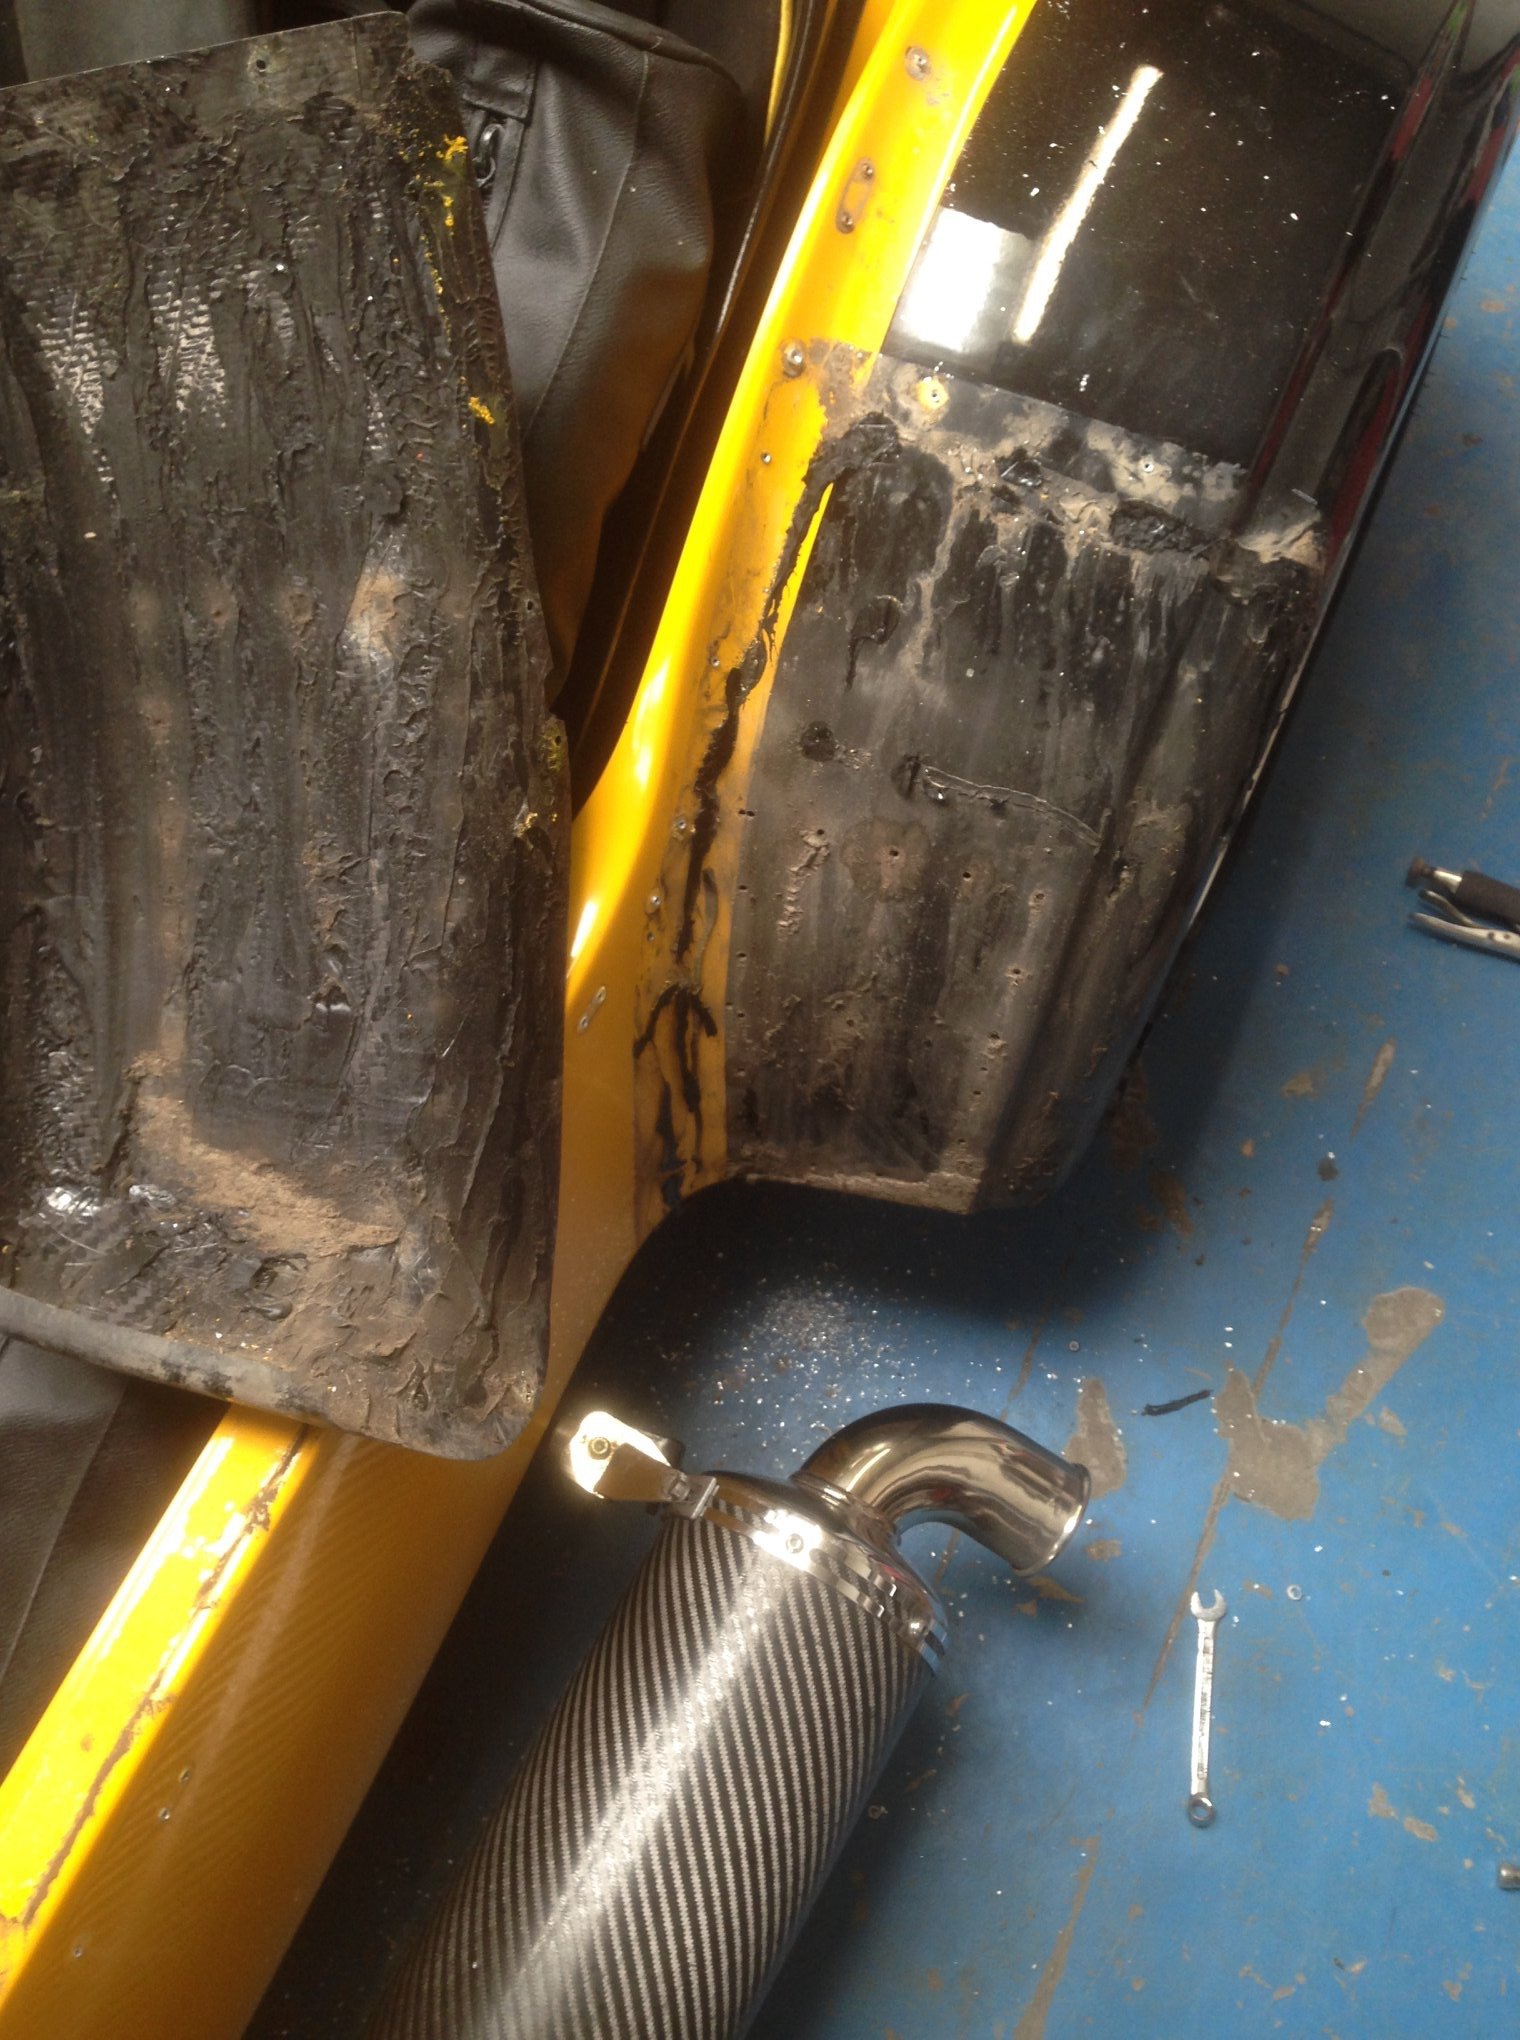
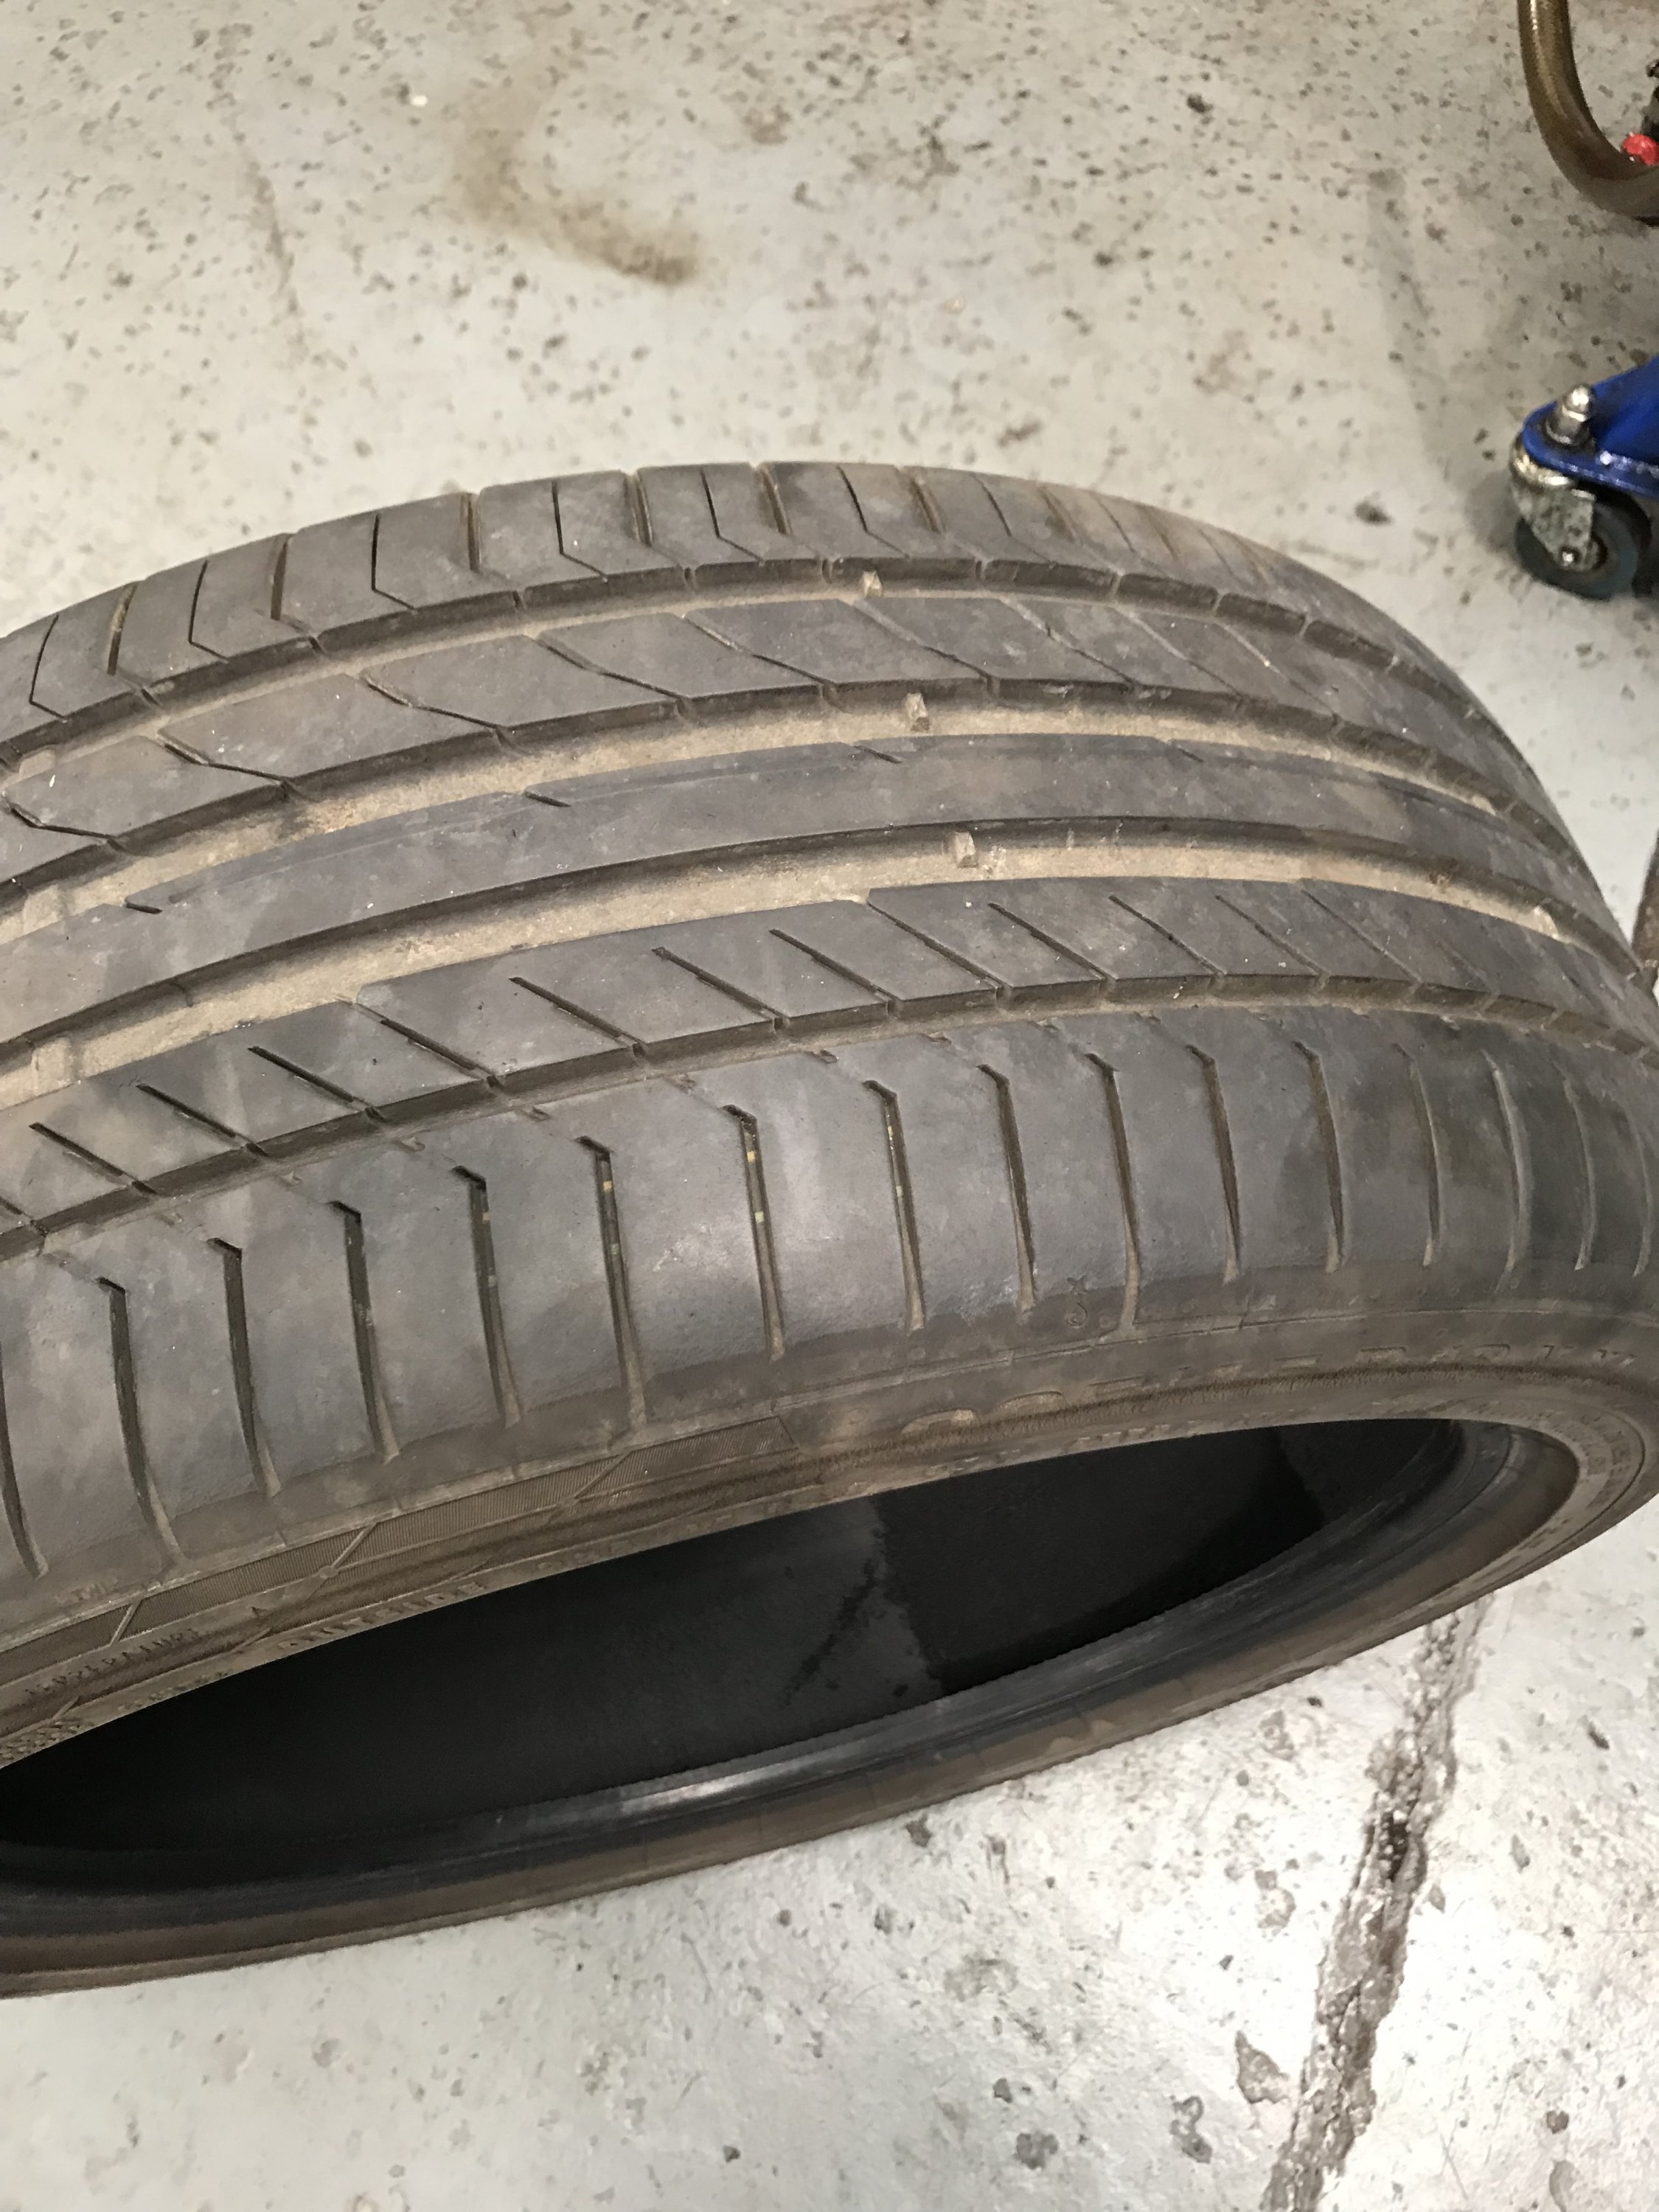
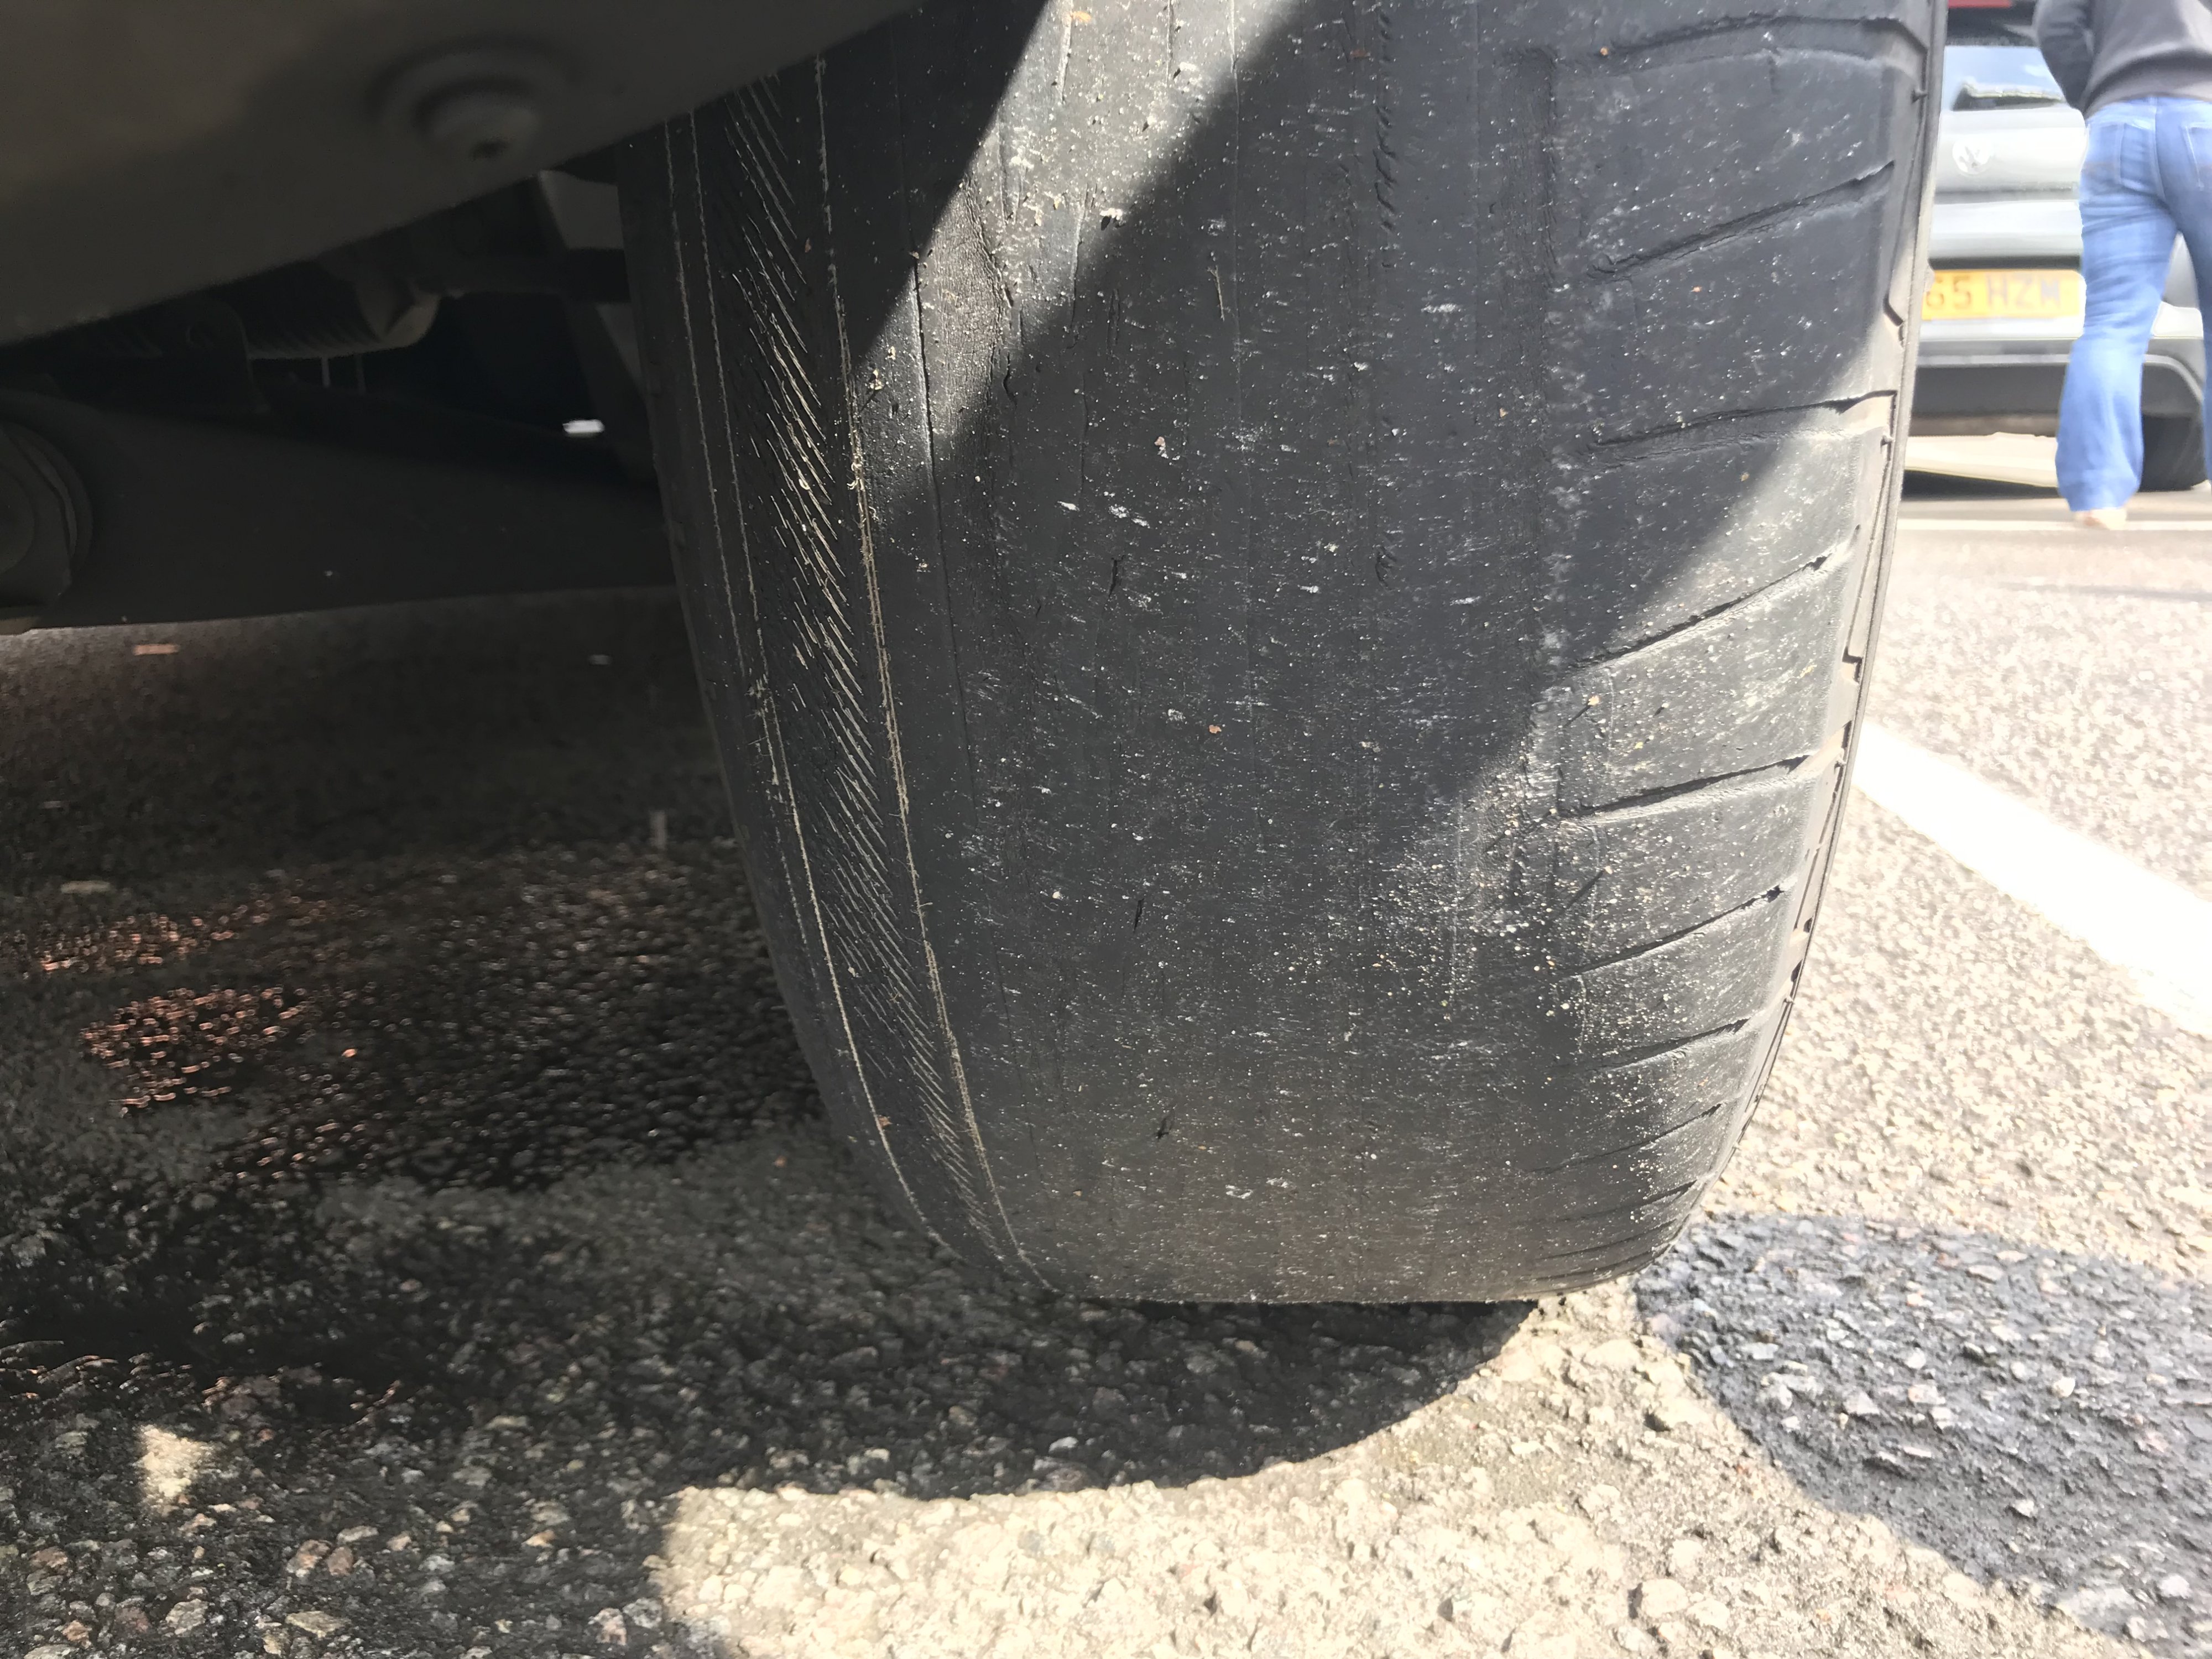
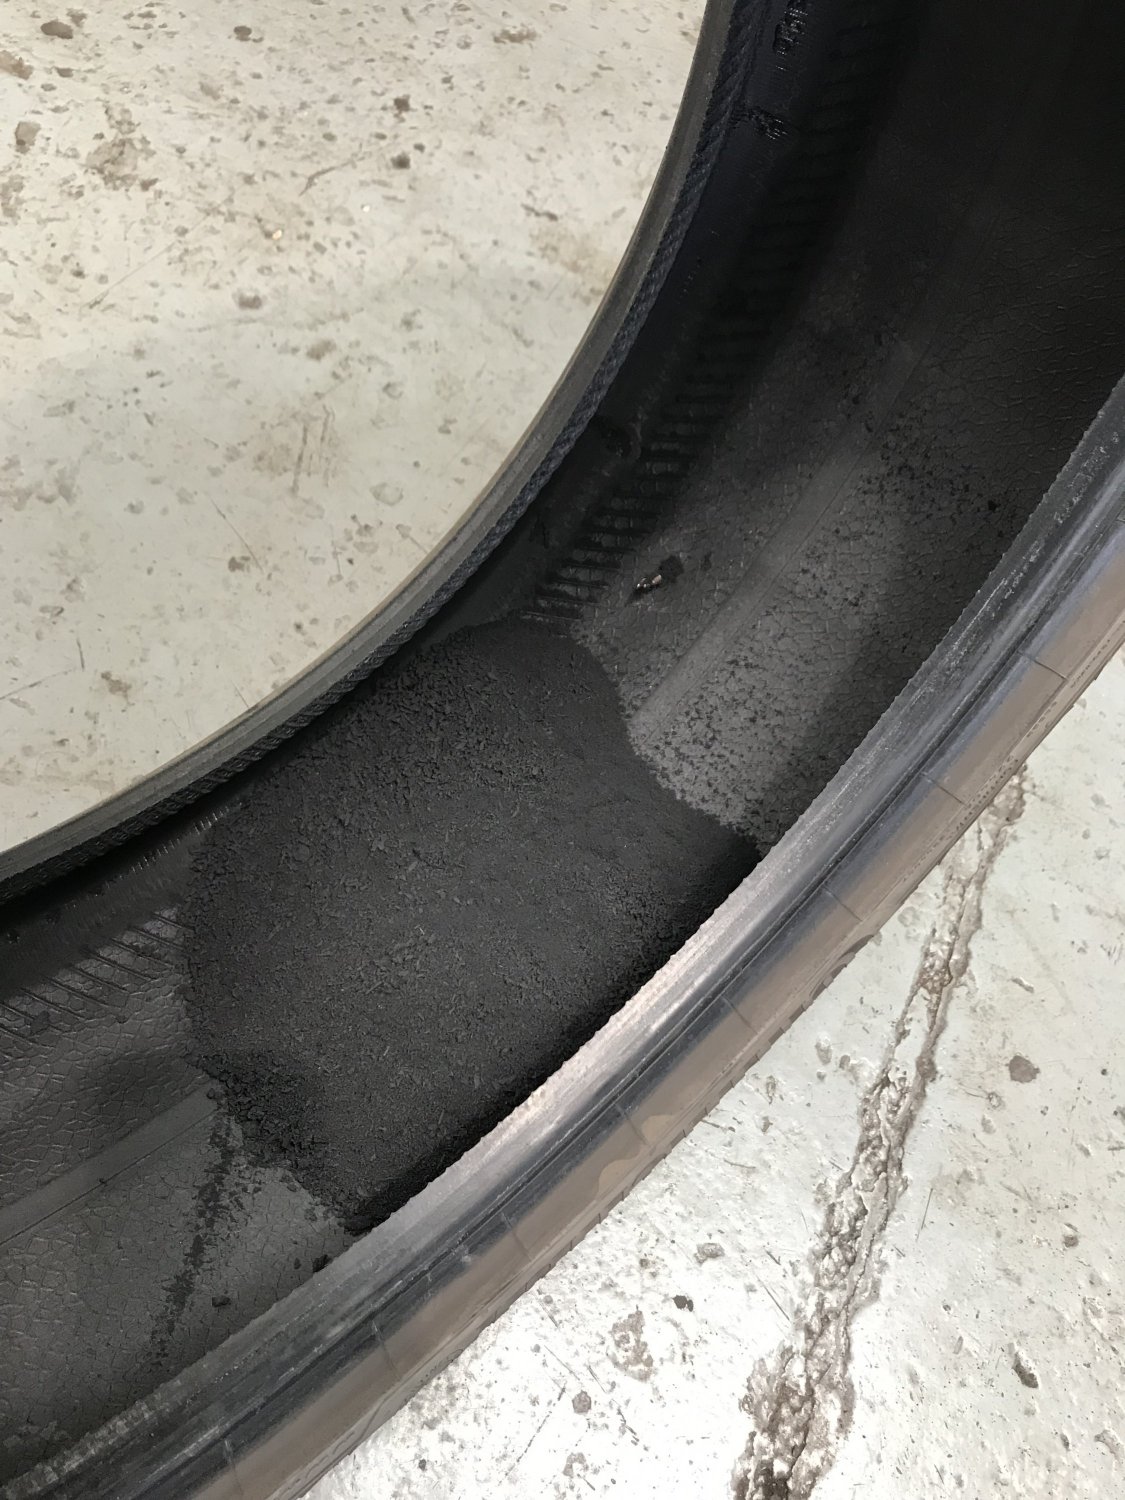
Glad your safe and sound.. Problem with tyres is often they look all ok but there not.. Tyres often look fine externally; the first tyre images below show a tyre which the customer had a slow puncture in, his tyre monitoring system kept letting him know it was going down, as he was busy he kept blowing it up but insisted it had never dropped more than 5 psi over the week. We new instantly the tyre was knackered as those will with a keen eye will clearly see a line around the side wall showing external damage from overheating due to being run soft. Once the tyre was removed you could see the regular pattern had worn off on the inside and in some places the structure of the tyre was exposed. you will also see the pile of rubber inside tyre that had been worn away. He was a little miffed when I said we couldn't repair it, once he saw it for himself he happily ordered a new tyre.. The disintegrating rubber on the inside is commonly seen in tyres that have been run underinflated or heavily over loaded, this is only found if you have cause to remove the tyre. The third image down shows a customers front tyres!! The car came in for an alignment as the customer said the car just doesn't handle like it used to and was shocking in the wet!

 1 point
 -
I had exactly the same experience as you - no real drama at all apart from the scary wheel changing. The Police arrived and set a cone (and their car) behind me for protection. In hindsight, I was chancing it on 10 year old tyres with some slight sidewall cracking - so my fault, really.1 point
-
That's really nice Geoffrey. Hope your bonnet clips stay as shiny as mine this time!!!!!😁1 point
-
That looks real good Geoff. Looks brand new. Michael1 point
-
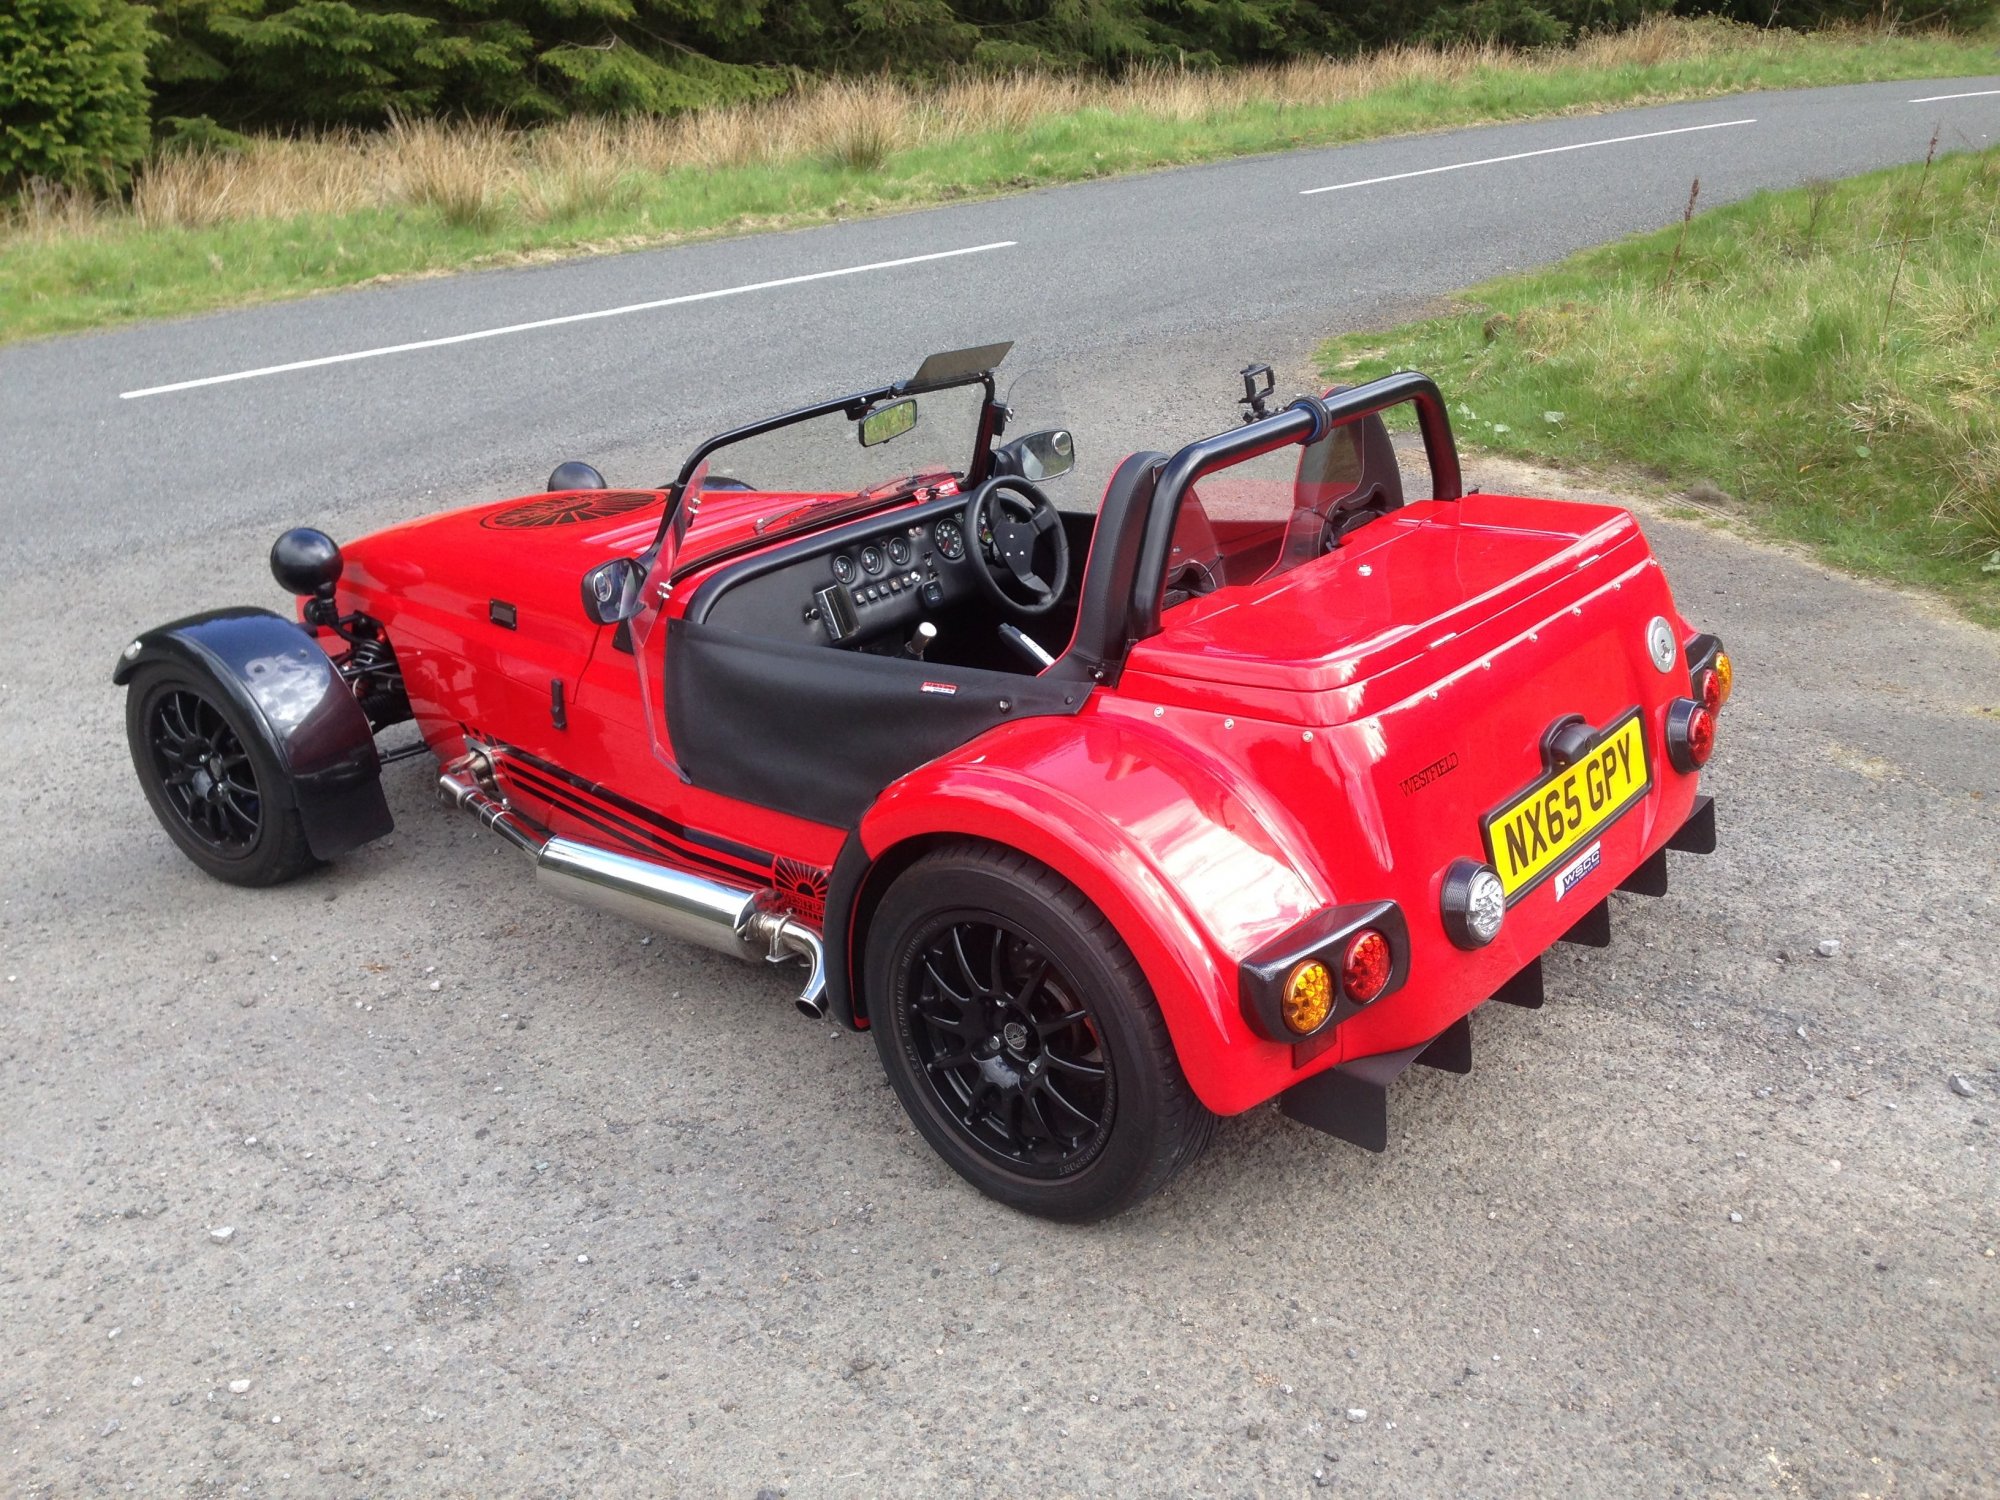
Open Top motoring on a fine day, Priceless!!

 1 point
 -
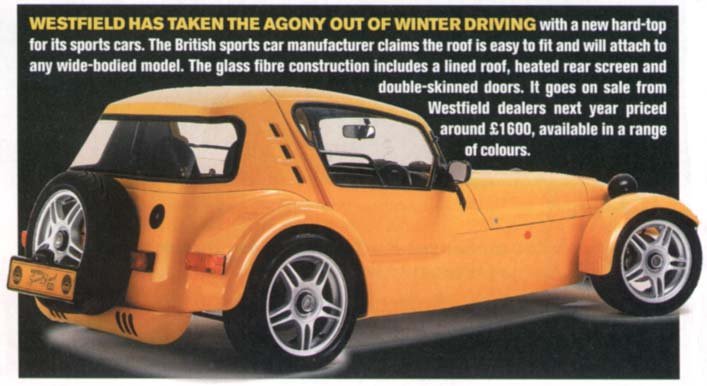
Not sure if that’s a Westfield made roof or not - it could be an early prototype, or someone could have made it themselves. It looks quite well done from the pictures, certainly it seems to have been inspired by the factory item at least. Yep, Westfield developed their factory roof option, years ago, but they are incredibly rare, less than something like six were ever made. Mainly because it was such a tricky project to make work as a retrofittable item, to do it well, meant it was complicated for the factory to make, and that meant it was really expensive when new. Too expensive for most potential buyers. The retail price back then was around £1600! (Full kits were probably only a couple of grand!) As you you can see, the rear window area on the factory version eventually sold, is quite different.
 1 point

1.thumb.jpg.a6d73a6b86014a950ef2162e9368febe.jpg)