Bottom End
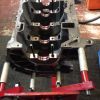
Ok so onto the build up of the bottom end mounted on the engine stand. In this case I am using ARP main studs from SBD which are reusable compared to the OEM bolts.
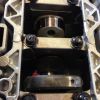
Because I will be using a dry sump pan that fits tight under the Main Bearing ladder I need to shorten the studs to prevent fouling as can be seen in the pic below. I do this by putting each on one the lathe and taking off around 4-5mm. Once this is done the studs are completed with the bench grinder followed by a thread file to clean them up.
The studs are screwed in hand tight to the block using ARP Ultra Lube on the threads. This is after cleaning the fasters in brake cleaner and blowing out the holes in the block with the air line to make sure everything is clean and there is nothing to bind up.
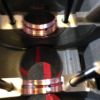
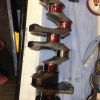
Once they are all fitted the main shells are pressed into place and lubed up on the bearing surfaces with assembly lube (the red stuff). I check that all the studs have gone in right using a straight edge against the block. Next the crank is cleaned up. In this case a steel Arrow SBD crank is been used. I liberally lube up the bearing surfaces with assembly lube. In this case I have already done a dry build with plastiguage to check clearances already.
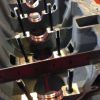
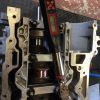
The crank is put into place and then after pressing the bearings into the main ladder this is placed onto the block studs. Take extra care to ensure nothing is on the mating faces between the block and the ladder. Washers and bolts are fitted with liberal amounts of arp ultra lube, again after cleaning the fasteners in brake cleaner.
Next the main studs are tightended using a torque wrench. For these the technique is staring from the centre and working outwards to tighten initially to 25 lb-ft then to undo working out to in by 1/2 turn. Then back to 25 lb-ft starting centre to outside. Once this is complete they are done up to 60 lb-ft starting from centre to outside. Then undo 1/4 turn from outside back to centre. Then back up again to 60 lb-ft from centre to outside. This tighten / un-tighten sequence helps ensure that the main ladder is bedded to the block correctly and snug.
As you tighten you should spin the crank around to make sure its sat nicely in the bearings.
Next - Pistons and Rods.
-
 4
4


2 Comments
Recommended Comments