

Dash design

Entry posted by Wagoneer
1,165 views
OK, so I've been slack. Well, slightly slack, like a Euro MP on full salary. Having left you all with tales of a wiring mess, within the last month I've finally set to and begun the process of making it right. Beginning with removing all the unknown wires and making what I could of the faded labels, there's a lot less in there!
My colleague and friend then gave me a few boxes of cable and connectors as he used to be Durite dealer. Then I got on with redesigning the dash. The original had way too many switches and lights and preferring the minimalist approach I thought a new layout was worth the effort. Way back in 1989 a friend and I built a Westfield that began from a wrecked MKII Cortina. As I have the ubiquitous crossflow in this new one, a few throwbacks were needed. The car came with a Cortina speedo which I've retained but I wanted more. Ebay turned up another Cortina clock, the one with combined fuel, water, ignition and oil. Whilst as large as the speedo, it combines all I need. The rev counter that came in the car remains also.
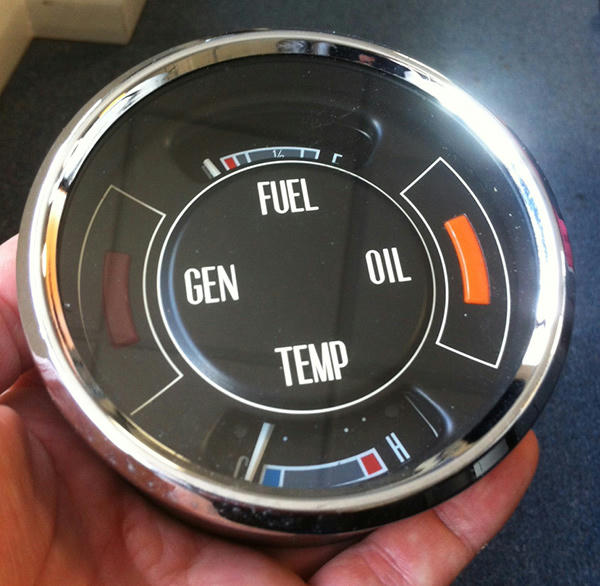
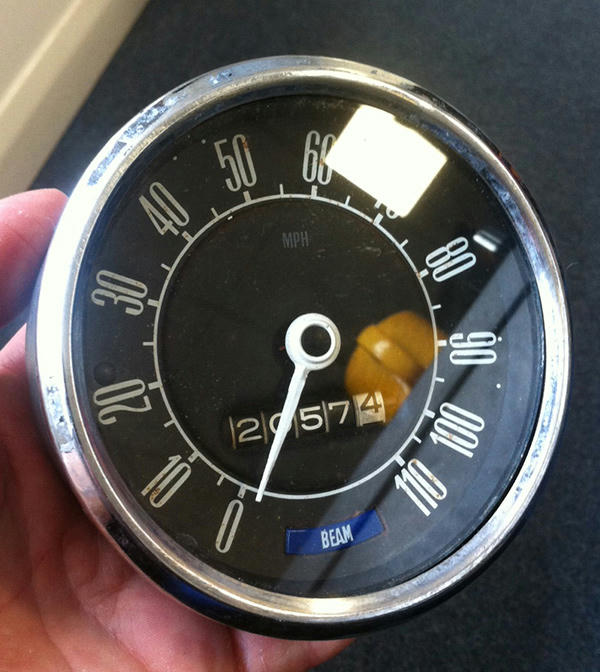
I had to take the glass out of these two Cortina dials to clean 40 years of muck out. Quite simply I knocked the chrome bezel off with a screwdriver carefully located on one of the tabs. They came off without incident and are now much cleaner!
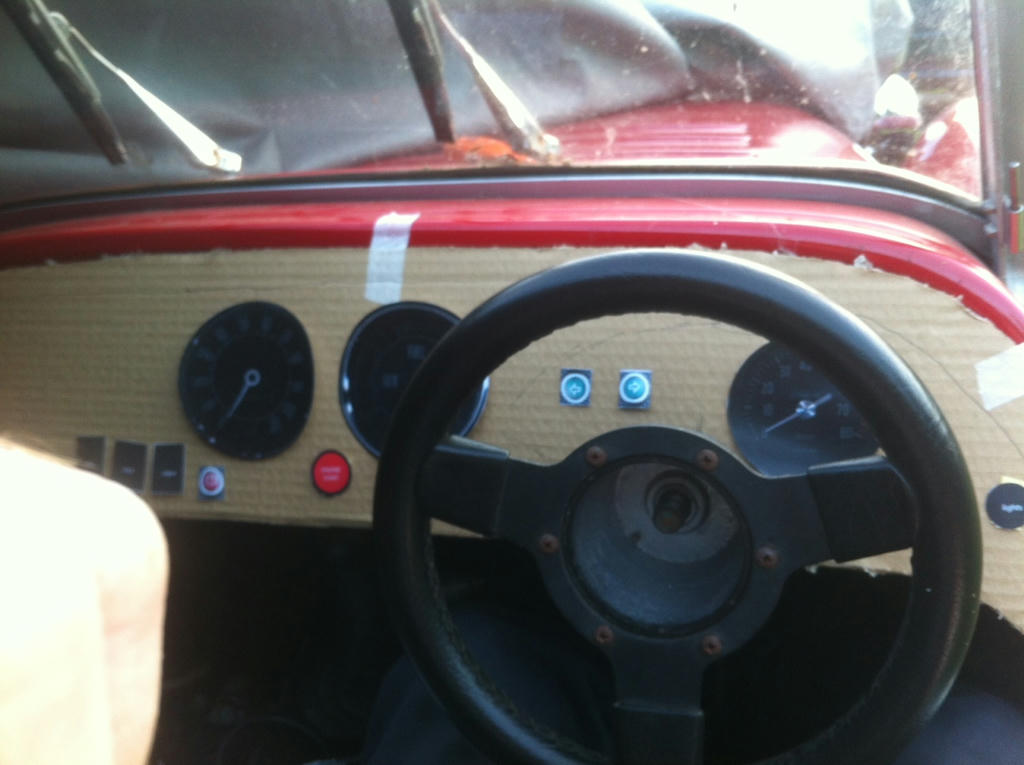
So that I could lay the items out to my satisfaction, I photocopied them all and then stuck them onto a card mock-up that I taped into the car. This method let me play around with the layout and place things where I wanted them in order of viewing preference.
Once happy I sorted a list of parts and popped around the corner to home for a visit to Car Builder Solutions. Fancy that, having lived in Dartford for years, I'd looked at their site quite a lot, then by pure chance found myself living a short walk away!
The original dash then provided a template to cut a new one from DiBond which is an aluminium plastic composite used in the sign business. I've a large scrap panel of it in the workshop at my office so it just happened to be the best thing to use. Accurate measuring of the dials and switches ( I never believe the supplier figures) using an electronic caliper gave me measurements to draw a template for each item.
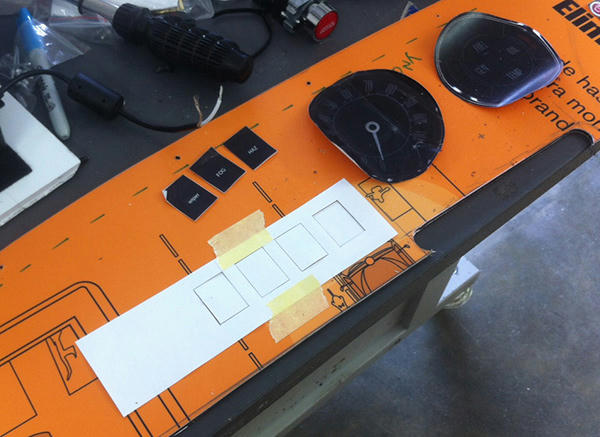
The orange background is just the vinyl graphic that was on the DiBond but it proved useful. Having used the drawn templates (as seen above) to cut through to the vinyl, I then peeled the orange off revealing the white of the material. Drilling and filling produced some decent holes. Constant test fitting ensured I got the switches and dials snug.
-
 2
2
0 Comments
Recommended Comments
There are no comments to display.